Showing posts with label Promarkers. Show all posts

Wednesday, 14 November 2012

Merry Christmas

Hi Bloggers.

Many of you will have watched Hels Sheridan launch a load of new Tim Holtz products on Ideal World last night. I've had some of the stamps a while now and just haven't had a chance to play with them but the other night I got them out, I faffed around a lot and after about 4 hours I came up with this card. The image and the background were quick and easy but the other bits were where I faffed - adding bits, swapping bits, you know what I mean!

For the background, I randomly stamped the stars from the Stampers Anonymous Christmas Time Stamp Set (CMS141) using Iced Spruce Distress Ink. I made sure the ink was dry and then popped it through the Grand Calibur with the Couture Creations Intrinsic Embossing Folder. I ran it though a second time to extend the pattern - it is not a repeating pattern but is so busy that you can't see the join especially if using large toppers (by the way, there has been a re-run of this folder so I'll be getting some more in my Amazon Store soon hopefully). I inked all around the edges with Iced Spruce using Cut n Dry Foam.

I stamped the snowman from the Stampers Anonymous Christmas Blueprint Stamp Set (CMS135) using Iced Spruce Distress Ink. I made sure the ink was dry and then coloured in using Tea Green and Grey Green Promarkers. I cut it out using Spellbinders Matting Basics B and inked through the die with Iced Spruce.

I stamped the sentiment from the Stampers Anonymous Mini Holidays 4 Stamp Set (CMS142) again using the Iced Spruce Distress Ink. I cut it out using Spellbinders Fancy Framed Tags One, inked through the die with Iced Spruce and added a couple of brads.

I cut the largest of the Spellbinders Fancy Postage Edge dies out of Kraftcore Card (Nostalgic Collection No. 14). At the emboss stage I added the Polka Dots Mask. I tied a bow out of 3 lengths of American Seam Binding (I think it's turquoise but not sure). I tied some Baker's Twine from the Vintage Set through a Polka Dot Button that I got from Sam Pool here and added it to my bow.

I assembled the card as shown adding a Pearl Swirl- no PVA dots on this one as I had run out of Kraftcore card and hadn't anything else that toned in properly.

I do hope you try some of these stamps - they really are a joy to work with, top quality red rubber and already mounted and cut out ready to use.

Don't miss Hels' other shows today on Create & Craft and Ideal World (details on her blog).

Thanks for stopping by.

Julia.

Saturday, 20 October 2012

Be not afraid

Morning Bloggers.

Just to clear up any confusion about the shows on Monday. It was supposed to be just a boy themed show but Ideal World weren't happy with that so I have had to add in some girly stuff too. The stamps on offer on the show are - Skateboard Silhouettes, Anything is Possible, Urban Beats, Urban Life, Bubblewrap, Newsprint, Chicken Wire, Sole Creations and Stylish Ladies. I am hoping to pick up some stock of some of the stamps between shows on Monday.

On to today's card -

I popped some Kraftcore through the Grand Calibur with the Creative Expressions Crackle Embossing Folder. I ran it through a second time to extend the pattern (the ribbon hides the join!). I then sanded it to reveal the core.

I stamped the image from the Creative Expressions Anything is Possible Stamp Set (also on Monday's shows) using Jet Black Archival and embossed with Cosmic Shimmer Clear Embossing Powder. I coloured it in using some Cosmic Shimmer Matt Drawing Inks. I cut it out using Spellbinders Labels Twenty-Eight and inked through the die with Stormy Sky Distress Ink and Cut n Dry Foam.

I stamped the sentiment from the Creative Expressions Skateboard Silhouettes Stamp Set using Jet Black Archival and embossed with clear powder. I cut it out using Spellbinders Ribbon Tags Trio Three and again inked through the die with Stormy Sky. I threaded some Black American Seam Binding Through it and secured it to the back.

I coloured a couple of Antique Silver Faux Screw Brads with a black promarker and added them to the top 2 corners.

I assembled the card as shown adding some dots of Cosmic Shimmer Pearlescent PVA in Black Pearl around the edges (it flattens a little on the Kraftcore).

Thanks for stopping by.

Julia.

Friday, 17 August 2012

You're a Classic

Hi Bloggers.

Here's another monochromatic card from the Cars shows, but this time I've used milk card instead of white.


For the background I popped the Tyre Tracks Mask on to some milk card at a jaunty angle and ran it through the Grand Calibur using the embossing sandwich. I inked all over with Black Soot Distress Ink using Cut n Dry Foam. I curled a couple of the corners using a cocktail stick. I wrapped some Black & White Baker's Twine around the bottom section of the background and tied a Creative Expressions Key Charm which I had coloured with a Black Promarker to it.


I stamped the image from the Creative Expressions Classic Cars Stamp Set using Jet Black Archival and embossed with Cosmic Shimmer Clear Embossing Powder. I cut it out using Spellbinders Labels Twenty-Eight and inked through the die with Black Soot Distress Ink.


I stamped the sentiment from the same stamp set again using the Jet Black Archival and embossed with the clear powder. I cut it out using Spellbinders Mega Curved Rectangles and inked through the die with Black Soot.


I assembled the card as shown adding dots of Cosmic Shimmer Pearlescent PVA around the edges.

Thanks for stopping by.

Julia.

Sunday, 12 August 2012

Vroom

Hi Bloggers.

Today I'm sharing one of the demo cards from Wednesday's shows.


I made my own background using some of the stamps and masks on the show. I started with a piece of Milk Card. I popped the Retro Circles Mask on top and spritzed some Jade Teal from the Nature's Gift Cosmic Shimmer Misting Inks Set and then I spritzed some Moss Green from the Winter Garden Set. I removed the mask and washed it and dried the background. I then used the Bubblewrap stamp (not on the block, just in my hand) with Forest Moss Distress Ink and stamped randomly over the background. I repeated this process with the Newsprint stamp and Black Soot Distress Ink.

Next I stamped the Justrite Chevron Striped Background on a separate piece of Milk Card using Jet Black Archival. I cut out an arch using the Spellbinders Labels Twenty-Eight. I distressed the edges with my scissors and then inked them with Black Soot using Cut n Dry Foam. I placed some Idea-ology Journeyman Tissue Tape on my craft sheet and then rubbed some Peeled Paint Distress Stain over it, dried it and added it to my Chevron Arch/Tunnel.

I stamped the image from the Creative Expressions Classic Cars Stamp Set using the Jet Black Archival and embossed with Cosmic Shimmer Clear Embossing Powder. I coloured it in using Cosmic Shimmer Matt Drawing Inks. I used Jade Teal from the Garden Twist Set and Black Night from the Summer Fayre Set.


I cut a ribbon banner out of Milk Card using Spellbinders Ribbon Banners Large and inked around the edges while still in the die with Black Soot. I then added the word 'Vroom' using Idea-ology Ransom Alpha Parts.

I coloured some Creative Expressions Antique Silver Faux Screw Brads with a Black Promarker (you could also use Alcohol Ink) and added them to the corners of my background.


I assembled the card as shown adding some dots of Cosmic Shimmer Pearlescent PVA in Black Pearl around the edges.

Thanks for stopping by.

Julia

Saturday, 14 April 2012

Happy Birthday Nathan

Hi Bloggers.

Today I'm sharing the card that I've made for my son's 16th birthday which is today. I'm at Ally Pally but he says that's ok because he's going out.


I've been really naughty and I haven't used a Creative Expressions stamp on this - simply because I don't have one that I felt was suitable. Teenage boys, I think, are the hardest group to make cards for. Nathan isn't really into sport (except free-running) so that makes it even harder. We're cat lovers in our house so I thought this image was the best for the occasion.

The image is called Kitty Chorus and is from Stamps Happen. We've had it for years and I still love it. I stamped it in Jet Black Archival and it's been coloured with Lyra Watercolour Crayons. The background has been embossed using the Couture Creations Houndstooth folder through the Grand Calibur. I passed it through a second time to extend the pattern.

I coloured some chipboard letters with a black promarker and added a kitty embellishment from my stash.

Thanks for stopping by.

Julia

Saturday, 25 February 2012

Of Corsets Your Birthday!

Hi Bloggers,

I have the date for my next shows on Create & Craft. They're on Thursday 8th March at 11am, 1pm and 6pm. Two of the shows are to be Spellbinders shows and the other will be a stamping show. These times are subject to change. I'll keep you updated.

Today's card is from the new Vintage Lingerie Stamp Set which is from Sue Wilson's design team. I love this stamp set - the detail on the corsets is amazing.

Anyway here's the card -


For the background, I stamped a small pattern stamp and a phrase from the stamp set randomly all over a piece of white card with Jet Black Archival. I then passed it through the Grand Calibur with the Couture Creations Lovingly Baroque Embossing Folder. I lined the pattern up and passed it through a second time as the card was bigger than the folder. I then went over the card with Black Soot Distress Ink and Cut & Dry Foam.

I stamped the corset using Jet Black Archival and embossed it with Cosmic Shimmer Clear Embossing Powder. I cut it out and them went around the edges with a black promarker to hide any white bits. I then put some Hi-Tack Tape on the back around the bottom of the image. I then ruffled some black Vintage Ribbon along it.

I cut a Spellbinders Lacy Ovals out of white card and inked the inside with Black Soot Distress Ink while still in the die.

I stamped the sentiment which is from the same stamp set using Jet Black Archival and embossed with clear powder. I cut it out using Spellbinders Labels Two and inked around the edges with Black Soot Distress Ink while still ink the die.

I cut some leaves out of white and black card using the Spellbinders Foliage Die Set. I inked through the die with Black Soot on the white leaves.

I made a rose out of Black Vintage Ribbon (you can see how to do this on Sue Wilson's Blog.

I assembled the card as shown and added some faux stitching with a white Inkssentials Pen.

I hope you like this card.

Thanks for stopping by.

Julia.

Saturday, 4 February 2012

Beautiful Ladies in Grey and Yellow

Hi Bloggers,

I'm back - Today sees the start of posts containing samples that I've made for the shows coming up on Create & Craft (details in side bar).

Here's today's card. I just love grey and yellow together.


I stamped the large stamp of the three ladies from the Creative Expressions Beautiful Ladies stamp set using Eco Green Paris Trunk Dye Ink in Stone. I used a damp paint brush to pull some of the colour out on the ladies hair only. I coloured in the flower and the foliage on the middle lady using Promarkers.

I stamped the sentiment from the Creative Expressions Simply Sentiments stamp set again using the Stone Ink Pad.

I ran some grey card through my Grand Calibur with the Creative Expressions Floral Embossing Folder. I needed to run it through twice as the card is bigger than the folder.

I also ran a piece of yellow card through the Calibur with the Floral folder. I cut out 8 flowers from the embossed yellow card. I used these to make my 2 flowers - I'm planning to demonstrate how to make the flowers in the 10am show.

I cut out some leaves using the Spellbinders Foliage die set and assembled the card as shown.

Hope you like the card.

Thanks for stopping by.

Julia.

Sunday, 1 January 2012

New Beginnings

Hi Bloggers,

Happy New Year!

Today I'm sharing this card with you -


The image is Lili of the Valley Baby Blanket. I stamped using Memento Tuxedo Black and coloured with Promarkers. I cut the image out using Spellbinders Labels Twelve and cut a mat out of pink card which I edged with my white Inssentials pen.

The papers are all from Polka Doodles Sundae of Seasons and were arranged as per the layout at Sketch Saturday this week.

I added some ruffled Vintage Ribbon in pink and added a tatty bow using 3 lengths of the same. I also added a button from my stash with some baker's twine threaded through.

The sentiment is also Lili of the Valley. I cut it out using a Spellbinders Double-Ended Tag die and cut another tag out of pink card. I cut the pink tag in half along its length and added it to my sentiment tag to create a mat.

I finished the card off with some pearls.

I'm entering this card into the following challenges -
Sketch Saturday
Allsorts Challenge - New Beginnings
Simon Says Stamp - Anything Goes
Make It Monday #69
Sweet Stampin' Challenge - New Beginnings
Joanna Sheen - Celebrations

Thanks for stopping by.

Julia.

Saturday, 31 December 2011

My 5 Favourite Cards from 2011

Hi Bloggers.

Debby is hosting My 5 Favourite Cards from 2011. Here's my 5 (really difficult choice) -

The first is using the Road Trip stamp set from Tim Holtz -


The next uses the 'All That' stamp from the Kenny K Collection at Whimsy Stamps -


This one uses Mr. Inventor in Black & White -


This is one of my favourite stamps from Sugar Nellie. She's called Tiffany and she's absolutely gorgeous -


Finally, I've chosen this Mother's Day card. I was really pleased with how this one turned out -


Hope you've enjoyed your visit.

Thanks for dropping by.

Hope you have a wonderful New Year.

Julia.

Spring is Back

Hi Bloggers,

Today I'm looking forward to Spring with this card made with the Sarah Kay image 'Spring is Back' from Stampavie.


This is a very simple layout. The image was stamped using Memento Tuxedo Black and coloured with promarkers.

I cut the image out using an oval nestie and made a faux nestie with dusky pink card. I cut a white mat out using a scalloped oval nestie.

The gingham backing paper is from Polka Doodles Sundae of Seasons. I punched some flowers out of dusty pink card and added my brads.

I'm entering this card into the following challenges -
Simon Says Stamp - Anything Goes
Make It Monday #69

Thanks for stopping by.

Julia.

Friday, 30 December 2011

Pippi Pretty in Pink

Hi Bloggers,

Today I'm sharing this card -


The image is Pippi Longsocks from Sugar Nellie. She has been stamped using Memento Tuxedo Black and she has been coloured with Promarkers. I added some Sakura Stardust Clear Star on her wings to make her sparkle. I edged the image panel with Victorian Velvet Distress Ink.

For the patterned cardstock I used a piece of lavender card and inked through a That Special Touch Floral Lace Mask with Victorian Velvet.

I followed the sketch from Sunday Sketch & Stamp. The papers were a freebie from Papercraft Essentials Magazine.

I coloured some Woodware Plain Paper Flowers with Victorian Velvet and added roses and pearls from my stash.

I'm entering this card into the following challenges -
Sunday Sketch & Stamp
Simon Says Stamp - Anything Goes
Make It Monday #69

Thanks for stopping by.

Julia.

Tuesday, 27 December 2011

You Rock!

Hi Bloggers,

I hope you all had a very good Christmas and are enjoying your Bank Holiday. Today I have this card to share with you -


The image is Rock Chick from the Kenny K Collection at Whimsy Stamps. I stamped her in Memento Tuxedo Black and coloured her in using Promarkers. I cut her out using a Spellbinders Curved Rectangles die and inked around the edges with Faded Jeans Distress Ink while still in the die. I cut a faux nestie out of rust card.

The sentiment is from Inkadinkado Rock Star Clear Stamp set. I stamped it in Memento and inked around the edges with Faded Jeans.

For the background paper I used the Stamps by Judith Stubbie AAA-04 Dots available in the UK here or in the USA here. I stamped it randomly over my white card using Tumbled Glass, Faded Jeans and Chipped Sapphire Distress Inks. I edged it with Faded Jeans Distress Ink.

I inked 2 Woodware Plain Paper Flowers with Faded Jeans Distress Ink and splatted Faded Jeans Distress Stain in the centre of each one. I inked the edges of some roses from my stash with Chipped Sapphire Distress Ink and added them to the centres of my paper flowers.

I assembled the card as shown and added some blue gems top right.

I'm entering this card into the following challenges -
Simon Says Stamp - Bingo : Gems, No Designer Paper, Flowers
I love Promarkers - Anything Goes
Allsorts Challenge Blog - Blue and Brown
Charisma Cardz - Anything Goes
Sparkles Forum Challenge - Anything But Christmas
Make It Monday #69

Thanks for stopping by.

Julia.

Friday, 23 December 2011

Tulips for Mother's Day

Hi Bloggers,

Yes, I know it's early for Mother's day but I had this image lying around and I've been putting some cards together to send to Cazz for Operation Blue Witch Squadron so I thought I'd post this today.


The image is Joanna Sheen Messy Rabbit - Tulip. It's been stamped with Memento Tuxedo Black and has been coloured using Promarkers. I cut it out using a rectangle nestie and edged it with Barn Door Distress Ink. I cut a mat out of red card using a scalloped rectangle nestie.

For the background paper I used the Stamps by Judith Stubbie AAA-04 Dots available in the UK here or in the USA here. This is such a useful stamp - Love it! I stamped it randomly over my white card using Marvy Bending Blox in Shades of Red and in Shades of Pink. I edged it with Barn Door Distress Ink.

The sentiment is from Lili of the Valley. I stamped it with Memento Tuxedo Black and added a bit of colour with Promarkers. I cut a mat out of red card using a Spellbinders Eyelet Circle Die.

I mounted my dotty background paper onto some red card and ran some Hi-Tack Tape across it. I added some red polka dot ribbon and added a bow in the same. I added the image and sentiment as shown and glued some red gems top right using Cosmic Shimmer Dries Clear Glue.

I'm entering this card into the following challenges -
I Love Promarkers - Anything Goes
Sparkles Forum Challenge - Anything But Christmas
Make It Monday #68
Charisma Cardz - Anything Goes

Thanks for stopping by.

Julia

Thursday, 22 December 2011

Let Them Eat Cake

Hi Bloggers.

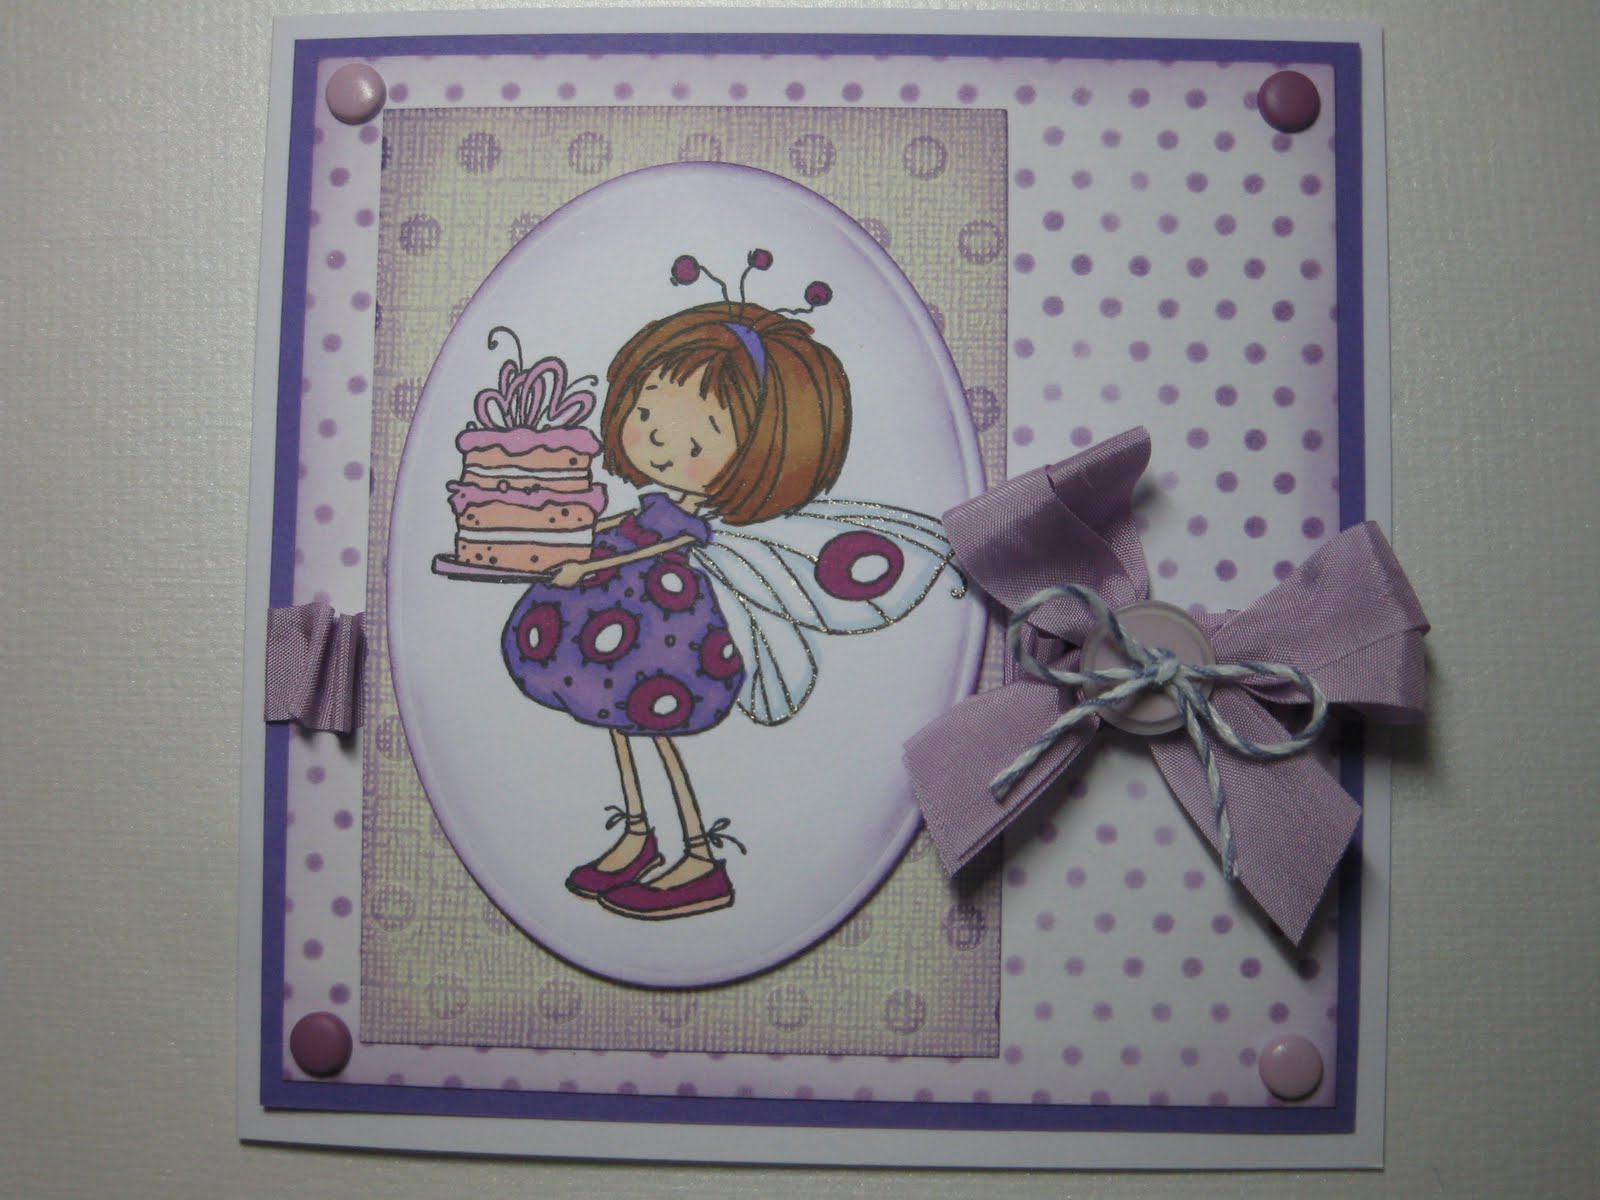
Today I'm back to purple again and I'm sharing this card with you -


The image is from Sugar Nellie and it's called 'Let Them Eat Cake'. I stamped the image using Tuxedo Black Memento Ink and coloured using Promarkers. I added some Sakura Stardust Clear Star to the wings to make them sparkle. I cut the image out using an oval nestie and inked around the edges with Dusty Concord Distress Ink.

I inked through That Special Touch Small Polka Dots Mask with Dusty Concord Distress Ink onto white card and then went around the edges with the same ink.

I cut a piece of Whitewash Colorcore with a lilac core and embossed it using the That Special Touch Polka Dots Mask. I sanded it to make the polka dots stand out more. I inked around the edges with Dusty Concord.

I matted the small polka dots background onto some purple card and then ran a strip of Hi-Tack Tape across the card and ruffled some Violet Vintage Ribbon along it leaving it un-ruffled where the Whitewash backing paper was to go.

I added the Whitewash backing paper to the card and mounted the image on top using foam pads.

I tied a messy bow using 2 lengths of Violet Vintage Ribbon and added it to my ruffled border using Cosmic Shimmer Dries Clear Glue. I tied some Baker's Twine through a Lavender Button and glued it to my bow.

I added a brad to each of the corners and then added my design to a Craftwork Cards 6" x 6" card.

I'm entering this card in to the following challenges -
The Sugar Bowl Maria Thereses Sketch plus Handmade Backing Papers
I love Promarkers - Anything Goes
Simon Says Stamp - Bingo : Ribbon/Twine, No Designer Paper, Brads
Sparkle Forum Challenge - Anything But Christmas
Make It Monday #68

Thanks for stopping by.

Julia

Thursday, 15 December 2011

Christmas Milton

Hi Bloggers,

Today I'm sharing this card -

The stamp is Milton in Hat from Wild Rose Studio. I stamped him in Memento Tuxedo Black and coloured with Promarkers. I used a Quickie Glue Pen on the furry parts of the hat and added some Cosmic Shimmer Aurora Crystal Glitter. You can see it really catches the light.

I inked up a Craftwork Cards frame with Chipped Sapphire Distress Ink. I printed the sentiment using my labelling machine and matted it onto cobalt blue card.

I cut the poinsettia from the Spellbinders Layered Poinsettias die set and inked with Chipped Sapphire while still in the die. I put the poinsettia together using Cosmic Shimmer Dries Clear Glue and added an Eco Green Glass Glintz in blue to the centre.

I assembled the card as shown. The backing paper is from the Polka Doodles CD Jingle Jangle (I think!).

I'm entering this card into the following challenges -
Oldie But A Goodie - Christmas Animals
Make It Monday #67

Hope you like the card.

Thanks for stopping by.

Julia

Monday, 12 December 2011

Just Chillin'

Hi Bloggers,

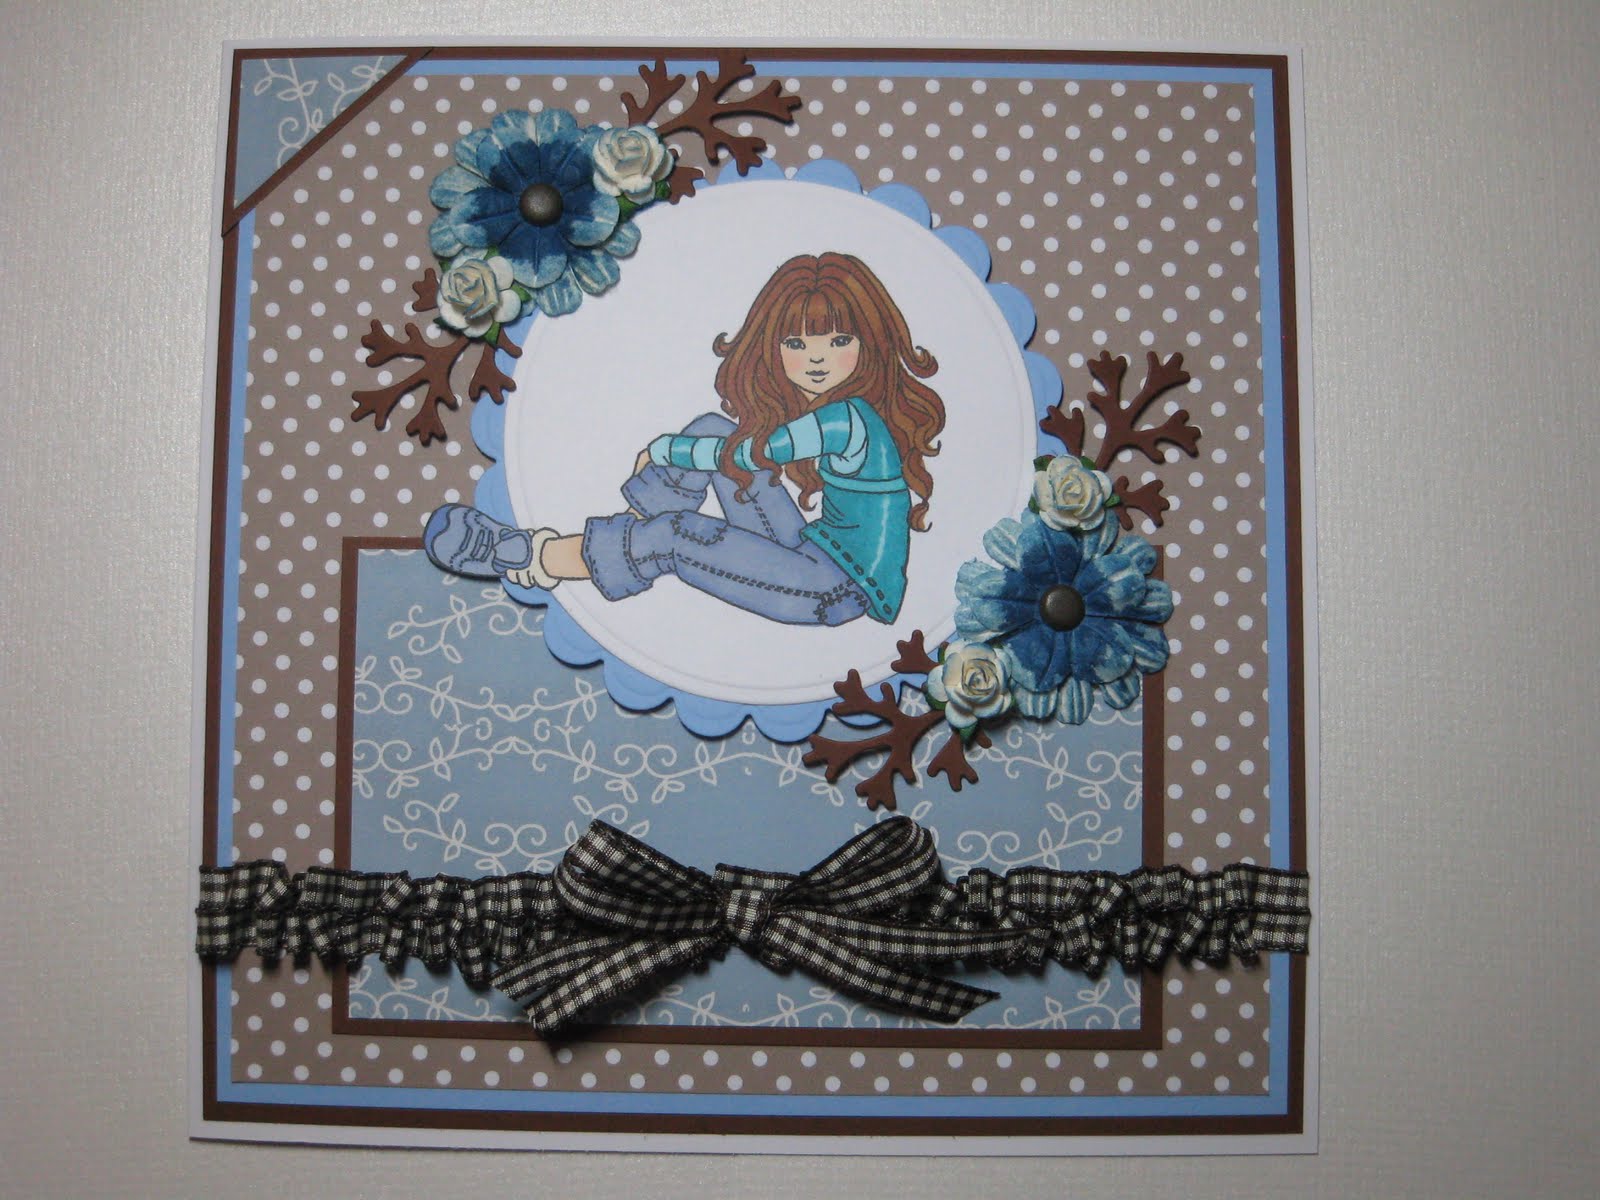
Today I have a card to share using the gorgeous Sugar Nellie stamp Chillax.


I stamped the image using Memento Tuxedo Black and coloured using promarkers. I cut the image out using the 'out of the box' technique and a circle nestability die. You can see that her foot is outside of the circle. I cut a mat out of marine blue card using a scallop nestie.

I coloured some Woodware Paper Flowers by splatting Faded Jeans Distress Stain in the centre and added some Faded Jeans Distress Ink around the edges. I added a brown American Crafts brad in the centre. I inked some white roses from my stash with the Faded Jeans Distress Ink. The leaves were cut using one of the Spellbinders Foliage dies.


I assembled the front of the card as shown using papers from Polka Doodles Sundae of Seasons CD. Before mounting it on my 8" x 8" Craftwork Cards blank, I ran some Woodware Hi-Tack Tape along the width of the design and ruffled some brown gingham ribbon along it. I did two lines of it. I added some Cosmic Shimmer Dries Clear Glue along the edges of the ruffles to secure them. I tied a messy bow two lengths of the ribbon and added it to the centre of the ruffled ribbon securing it with Cosmic Shimmer Dries Clear Glue.

I'm entering this card into the following challenges -
Allsorts Challenge - It Takes Two
The Sugar Bowl Challenge - 73 Cathy's Sketch
Make It Monday #67

I hope you like the card.

Thanks for stopping by.

Julia.

Monday, 5 December 2011

Warm & Cozy Fireplace

Hi Bloggers,

Today I have another card to share using the Tatty Button Fireplace stamp from Creative Expressions.


I stamped the image using jet Black Archival ink and embossed with Cosmic Shimmer Clear Embossing Powder. I coloured in using Cosmic Shimmer Matt Drawing Inks plus the Pearl Shine from the Metallics set. I cut the image out using the largest of the Spellbinders Fleur de Lys Squares dies.

I stamped the poinsettia stamp from the Tatty Button Poinsettias set in Jet Black Archival and embossed with clear powder. I did this 3 times. I coloured the poinsettias in with Marigold Cosmic Shimmer Matt Drawing Ink and coloured the centres with Ancient Copper Cosmic Shimmer Mica Drawing Ink. I cut them out and went round the edges with a black promarker.

I stamped the sentiment with Jet Black Archival and embossed with clear powder. I cut it out using an oval nestie. I inked around the edge with Vintage Photo Distress Ink. I also pierced around the embossed line. I added some Tropic Wine Vintage Ribbon securing with some copper brads.

The backing papers are from My Mind's Eye. I pierced around the edge of the brown card with my Tim Holtz Ruler and my pricking tool before mounting on to ivory card.

Hope you like the card.

I'm entering this card into the following challenges -
Simon Says Stamp - Anything Goes
Make It Monday #66

Just a reminder to tune in to Create & Craft tomorrow at 2pm and 7pm when I will be joining Dawn Bibby and showcasing Tatty Button Christmas products.

Thanks for stopping by.

Julia

Sunday, 4 December 2011

Get Well Wishes

Hi Bloggers,

Here I am again with a second post for today. I'm going for blue and brown with this card. Haven't used this colour combination before. I really like how it turned out.


The image is Lili of the Valley Little Nurse. I stamped with Memento Tuxedo Black and coloured with Promarkers. I cut the image out with a circle nestie and cut a mat out of brown card with a scalloped circle nestie.

The papers are from the Polka Doodles CD Sundae of Seasons. The gingham ribbon is Woodware. For some reason I ordered 6 rolls of that so I will be using it on quite a few of my cards!

I stamped the sentiment which is also Lili of the Valley and cut it out with a rectangle nestie and cut a mat out of brown card with rectangle scalloped nestie.

The card was assembled as shown.

I'm entering this card into the following challenges -
CES Challenge - Bear Necessities
Allsorts Challenge - Going Round in Circles
Lili of the Valley - Anything but a Christmas Card
Willow Sketchie Challenge - Anything Goes
Oldie But a Goodie - No Red or Green
Simon Says Stamp - Anything Goes

Hope you like the card.

Thanks for stopping by.

Julia

Wednesday, 30 November 2011

Tiffany in Blue

Hi Bloggers,

This is my second post today. Hope you've had a good day so far.

I wanted to share this card with you -


The image is called Tiffany and she's from Sugar Nellie. I've had her a while and have been putting off stamping her as there have been so many fab cards using her on The Sugar Bowl that I felt I may not be able to do her justice. Anyway, today I've taken the plunge and I'm pretty happy with the result.

I stamped Tiffany in Memento Tuxedo Black and coloured her with promarkers. She's in blue to follow the Ice and Snow theme on the Sugar Bowl Challenge this week.


I cut Tiffany out using the largest of the Spellbinders Lattice Rectangles dies. I cut some poinsettias out using the smallest 3 dies from the Spellbinders Layered Poinsettias die set and inked through the dies with Stormy Sky Distress Ink. I cut 2 of each size. I assembled the poinsettia and added a blue gem in the middle.


The sentiment is from Lili of the Valley. I didn't have quite the right size nestie for a mat for it so I used a Spellbinders Layered Poinsettias die to create the mat. Although I've made this card as a Birthday card, it could just as easily be a Christmas card instead if a different sentiment is used.


The backing papers are all from Polka Doodles Sundae of Seasons CD.

The card was assembled onto a Craftwork Cards 8" x 8" card blank as per Gayle's Sketch at The Sugar Bowl

I'm also entering this card into the following challenges -
Simon Says Stamp - Anything Goes
Make It Monday #65

Hope you like Tiffany as much as I do.

Thanks for stopping by.

Julia

Friday, 11 November 2011

James Bear - Christmas Cracker

Morning Bloggers.

Today I have this card to share with you -


The stamp is Lili of the Valley - James Bear Christmas Cracker. He's been stamped with Memento Ink and coloured with promarkers. I've added some Sakura Clear Star to the stars on the cracker and to the ground beneath his feet. The hat has some Cosmic Shimmer Aurora Sparkle Glitter on the furry bits. I added a little Judikins Diamond Glaze to the nose and eyes.

I cut the image out with an oval nestie and inked around the edges with the Evergreen Bough and the Forest Moss Distress Inks using Cut & Dry Foam. I cut a mat out of gold card using a scalloped oval nestie.

The card was assembled as per the I love Promarkers Challenge this week.

The paper is from the Wild Rose Studio Christmas Milton Paper Pack. I cut some ponsettias out using the Spelbinders Layered Poinsettias dies. I inked them with Forest Moss Distress Ink and added a gem in the middle.

The sentiment is from Creative Expressions and has been inked with Forest Moss before mounting on to gold card.

I'm entering this card in to the following challenges -
Lili of the Valley Thursday Challenge - Creature Comforts
I love Promarkers Challenge 91 - Follow that Sketch
Simon Says Stamp Challenge - Photo Inspiration
Make It Monday #62

Thanks for stopping by.

Julia.