Showing posts with label American Seam Binding. Show all posts

Friday, 8 December 2017

Freebie Friday

Hi Bloggers.

It's Freebie Friday again. Here's this week's Christmas Card that needs a new home -

I don't think that this card has actually been blogged, at least I can't find it. So, here's a list of products used -

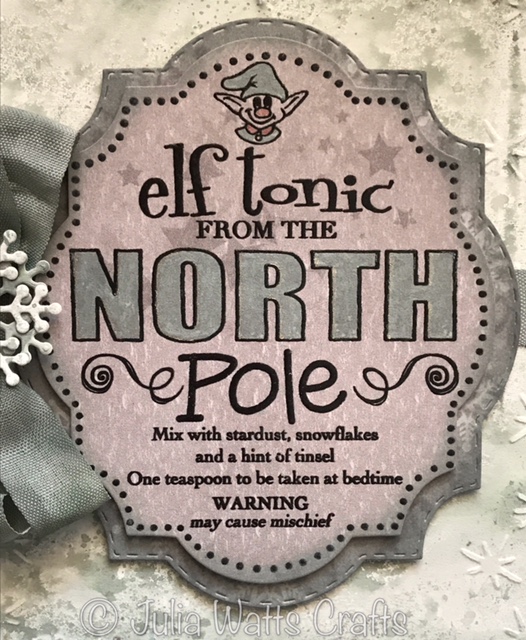
Woodware - Elf Tonic Tag
Iced Spruce Distress Oxide
Onyx Black Versafine
CS Matt Clear Embossing Powder
Sue Wilson Dies - Holly Lattice Frame, Looped Snowflake Frame
Lisa Horton Christmas Wishes 8 x 8 Paper Pad
Creative Expressions Sparkle Flakes Embossing Folder
Sakura Clear Star Stardust Pen
Water Brush
Blue White American Seam Binding
CS Iced Crystals Glitter Jewels
5mm White Pearls
Card - Coconut White, Black


Leave a lovely comment below to go into the draw to win it. I will announce the winner on Monday. Be sure to pop back to see if you have won.

Please note : Only comments left below will go into the draw. Comments made on the original post will not count. Information given on the original post was correct at the time that post was published.

I've just received stock of some lovely Lavinia stamps. These stamps are absolutely gorgeous. I've stocked a selection of fairies, foliage and the Fairy House which I just couldn't resist. You can find them all here.


Thanks for stopping by.

Julia.
www.juliawattscrafts.co.uk

Thursday, 24 November 2016

With Love

Hi Bloggers.

Here's today's card -

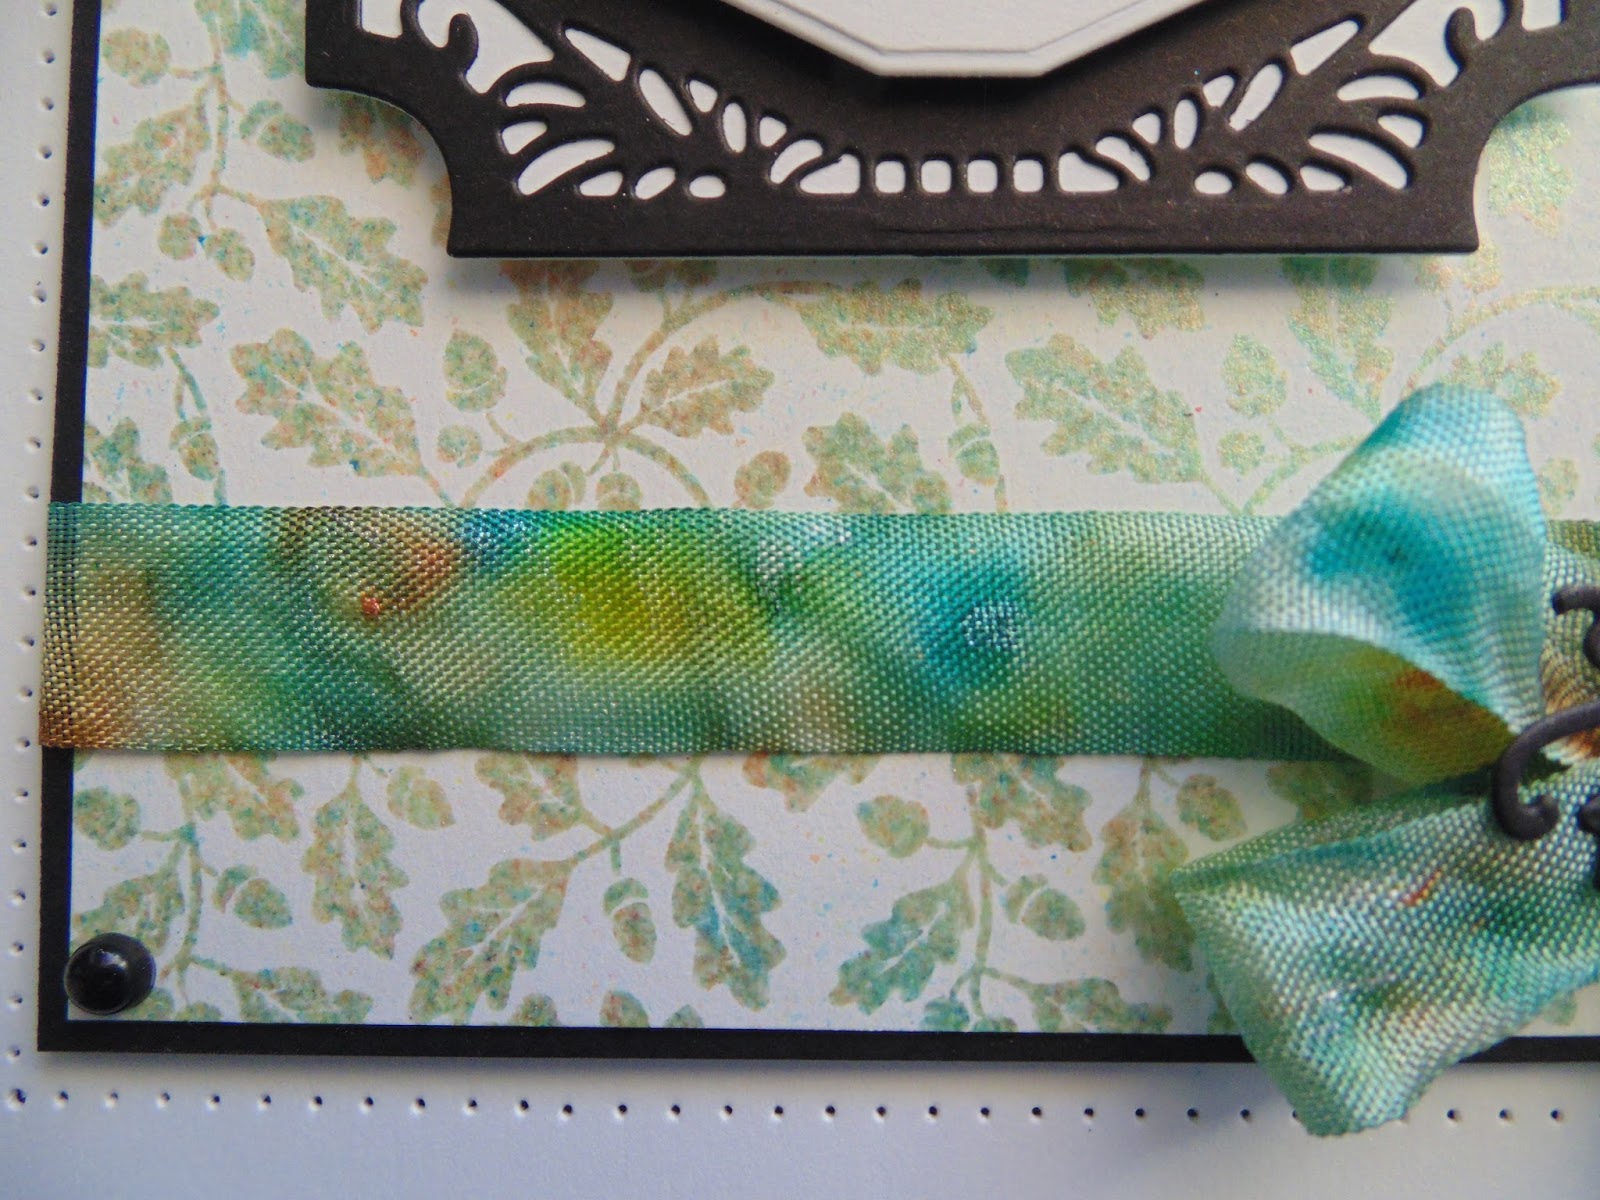
For the background, I dusted a piece of Coconut White Card with an Anti-Static Pad. I inked up the Justrite Autumn Swirls Background with Clear Perfect Medium and stamped onto my dusted card. I sprinkled some Burnt Orange, Straw Yellow and Emerald CS Pixie Powders over and spread them around using a Dusting Brush. I removed the excess using a dry wet wipe. I spritzed the background with water to 'wake' the Pixie Powders up. I trimmed the card and matted onto a piece of Black Card.

I stamped the sentiment from Phill Martin's Scribbled Frame Sentiments onto Coconut White using Jet Black Archival. I cut it out using #2 die from Sue Wilson's Maldives Die Set. I cut #4 die out of Coconut White Card and dies #3 and #4 together out f Black Card.

I misted some water onto my Craft Sheet. I sprinkled on some Pixie Powders in the 3 colours I used for my background. I then rubbed some Blue White American Seam Binding through it. I dried it with my Heat Tool. I wrapped a piece of ribbon around my background and used the rest to tie a bow.

I cut a couple of leaves out of Black Card using Sue's Swirly Leaf Trio and made a flower using Sue's Cape Daisy Die Set. I added a Small Black Circle Dazzler to the centre of the flower.

I assembled the card as shown adding an 5mm Black Pearl to the corners and piercing around the edges using my Tim Holtz Ruler, Precision Probe and Piercing Mat. 


Lisa Horton is continuing with a One Day Special on Hochanda today with shows at 9am, 12noon, 4pm and 7pm. I'm offering 10% discount on items I have in stock on my website from the shows. You can find them here. Offer applies till midnight tonight or while stocks last. Discount will be applied at checkout.

I'm sure you all know that it's Black Friday. Unfortunately, I haven't had much time to set up many deals but you can find some discounted products on my website here.

Thanks for stopping by.

 Julia.
www.juliawattscrafts.co.uk
Free card with all website orders (ask for one in the comments box at checkout).
Deal of the Day today (24th November) -  P
hill Martin Sentimentally Yours - Blossom Small Square Frame 'Someone Special' only £2.99!

Sunday, 17 July 2016

ART

Hi Bloggers.

I have a tag for you today -

I covered a Scalloped MDF Tag with White Gesso. I popped a little CS Pearl Shimmer Paint onto my Craft Sheet. I spritzed a little CS Egyptian Blue Mister and mixed to create my own colour of Shimmer Paint. I used this to paint both sides and the edges of my tag.

I then popped the tag in a large box and placed the Distressed Dots Mask on top. I spritzed through it with Phill Martin's CS Titanium Mister.

Once dry, I stamped one of the designs from Lisa Horton's Tile Stamps - Set 2 using Jet Black Archival.

I cut the Spellbinders Cascading Circles Die out of Black Card and added it to my tag using CS Glue. It's bigger than the tag so I trimmed off the excess using scissors. I then covered my design with Clear Perfect Medium, added CS Clear Ultra Thick Embossing Powder and heat set using the Ranger Heat Tool. I repeated this twice more to give a lovely glossy finish. During the 3rd application, I also sprinkled some Sparkle Star CS Diamond Frost so thit became encased in the embossed finish.

I cut A R T out of Black Card using Spellbinders Donna's Alpha Grand Die Set. I added some Patina CS Gilding Wax.

I added a Vintage Metal Embellishment to a Dazzler Setting. Once the glue was set, I painted them with Black Gesso. Once that was dry, I rubbed some Patina Gilding Wax over.

I spritzed some Antique Green and Egyptian Blue Misters onto my Craft Sheet and ran some Blue White American Seam Binding through it. I dried it using my Heat Tool and added it to my tag.

Sue Wilson has shows on Hochanda today at 1pm and 2pm. John Lockwood is taking over tomorrow with shows at 5pm and 6pm. I'm offering 10% discount on products I have in stock on my website. You can find them here. Offer applies till midnight on tomorrow night (18th July). Discount will be applied at checkout.

Thanks for stopping by.
 
Julia.
www.juliawattscrafts.co.uk
Free card with all website orders (ask for one in the comments box at checkout).
Deal of the Day today (17th July) -
Spellbinders Labels Fifty Die Set only £13.99!

Thursday, 26 November 2015

In the Garden of Life

Hi Bloggers.

A very simple card today from Monday's Justrite shows on Hochanda.

 For the background, I inked up the Justrite Diamond Filigree Background with Lemon Meringue Colour Cloud applied using a Smoothie. I then added some Basil Leaf Colour Cloud. I stamped onto Coconut White Card.

I stamped the focal image from the Justrite Hope & Love Vintage 8 & 9 Clear Stamp Set onto Coconut White Card using Jet Black Archival and embossed with Cosmic Shimmer Clear Embossing Powder. I cut it out using the largest die in the Justrite Vintage Labels 8 Die Set and inked through the diw with Lemon Meringue Colour Cloud using a Smoothie.

I coloured the rose in using the Lemon Meringue and Basil Leaf Colour Cloud by dabbing some ink onto my Craft Sheet and picking it up using a Waterbrush.

I added some Lemon Meringue Ink to some Blue White American Seam Binding and then added a little Basil Leaf Colour Cloud. I used this inked ribbon to tie a bow and added a Small Fancy Pearl Embellishment.

I assembled the card as shown adding some 5mm White Pearls and piercing around the edges using my Tim Holtz Ruler, Precision Probe and Piercing Mat.


Thanks for stopping by.

Julia.
www.juliawattscrafts.co.uk

Monday, 24 August 2015

Let it Snow

Hi Bloggers.

Had a great weekend in Preston - tired now though as I got home quite late! A day of chores and catching up with post today.

Here's today's card -


A simple card - great for batch making, can be made in any colour as it's all made from Coconut White Card.

I started my stamping Phill Martin's Christmas Holly Decorative Frame : Snow using Clear Perfect Medium and embossed with PM Cosmic Shimmer Frosty Aqua Embossing Powder. I removed the excess mica powder using a dry wet wipe. I cut it out using a Spellbinders 6 x 6 Matting Basics A Die. I ran a little PM Cosmic Shimmer Frosty Aqua Colour Cloud Blending Ink around the edges using a Smoothie.

I stamped the sentiment from Phill's Christmas Holly Sentiments Stamp Set using Perfect Medium and embossed with Frosty Aqua Embossing Powder. I cut it out die a die from the Spellbinders Floral Assortment Die Set and inked through the die with Frosty Aqua Colour Cloud.

I coloured a piece of Blue White American Seam Binding with Frosty Aqua Colour Cloud and tied a bow. I added an Aqua Dazzler.

I assembled the card as shown adding some White 5mm Pearls and piercing around the edges using my Tim Holtz Ruler, Precision Probe and Piercing Mat.

Thanks for stopping by.

Julia.
www.juliawattscrafts.co.uk
Ask for a free card (in the order comments box at checkout) when you order in August!

Sunday, 2 August 2015

A Ruff Time

Hi Bloggers.

Well, you seemed to enjoy the card I posted a couple of weeks ago with Pickles the Cat so today's card which has not appeared on the blog before features Toby the Dog.

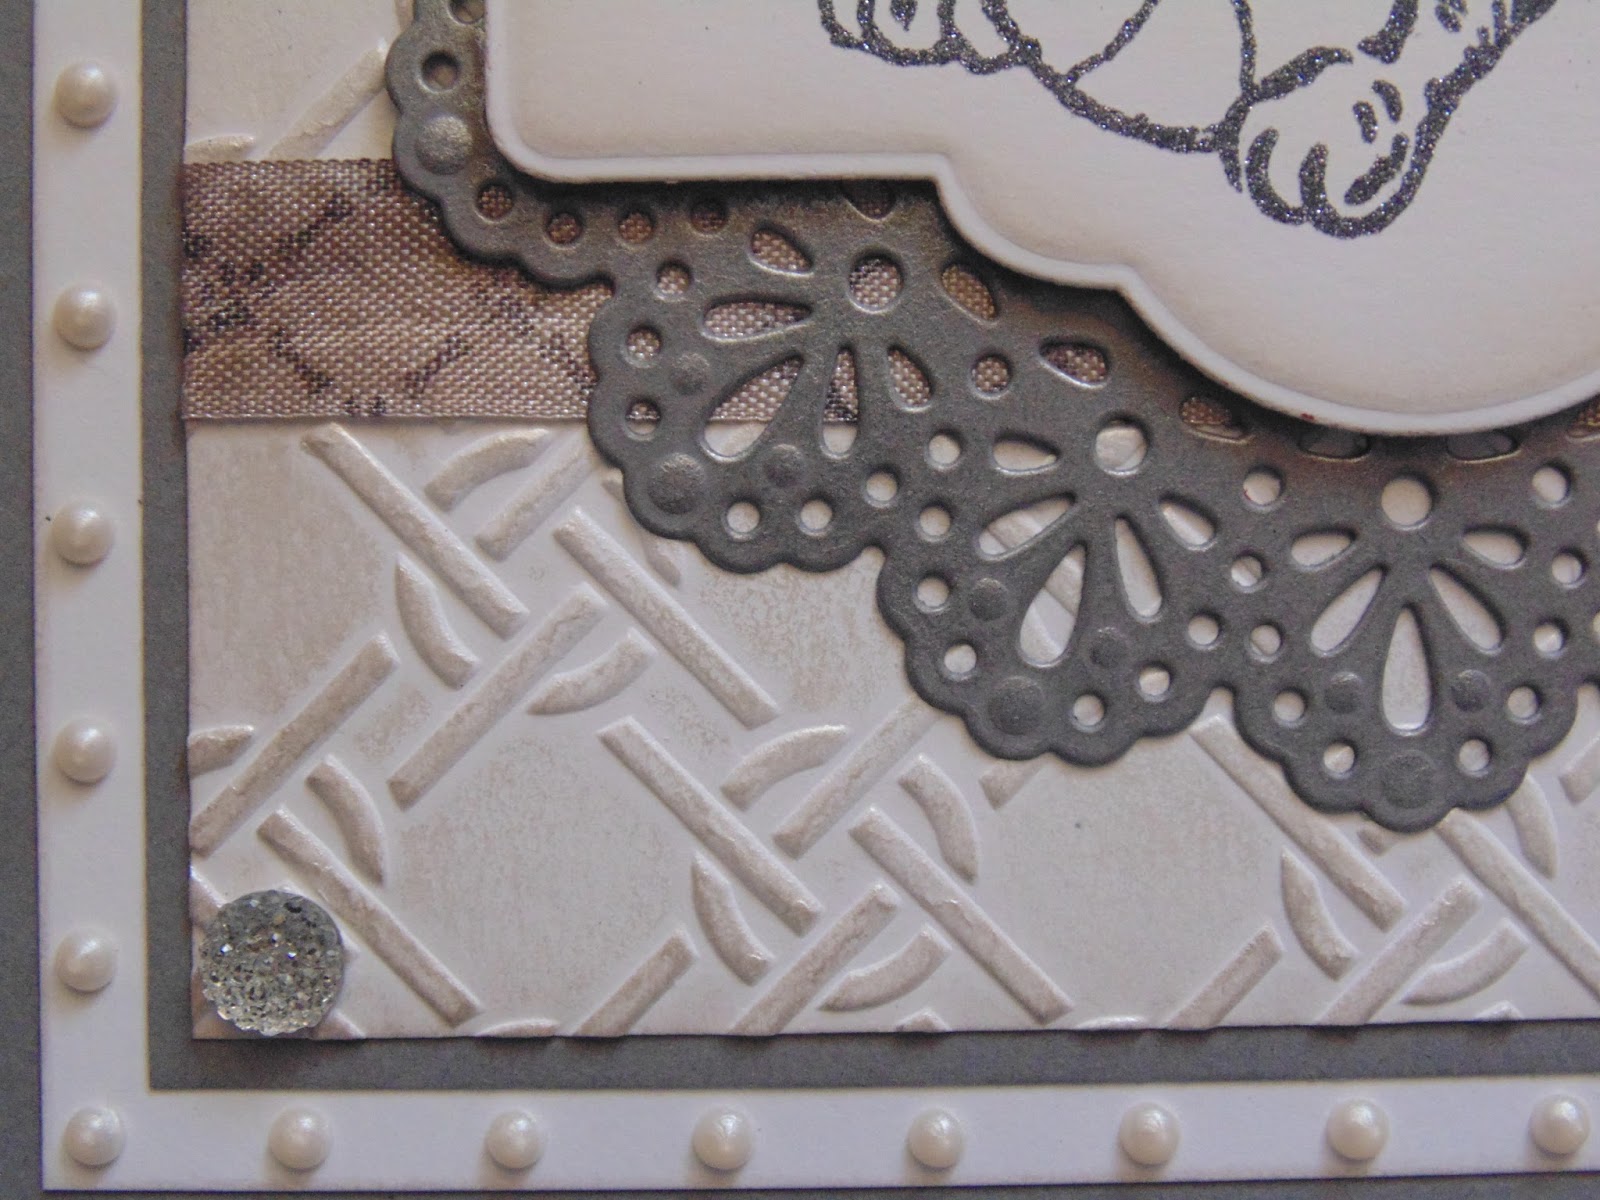
For the background, I ran a piece of Coconut White Card through the Grand Calibur with the Creative Expressions Knotted Trellis Embossing Folder. I inked around the edges with Pumice Stone Distress Ink and then rubbed Pearl Moon Gilding Wax over the surface. I left it a few minutes to dry and then buffed it up using a dry wet wipe.

I swiped some Pumice Stone Distress Ink onto my Craft Sheet, spritzed with water and then added some Cosmic Shimmer Pearlescent Mica Powder. I picked the colour up onto some Blue White American Seam Binding and dried with a Heat Tool. I then stamped the Creative Expressions Pawprint Lattice A6 Background onto it using Jet Black Archival. I split the ribbon into 2 pieces and wrapped it around the background.

I stamped Toby using Cosmic Shimmer Flake & Glitter Glue and added Gunmetal Cosmic Shimmer Polished Silk Glitter. I cut Toby out using Sue Wilson's Auvergne Die Set and inked through the die with Pumice Stone. I cut the Couture Creations Splendour Die out of Dark Grey Card and rubbed Pewter Gilding Wax over the surface, buffing up once dry.

I stamped the sentiment from the Creative Expressions Pawprints on Your Heart Clear Stamp Set using CS Flake & Glitter Glue and added Gunmetal Polished Silk Glitter. I cut it out using Justrite Antique Labels Ones Dies and inked through the die with Pumice Stone.

I made a bow using Sue's Mosaic 3D Bow Die Set and Dark Grey Card, rubbing the die cuts with Pewter Gilding Wax prior to assembly.

I assembled the card as shown adding some Small Circle Dazzlers to the corners and some dots of Cosmic Pearl Cosmic Shimmer Pearlescent PVA around the edges.

You can find another couple of previously blogged card featuring Toby here.

Thanks for stopping by.

Julia.
www.juliawattscrafts.co.uk


Tuesday, 14 July 2015

Let it Snow

Hi Bloggers.

Here's today's card -

Easy peasy card - we need a few of those for Christmas.

I started by cutting Sue Wilson's Snowflake Background out of Coconut White Card. I used the outer die from the Spellbinders Grate Effect Die Set to cut the outer edge.

I added a piece of Creative Expressions Double Sided Self Adhesive Sheet to a piece of new Iris Card. I cut the outer die from the Grate Effect Die Set. I peeled off the other backing sheet and added Cosmic Shimmer Glacier Ice Glitter Jewels. I glued the Snowflake Background to the glittered piece using Cosmic Shimmer Dries Clear Glue.

I cut the oval dies from the Snowflake Background out of Iris Card and Coconut White Card. I cut the Let it Snow from Sue's Peeking Snowflake Die Set out of Iris Card and added a 3mm White Pearl.

 I tied a bow using 3 lengths of Blue White American Seam Binding. I tied another bow using 2 lengths of Baker's Twine from the Pastel Set. I cut a snowflake out of Coconut White Card using Sue's Snowlakes Die Set and added a Purple Dazzler.

I assembled the card as shown adding some 8mm White Pearls to the corners and piercing around the edges using my Tim Holtz Ruler.

I've just got stock of some of the new Christmas Stamps from Phill Martin - you can find them on my website here.

Thanks for stopping by.

Julia.
www.juliawattscrafts.co.uk


Monday, 6 July 2015

Merry Christmas!

Hi Bloggers.

I thought I'd post a Christmas Card today -

As soon as I saw the new Christmas Mini Striplet Dies from Sue Wilson, I just thought that they would look great on a 3 panel card.

For the background, I embossed a piece of Coconut White Card using the Creative Expressions Frosty Swirls Embossing Folder.

I cut just the outside die from the Snowflake Mini Striplet Die Set out of Blue Dusk Card 3 times. I then cut both dies from the set together out of Coconut White Card 3 times and glued the die cut sets together using Cosmic Shimmer Dries Clear Glue.

I cut a plain die from Sue's Classic Adorned Design Noble Die Set out of Coconut White Card. At the emboss stage, I added the Snowflake Flurry Mask. I inked through the die with Stonewashed Adirondack Dye Ink using a Smoothie. I cut a plain die from Sue's Lavish Accented Design Noble Die Set out of Blue Dusk Card to form a mat.

I cut Sue's Merry Christmas Die out of Blue Dusk Card and added a 3mm White Pearl and a 5mm White Pearl to the Snowflakes.

I tied a bow out of Blue White American Seam Binding. I cut a snowflake out of Blue Dusk Card using Sue's Snowflakes Die Set and added a 5mm White Pearl.

I assembled the card as shown adding some more 5mm White Pearls to the corners and piercing around the edges using my Tim Holtz Ruler.

Thanks for stopping by.

Julia.
www.juliawattscrafts.co.uk
Saturday, 4 July 2015

Hope that you have so much fun

Hi Bloggers.

I'm demoing at Strikes Holland Arms Garden Centre today 10 till 4. Please stop by if you're in the area.

Here's today's card -

I started by stamping the sentiment from Phill Martin's Chic Floral Birthday Verses Clear Stamp Set onto Coconut White Card using Cobalt Archival. I cut it out using Spellbinders Decorative Curved Squares and inked through the die with Stonewashed Adirondack Dye Ink using a Smoothie.

For the frame, I dusted a piece of Coconut White Card with my Anti Static Pad and popped it dusted side up onto my rubber mat which was sitting on my pink embossing plate. I inked up the deboss die in Sue Wilson's Classic Adorned Squares Noble Die Set with Clear Perfect Medium. I placed it inked side down onto my dusted card, added the base plate and ran it through the Grand Calibur. I added Phill Martin Cosmic Shimmer Decadent Denim Embossing Powder to the inked deboss design and heat set. I removed the excess mica using a dry wet wipe. I used the 2 dies either side of the deboss die to cut out the frame.

I ran a piece of Coconut White Card through the Grand Calibur with the Creative Expressions Sparkle Squares Embossing Folder. I added 3d Foam Tape to the back of my frame, popped it onto the embossed card and trimmed off the excess. I double 3d Foam'd the sentiment panel and popped it in the centre.

I tied a messy bow using Blue White American Seam Binding and added a Blue Dazzler.

I assembled the card as shown adding some 8mm White Pearls to the corners and piercing around the edges using my Tim Holtz Ruler.

Still waiting for JUNE SMITH to claim her giveaway card from 24th June!

Thanks for stopping by.

Julia.
www.juliawattscrafts.co.uk