Showing posts with label Tim Holtz. Show all posts

Wednesday, 5 July 2017

For You

Hi Bloggers.

I got heavily distracted again and got a bit carried away playing with my Distress Oxide Ink Pads (finally I've had time to use them and I love them!). I have a couple of cards for you today - both using the Distress Oxides and the Woodware Erica Stamp Set which is one of my favourites from the April release. I've only used 3 of the Oxide Ink Pads on these cards - Fired Brick, Fossilized Amber and Peeled Paint.

A very simple card to start with. I stamped all the stamps in the Woodware Erica Stamp Set onto Coconut White Card using Onyx Black Versafine Ink. To line them up, I placed the printed carrier sheet under my Acrylic Block and placed my stamps on my block.

I coloured in using the Oxide Ink Pads detailed at the start of this post by swiping the pads one at a time onto my Craft Sheet and picking the colour up with a Water Brush. Once each colour was finished with, I misted my Craft Sheet with water and picked up onto a piece of Coconut White Card.

Once all my colouring was complete, I cut out using a die from Sue Wilson's Double Pierced Background Rectangles and inked around the edges with Fired Brick Distress Oxide using a Smoothie. I cut the next sized die out of Black Card and then popped onto a Coconut White Card Blank.

Here's the second card -

I wondered how the Oxides would cope with colouring on top. My background was created from the waste ink from my first card. I then stamped the Woodware Travel Background using the Peeled Paint Distress Oxide Ink Pad, applying the ink direct from the pad. I then stamped the largest flower and the sentiment from the Woodware Erica Stamp Set using Versafine Ink.

I coloured in using the same 3 inks as before. It was interesting that the lines from the Travel Background still remained under the flower petals and did not move to make a muddy colour. I did expect that my background would stay put as it had been set with water but the background stamping had not been set with water.

I trimmed my background and then edged with Peeled Paint Oxide using a Smoothie. I matted onto Black Card, popped onto a Coconut White Card blank and added a 5mm Black Pearl to each corner.

I have made a 3rd variation of this card but that will be one of the projects at my July Workshop in Yardley Gobion.

Thanks for stopping by.

Julia.
www.juliawattscrafts.co.uk
Free card with all website orders over £10 (ask for one in the comments box at checkout).
Deal of the Day today (5th July) - D
esigns by John Lockwood - The Language of Flowers : Tea Rose only £6.98!

Sunday, 22 January 2017

Letters

Hi Bloggers.

Here's today's card -

Another proper card! This was was from my shows 22nd/23rd December with the lovely Tim Holtz stamps and CS Ultra Thick Embossing Crystals.

I have lots of pierced pieces of Coconut White Card from cutting frames and I used one on this card. I stamped the main image from the Tim Holtz Classics 8 Stamp Collection using Jet Black Archival. I stamped the sentiment from the Tim Holtz Classics 4 Stamp Collection, again using Jet Black Archival.

I matted onto Black Card and then onto Coconut White Card that I spritzed with Phill Martin's CS Chic Magenta Ink Spray Mist. I popped these onto a Coconut White Card blank.

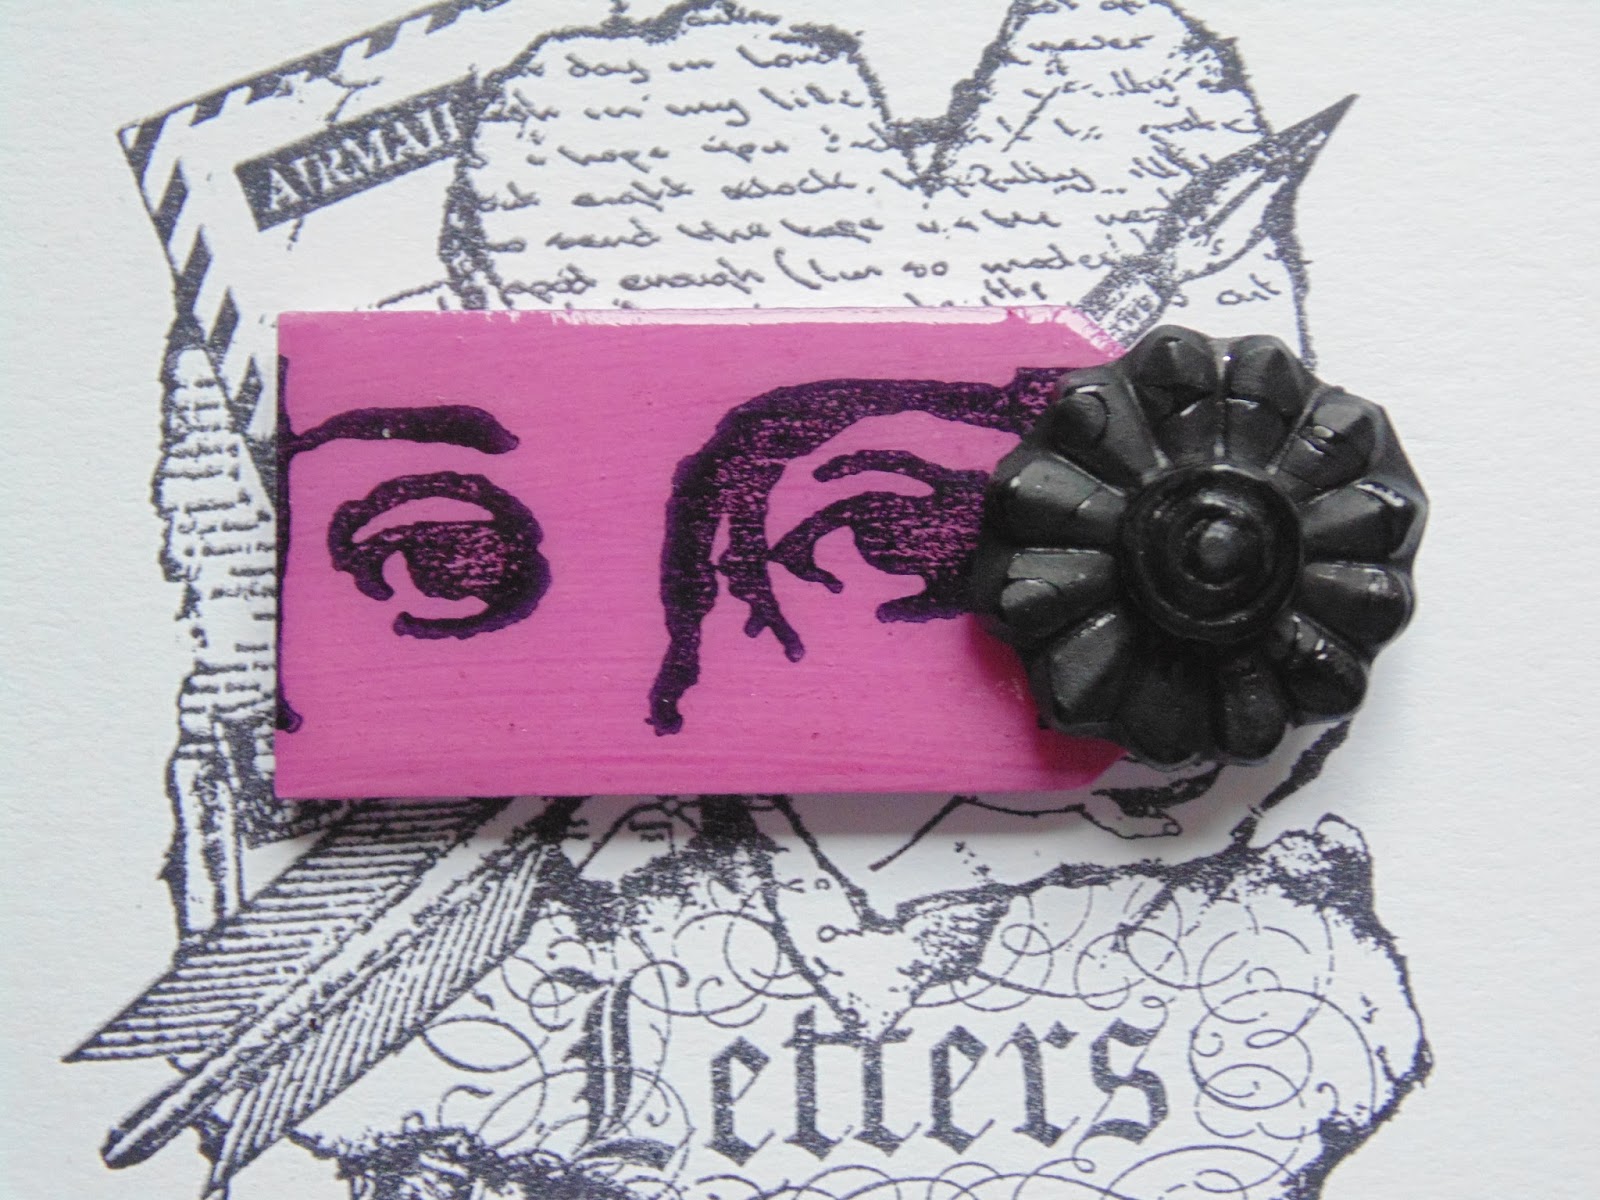
I covered a Mini MDF Tag with CS White Gesso. I misted a little Chic Magenta Ink Spray Mist onto my Craft Sheet and then mixed in a little CS Warm White Chalk Paint. I used this to paint my tag. Once dry, I stamped the image from the Tim Holtz Classics 8 Stamp Collection onto my tag using Jet Black Archival. I added Clear Perfect Medium then CS Clear Ultra Thick Embossing Crystals and heat set. I added more ink, more Crystals and heat set again.

I lit the tea lights in the EFCO Enamel Pot. I added some Clear and some Black Ultra Thick Embossing Crystals to a pie dish and popped it on the hot plate. Once moulten, I poured it into a mould made from a Wendy Vecchi embellishment. After a couple of minutes, I removed it from the mould and added it to my tag using CS Glue.

I completed my card by adding White 5mm Pearl to the corners.

Thanks for stopping by.

Julia.
www.juliawattscrafts.co.uk
Free card with all website orders over £10 (ask for one in the comments box at checkout).

Deal of the Day today (22nd January) - Phill Martin Sentimentally Yours - Chic Floral 'Everyday' Border Sentiments only £8.99!

Sunday, 8 January 2017

Glory of Art

Hi Bloggers.

I have an MDF piece from that ODS that I did last month featuring the Ultra Thick Embossing Crystals and Tim Holtz stamps. Good to do something different sometimes.

I painted both pieces of the MDF Baroque Square Photo Frame with CS White Gesso.

Once dry, I popped the back panel into a large box and misted with Phill Martin's CS Chic Aubergine Ink Spray Mist. While it was still wet, I used a brush to spread the colour around. Once this was dry, I stamped one of the stamps from the Tim Holtz Classics 4 Stamp Set using Jet Black Archival.

I spritzed a little of the Chic Aubergine Mister onto my Craft Sheet and added some CS Warm White Chalk Paint. I mixed it using a brush and painted the frame with it. Once dry, I stamped the heads stamp from the Tim Holtz Classics 4 Stamp Set and the sentiment from the Tim Holtz Classics 8 Stamp Set using Jet Black Archival.

I stamped the Creative Expressions Vintage Tapestry A6 Background Stamp onto Coconut White Card several times  using Lilac Heritage Crafts Pigment Ink. I cut Sue Wilson's Stitched Doodled Flowers from it and also a pair of leaves using Sue's Trailing Ivy Die Set (hard to see in the photos, I know).  I also cut some flowers and leaves out of Black Card. I pressed the black leaves into Clear Perfect Medium, added CS Clear Ultra Thick Embossing Crystals and heat set.

I made a mould using a cheap button and Ranger Mold n Pour. I lit the Tea Lights in the Efco Enamel Pot, popped a foil dish onto the metal plate, added some CS Clear Ultra Thick Embossing Crystals and popped the lid over. Once the Clear had melted, I added some CS Majestic Purple Embossing Crystals to the dish and popped the lid on again. Once moulton, I poured it into my mould and returned the dish to the stove. After a few minutes the UTEE was set and I removed my button from the mould. I repeated the process until I had 4 button embellishments. I glued them to the top of my flowers using CS Glue.


All orders placed on Thursday were posted out yesterday. The rest will be sent out tomorrow, latest Tuesday.

I've ordered more stock of the dies that I had on the Weaving shows. Unfortunately, the Star Flower Cluster is out of stock at CE. You can find everything here. Stock due in Tues/Wednes.

Thanks for stopping by.

 Julia.
www.juliawattscrafts.co.uk
Free card with all website orders over £10 (ask for one in the comments box at checkout).
Deal of the Day today (8th January) - S
tampendous Cling Rubber Stamp - Seashells only £8.99!

Friday, 23 December 2016

One Day Special continues on Hochanda today

Hi Bloggers.

I hope you enjoyed the launch last night. I have more shows today at 9am, 12noon, 4pm and 7pm. Phill Martin is also in the building today with shows at 11am, 2pm and 5pm. Hope you have time to join us.

I have another two-fer for you today -

For the background, I inked up a brayer with Green Hertiage Crafts Pigment Ink andthen ran it over the deboss side of the Creative Expressions Fine Finials Embossing Folder. I added a piece of Coconut White Card and ran it through the Spellbinders Platinum Machine with the Raspberry Plate.

I stamped the word panel from the Tim Holtz Classic 4 Stamp Set onto Coconut White Card using Jet Black Archival. I tore around it and then inked the edges with Green Pigment Ink using a Smoothie.

I lit the Tea Lights in the Efco Enamel Pot, popped a foil dish onto the metal plate, added some CS Clear Ultra Thick Embossing Crystals and popped the lid over. Once the Clear had melted, I added some CS Malachite Fire Ultra Thick Embossing Crystals. Once these had melted I poured it onto my Craft Sheet and then popped the Creative Expressions Hexagon Script A6 Stamp on top. I left it for a minute or so and then peeled the stamp away. I brushed some Enchanted Gold Mica Powder over.

Back to the Enamel Pot and a new foil dish, this time with Clear and Bright Gold Embossing Crystals. I have a mould I made years ago from Mold-n-Pour made from a shell. Mold-n-Pour is a different colour now but works just the same and my mould is still as good now as it was when I made it at least 6 years ago. Anyway, back to the card - I poured my molten gold mix into my mould, left it a couple of minutes and out came my lovely embellishment.

I matted onto Black Card then onto a Coconut White Card Blank and added some 5mm White Pearls.

Here's your second card -

For the background, I stamped the word stamp as used in the previous card 3 times onto a piece of Coconut White Card using Azure Heritage Pigment Ink. I trimmed it, added it to a piece of Black Card and popped it onto a Coconut White Card Blank.

I stamped the Creative Expressions Alpha Writing A6 Background onto Coconut White Card using Azure Pigment Ink Pad. I stamp the image from the Tim Holtz Classic 4 Stamp Set over the top using Jet Black Archival. I trimmed it and matted onto Black Card. Job done!

I don't have many of the products from the shows in stock on my website but I'm offering 10% discount on items I do have. You can find them here. Offer applies till midnight tonight or while stocks last. Discount will be applied at checkout.

I'm also offering 10% discount on products that Phill has on his on his shows today. You can find them here. Offer applies till midnight tonight or while stocks last. Again, discount will be applied at checkout.

I've added photos of the samples I've made for the shows to the Gallery Section of this Blog and to my Julia Watts Crafts Facebook Page.

Catch you later!

Thanks for stopping by.

Julia.
www.juliawattscrafts.co.uk
Free card with all website orders (ask for one in the comments box at checkout).

Thursday, 24 November 2016

With Love

Hi Bloggers.

Here's today's card -

For the background, I dusted a piece of Coconut White Card with an Anti-Static Pad. I inked up the Justrite Autumn Swirls Background with Clear Perfect Medium and stamped onto my dusted card. I sprinkled some Burnt Orange, Straw Yellow and Emerald CS Pixie Powders over and spread them around using a Dusting Brush. I removed the excess using a dry wet wipe. I spritzed the background with water to 'wake' the Pixie Powders up. I trimmed the card and matted onto a piece of Black Card.

I stamped the sentiment from Phill Martin's Scribbled Frame Sentiments onto Coconut White using Jet Black Archival. I cut it out using #2 die from Sue Wilson's Maldives Die Set. I cut #4 die out of Coconut White Card and dies #3 and #4 together out f Black Card.

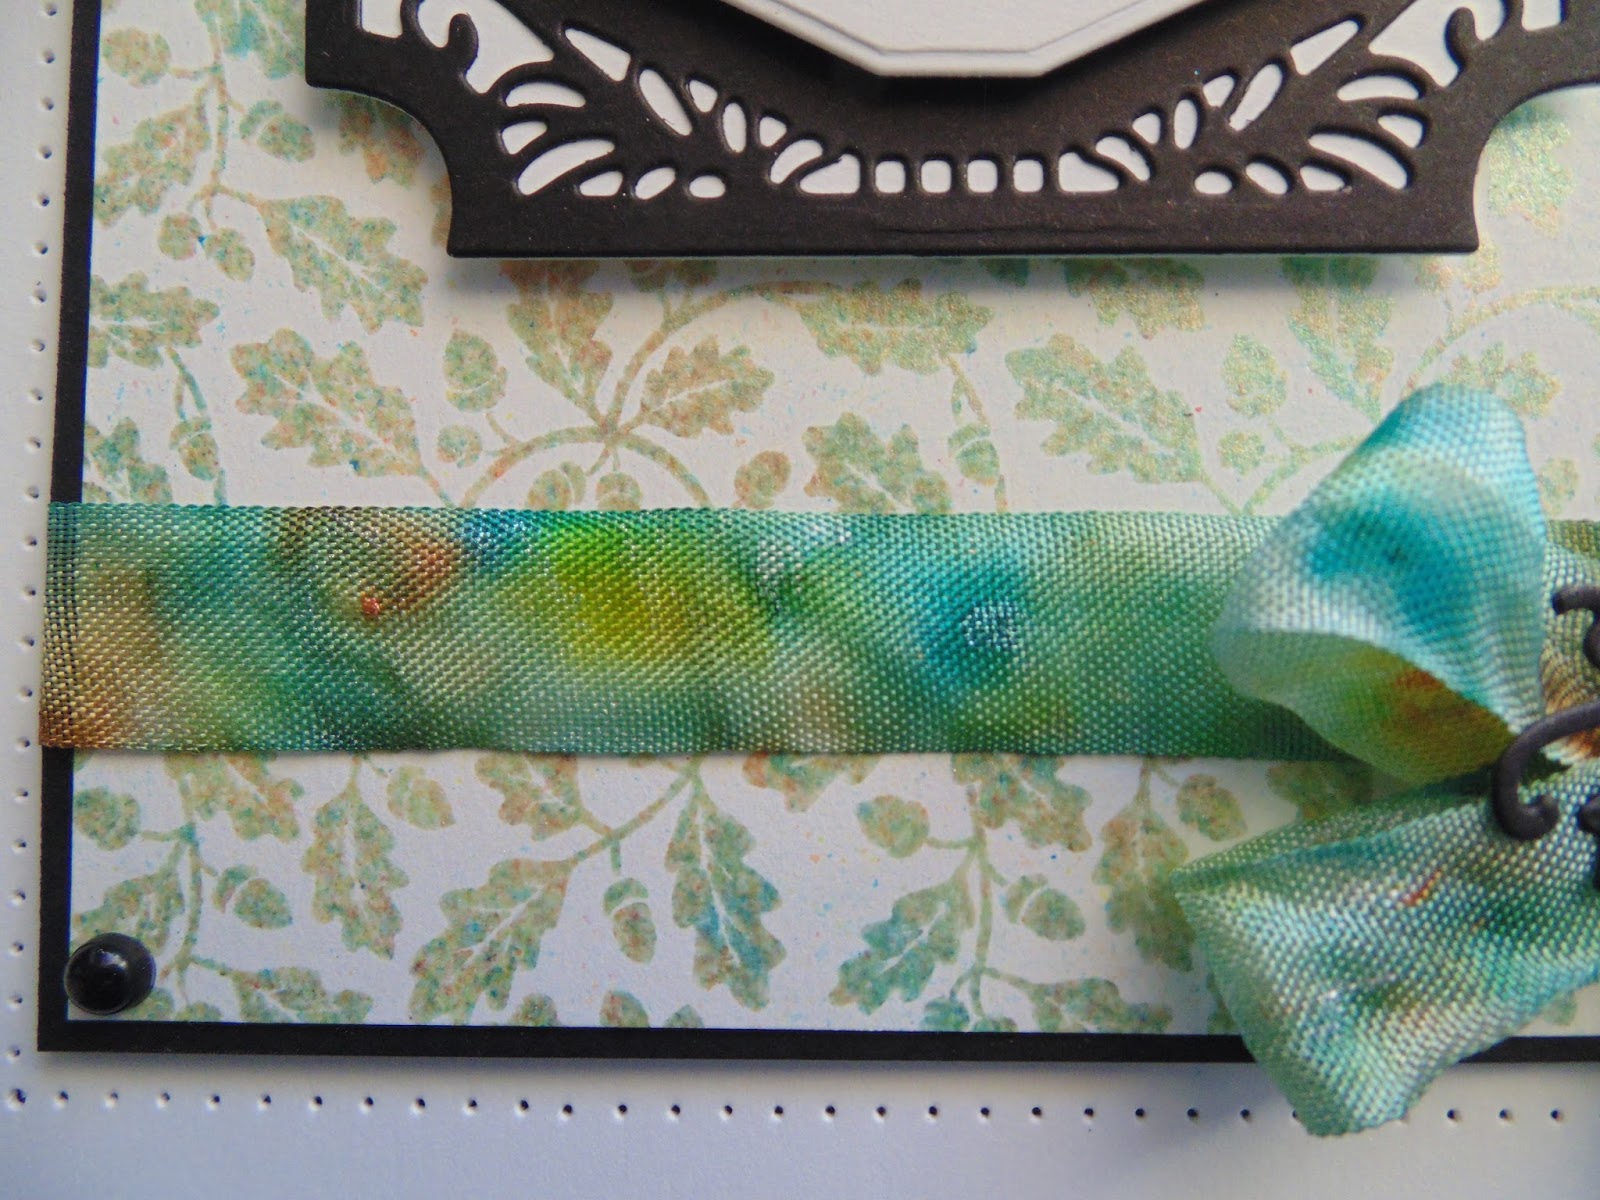
I misted some water onto my Craft Sheet. I sprinkled on some Pixie Powders in the 3 colours I used for my background. I then rubbed some Blue White American Seam Binding through it. I dried it with my Heat Tool. I wrapped a piece of ribbon around my background and used the rest to tie a bow.

I cut a couple of leaves out of Black Card using Sue's Swirly Leaf Trio and made a flower using Sue's Cape Daisy Die Set. I added a Small Black Circle Dazzler to the centre of the flower.

I assembled the card as shown adding an 5mm Black Pearl to the corners and piercing around the edges using my Tim Holtz Ruler, Precision Probe and Piercing Mat


Lisa Horton is continuing with a One Day Special on Hochanda today with shows at 9am, 12noon, 4pm and 7pm. I'm offering 10% discount on items I have in stock on my website from the shows. You can find them here. Offer applies till midnight tonight or while stocks last. Discount will be applied at checkout.

I'm sure you all know that it's Black Friday. Unfortunately, I haven't had much time to set up many deals but you can find some discounted products on my website here.

Thanks for stopping by.

 Julia.
www.juliawattscrafts.co.uk
Free card with all website orders (ask for one in the comments box at checkout).
Deal of the Day today (24th November) -  P
hill Martin Sentimentally Yours - Blossom Small Square Frame 'Someone Special' only £2.99!

Tuesday, 28 June 2016

Spellbinders One Day Special Continues on Hochanda today

Hi Bloggers.

I'm continuing with the Spellbinders One Day Special on Hochanda today with shows at 9am. 12noon, 4pm and 7pm. Lisa Horton has shows today too at 10am, 1pm and 5pm with some fab MDF. Hope you can join us.

I have another two-fer for you today featuring the die sets that are in the One Day Special.

Here's the first card - made entirely from Steel Pearl Card -

I've used Saliboat Blue and Purple Twilight Alcohol Inks and and Alcohol Ink Applicator Tool to colour some pieces of Steel Pearl Card (I just did the edges of the mat pieces). I cut the inner die and one of the outside edge dies from the Spellbinders Acanthus Leaf Duality Die Set towards the bottom of a piece of Steel Card and added this to my Alcohol Inked card.

I cut the outer die only in the Spellbinders Acanthus Leaf Card Creator Die Set (love this die set - lots of techniques to show you with this) from another piece of Alchol Inked card. I then cut both dies together out of Steel Card and glued the 2 pieces together.

I coloured 6 Craft Consortium Pearl Hearts with the same Alcohol Inks as before.

I assembled the card as shown piercing around the edges using my Tim Holtz Ruler, Precision Probe and Piercing Mat.

Here's the second card (and it is an actual card! lol) -

This is a real quickie. I inked all over a piece of A5 Heat Emboss Acetate with Purple Twilight, Sailboat Blue and Sunset Orange Alcohol Inks using the Applicator Tool.

I folded it in half. I also folded an A5 piece of Coconut White Card in half. I popped the 2 pieces together and secured them with a piece of Craft Consortium White Satin Ribbon adding a Craft Consortium Small Circle Pearl Diamante Charm.

I stamped the sentiment from the Justrite Chrysanthemum Stamp Set onto Coconut White Card using Jet Black Archival. I cut it out using one of the small dies from the Spellbinders Acanthus Leaf Tags Die Set and inked through the die with Chic Pumpkin Colour Cloud using a Smoothie. I cut the corresponding larger die from the set, again out of Coconut White Card and inked through the die with Chic Pumpkin.

I added a couple of Craft Consortium 5mm Pearls to the right hand corners.

I hope you've enjoyed today's two fer. I love Alcohol Inks - there are so many techiques you can do with them. I hope to be able to able to demonstrate some of them (please see last night's launch show on catchup on Hochanda's website here). Tim Holtz has done a bunch of videos on Alchol Inks - I've included a couple below -


Unfortunately, I don't have the colours of Alcohol Inks in stock that I have on the shows but I do have other colours - you can find them here.

I'm offering 10% discount on items I have in stock from the shows. You can find them here. Offer applies till midnight tonight. Discount will be applied at checkout.

I've had a quick look at Lisa's table at the studio and I've spotted that she has her latest stamps on her shows so I've popped them and the White Gesso Primer with 10% off - you can find them here. Offer applies till midnight tonight.

Just a reminder, if you like the look of Alcohol Inks but would like to try before you buy, my next workshop locally at Yardley Gobion Village Hall features Alcohol Inks. You can see more details and book via my website here. This workshop is being repeated at Creative Expressions HQ on Wednesday 3rd August.

Thanks for stopping by.

Julia.
www.juliawattscrafts.co.uk
10% discount on new Sue Wilson Festive Collection till midnight tomorrow (29th June).You can find them on my website here. Discount will be applied automatically at checkout.
Free card with all website orders (ask for one in the comments box at checkout).
Deal of the Day today (28th June) - Phill Martin From the Heart Female Relatives Die Set only £8.99!


Wednesday, 8 June 2016

Justrite One Day Special continues today

Hi Bloggers.

The Justrite One Day Special continues on Hochanda today with shows at 9am, 12noon, 4pm and 7pm. Hope you can join me.

Here's today's card -

I made a card blank out of Coconut White Card, the same way as I made the one on yesterday's post, using the largest die in the Justrite A2 Card Front Basics Die Set. I made a frame out of Coconut White Card using the largest rectangle and the next but one rectangle in the set and added thin strips of 3d Foam to the back of it.

I took another piece of Coconut White Card and scrunched it up. I opened it out and rubbed the Carved Pumpkin Distress Ink Pad over the surface, picking up the peaks in the distressed card. I then spritzed it with water, left it for a few moments for the ink to move around and then ironed it (this stops the ink moving and flattens it out). I put it aside to dry.

Once dry, I stamped the heart branches from the Justrite Create a Flower Garden Stamp Set in one corner using Jet Black Archival. I swiped some Abandoned Coral Distress Ink onto my Craft Sheet and picked it up with my Water Brush and used it to colour in the hearts.

In the top left hand corner, I used a really cool technique which is why I wanted to share this card with you today. So, this technique is fantastic with solid stamps - Lisa Horton's Silhouette stamps would be fab for this too. It does help that on the shows today, I have the fabulous Justrite Basketweave Background Stamp which is brilliant for this too. Anyway, back to the technique which I believe is called 'Kissing the Stamp' or something similar! So, I inked up the foliage stamp from the Justrite Multi-Step Flower Garden Stamp Set using Jet Black Archival. I stamped it into the Justrite Basketweave Background Stamp and then into the corner of my background. You get the pattern from the background on the solid design - cool, eh? I repeated this another 2 times (remember to stamp into a clean area of the background stamp each time).

I cut a couple sets of the leaves out of Black Card using the Justrite Flower Garden Dies. I covered them with Flake & Glitter Glue using the CS Flake & Glitter Glue Highlighter. This goes on blue (quite visible on Black Card), you need to wait till it goes clear before applying anything on top. Once clear, I sprinkled CS Frosty Dawn Diamond Frost over.

I popped my frame on top of my background and trimmed away the excess using scissors. I added a Craft Consortium Peach Resin Flower to each of my stamped corners.

I stamped the sentiment from the Justrite Large Oval Celebration Stamp Set onto Coconut White Card. I cut it out using the smallest 2 oval dies in the Justrite Hope Oval Frames Die Set (the smallest oval die has no cutting edge, it just gives you a lovely pierced detail). Leaving the piercing die in place, I inked through it and around the edges with Carved Pumpkin Distress Ink using a Smoothie. I cut the middle sized oval out of Black Card as a mat.

I found this video on YouTube by Justrite showing lots of different ways to cut the Hope Oval Frame Dies - 

I've just updated the Gallery page of this blog with the samples from today's shows (access via top menu)

I'm offering 10% discount on products that I have in stock on my website from the shows. You can find them here. Offer applies till midnight tonight.

 Thanks for stopping by.

Julia.
www.juliawattscrafts.co.uk
Free card with all website orders (ask for one in the comments box at checkout).
Deal of the Day today (8th June) - That Special Touch Bright Ideas Mask only £1.99!