Hi Bloggers.
Here's today's card - another of my favourites from the last set of shows.
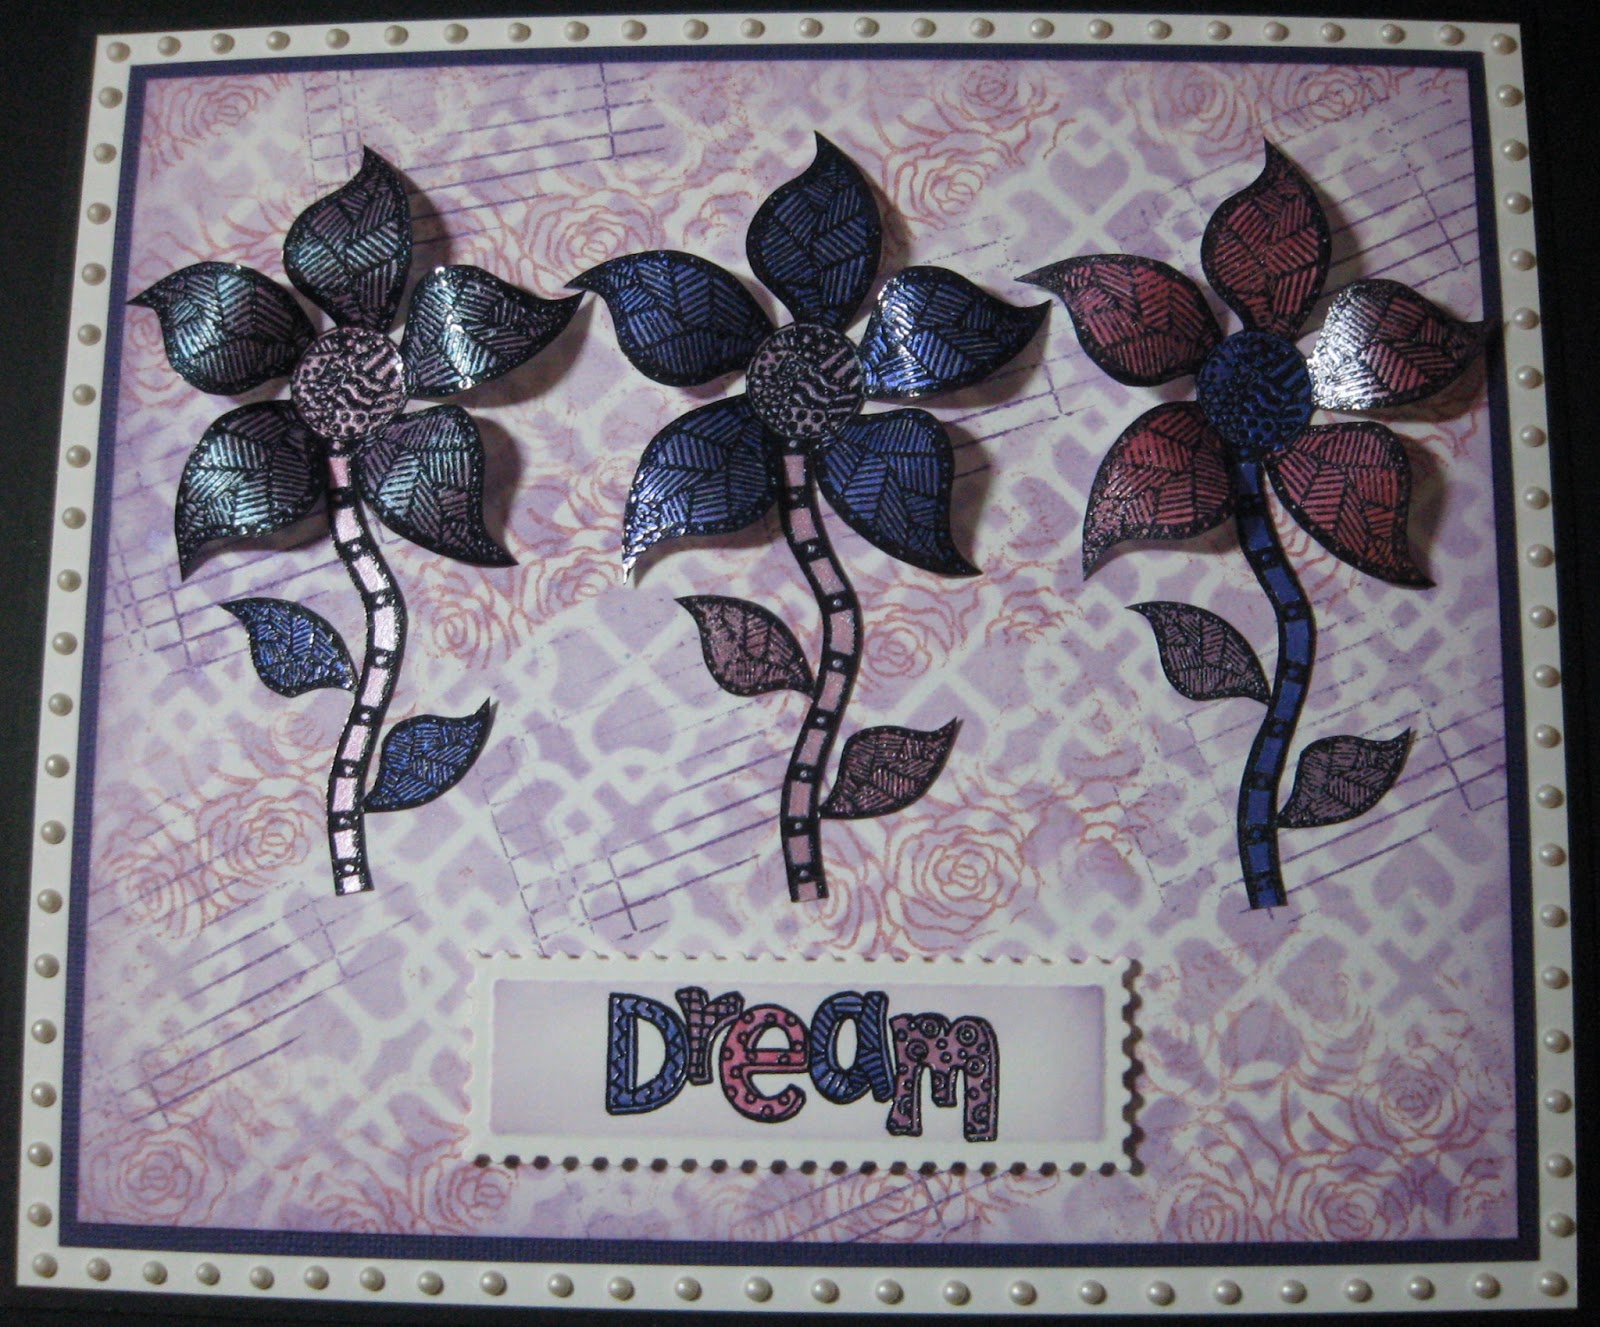
You may need to zoom in to see the detail on this one!
For the background, I ran some Coconut White Card through the Grand Calibur with the
Couture Creations Great Almanzo Embossing Folder. I ran it through a second time to extend the design. This folder is perfect for wedding and love style cards as it has little hearts in the design.
I stamped the
Daisy Swirl using Perfect Medium and embossed with
Cosmic Shimmer Arctic Pearl Lustre Embossing Powder. I cut it out using Spellbinders Fancy Postage Edge.
I stamped the sentiment that comes with the
Damask Heart using Perfect Medium and embossed with Arctic Pearl Lustre. I cut it out using another Fancy Postage Edge Die, positioning it so the sentiment was towards the right-hand side of the die.
I dusted a piece of Coconut White Card with my anti static bag and cut the largest of the Spellbinders Fancy Postage Edge dies. I did not emboss it and I did not remove it from the die. I popped my tan mat on top of my base plate. I placed the die on top of my tan mat with the cutting edge going down into my tan mat. I inked up the
Moroccan Mask with Perfect Medium and placed it inked side down onto the die. I popped the Pink Embossing Mat on top and ran it through the Grand Calibur. The Perfect Medium transferred to the debossed pattern from the mask. I carefully removed the card from the die, added Arctic Pearl Lustre Embossing Powder and heat set. If you try this and get a bloom from the powder, you can remove it by wiping with a dry wetwipe - it's just excess mica powder.
I threaded some Blue White American Seam Binding through the slits in the die cut and also threaded some through the holes around the edges.
I made 2 small scrunched up flowers using Spellbinders Labels 9. If you missed me demoing this, I'll try to demo it again at some point during the Pick of the Day later this month. I cut 2 'leaves' out using the Spellbinders Ornate Artisan Tags & Accents Die Set. I removed them from the dies, dusted them with my anti static bag and then popped them back in the die. I inked through the die with Perfect Medium, removed them from the dies again, added Arctic Pearl Lustre and heat set.
I assembled the card as shown adding some
White Pearls and some dots of
Cosmic Shimmer Pearlescent PVA in White around the edges.
Hope you like this one as much as I do.
Thanks for stopping by.
Julia.