Showing posts with label Silky Crush. Show all posts

Friday, 24 June 2016

Freebie Friday

Hi Bloggers.

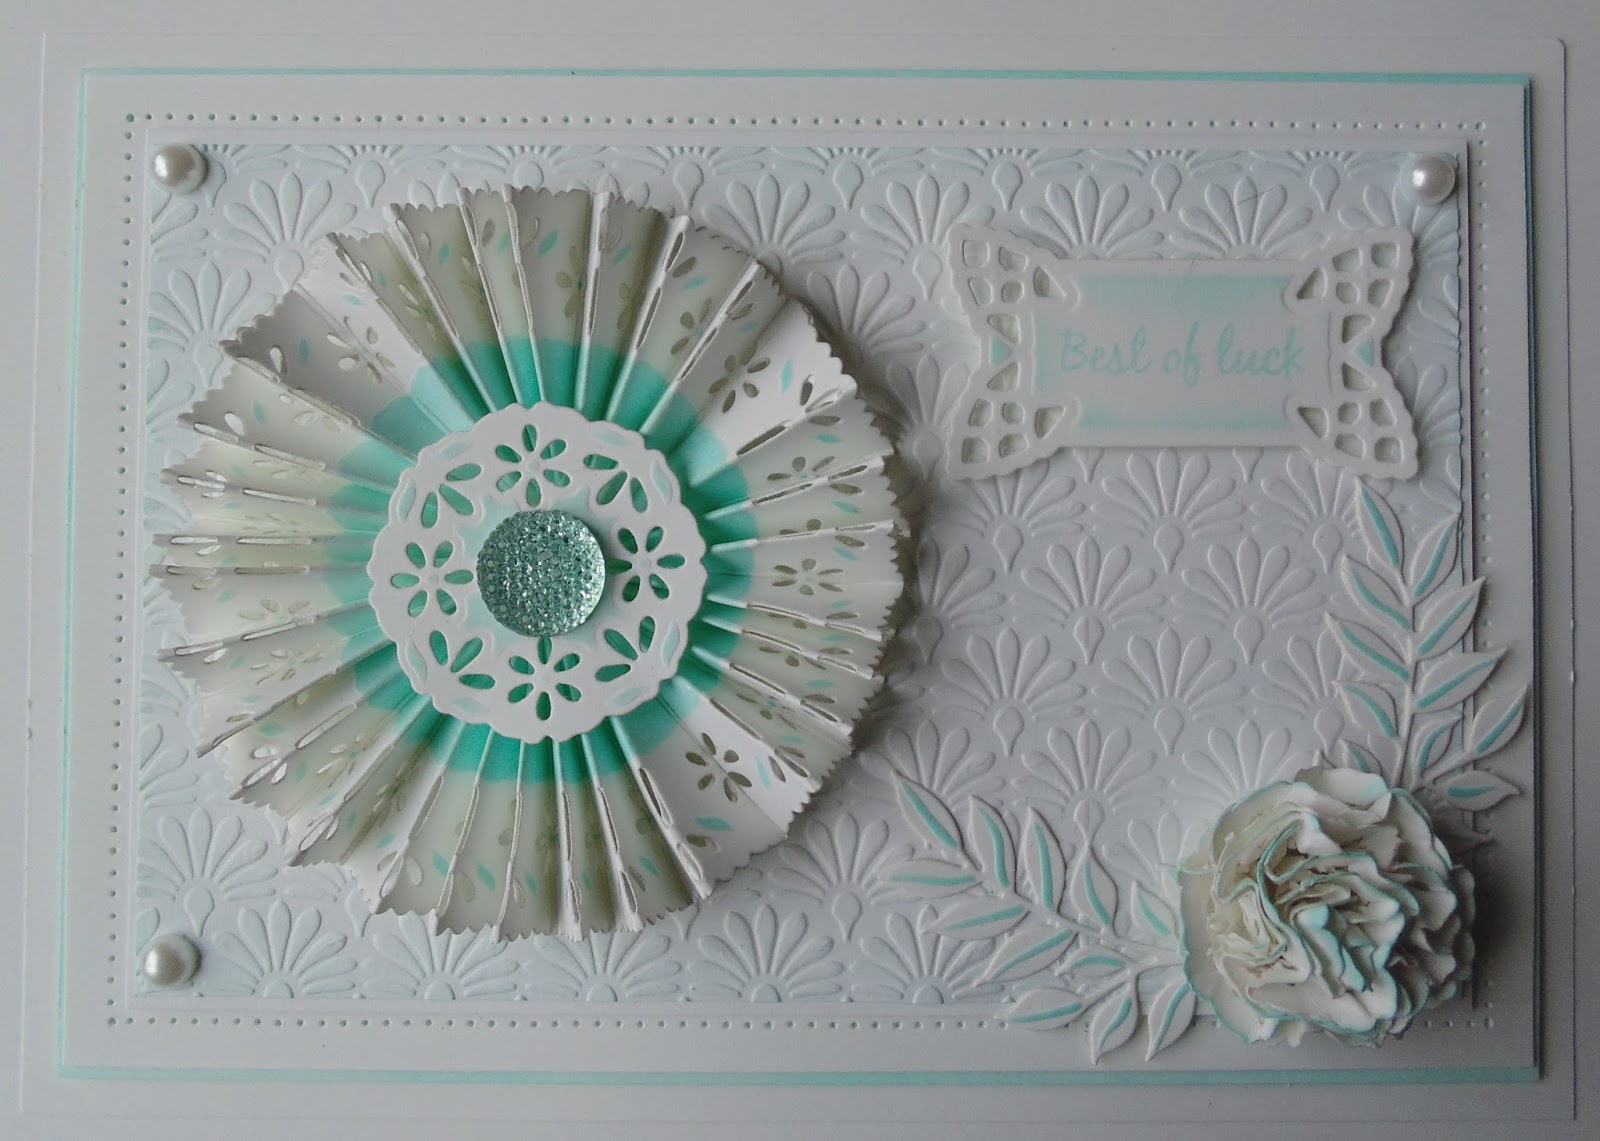
It's that time of the week again! Here's this week's card that needs a new home -

You can read how this card was made in this post.

Leave a lovely comment below to go into the draw for a chance to win it. I will announce the winner on Monday.

The winner of the card from Freebie Friday last week (17th June) is .......................

BridgetCG

Please email me at juliawattscrafts@gmail.com with your address and I'll pop it in the post.

Delivery of the brand new 2016 Festive Collection by Sue Wilson is due in this morning. This includes new dies, clear stamp sets and stamps to die for. You can find them on my website here. I'm offering 10% discount on them till midnight next Wednesday (29th June). Discount will be applied automatically at checkout.

Phill Martin is launching a One Day Special on Hochanda this evening at 8pm. I'm offerning 10% discount on items I have in stock from the shows. You can find them here. Offer applies till midnight tomorrow night. Once again, you'll see the discount applied at the checkout.

I almost forgot - my latest post went live on the Spellbinders Blog on the day I went on holiday. You can see it here. It would be lovely if you could stop by and leave a comment.

Thanks for stopping by.

Julia.
www.juliawattscrafts.co.uk
Free card with all website orders (ask for one in the comments box at checkout).
Deal of the Day today (24th June) - Creative Expressions Vintage Bronze Buttons only 99p!


Friday, 4 December 2015

Freebie Friday

Hi Bloggers.

It's that time of the week again!

This week I have a demo card from my Spellbinders Platinum One Day Special on Hochanda last month. It's not the best rosette that I've ever made - the pressures of live tv! But hopefully someone will give it a new home.

Just leave a lovely comment below to get entered into the draw. I will announce the winner on Monday.

You can read what I used to make this card here.

I have taken delivery of John Lockwood's new stamp sets in time for his One Day Special on Hochanda starting on Monday evening. You can find them here.

All for now.

Julia.
www.juliawattscrafts.co.uk
Free card on all website orders placed in December (ask for one in the comments box at checkout).
25% off all items in Christmas Category till midnight 26th December.

Friday, 30 January 2015

With Sympathy

Hi Bloggers.

Here's today's card -

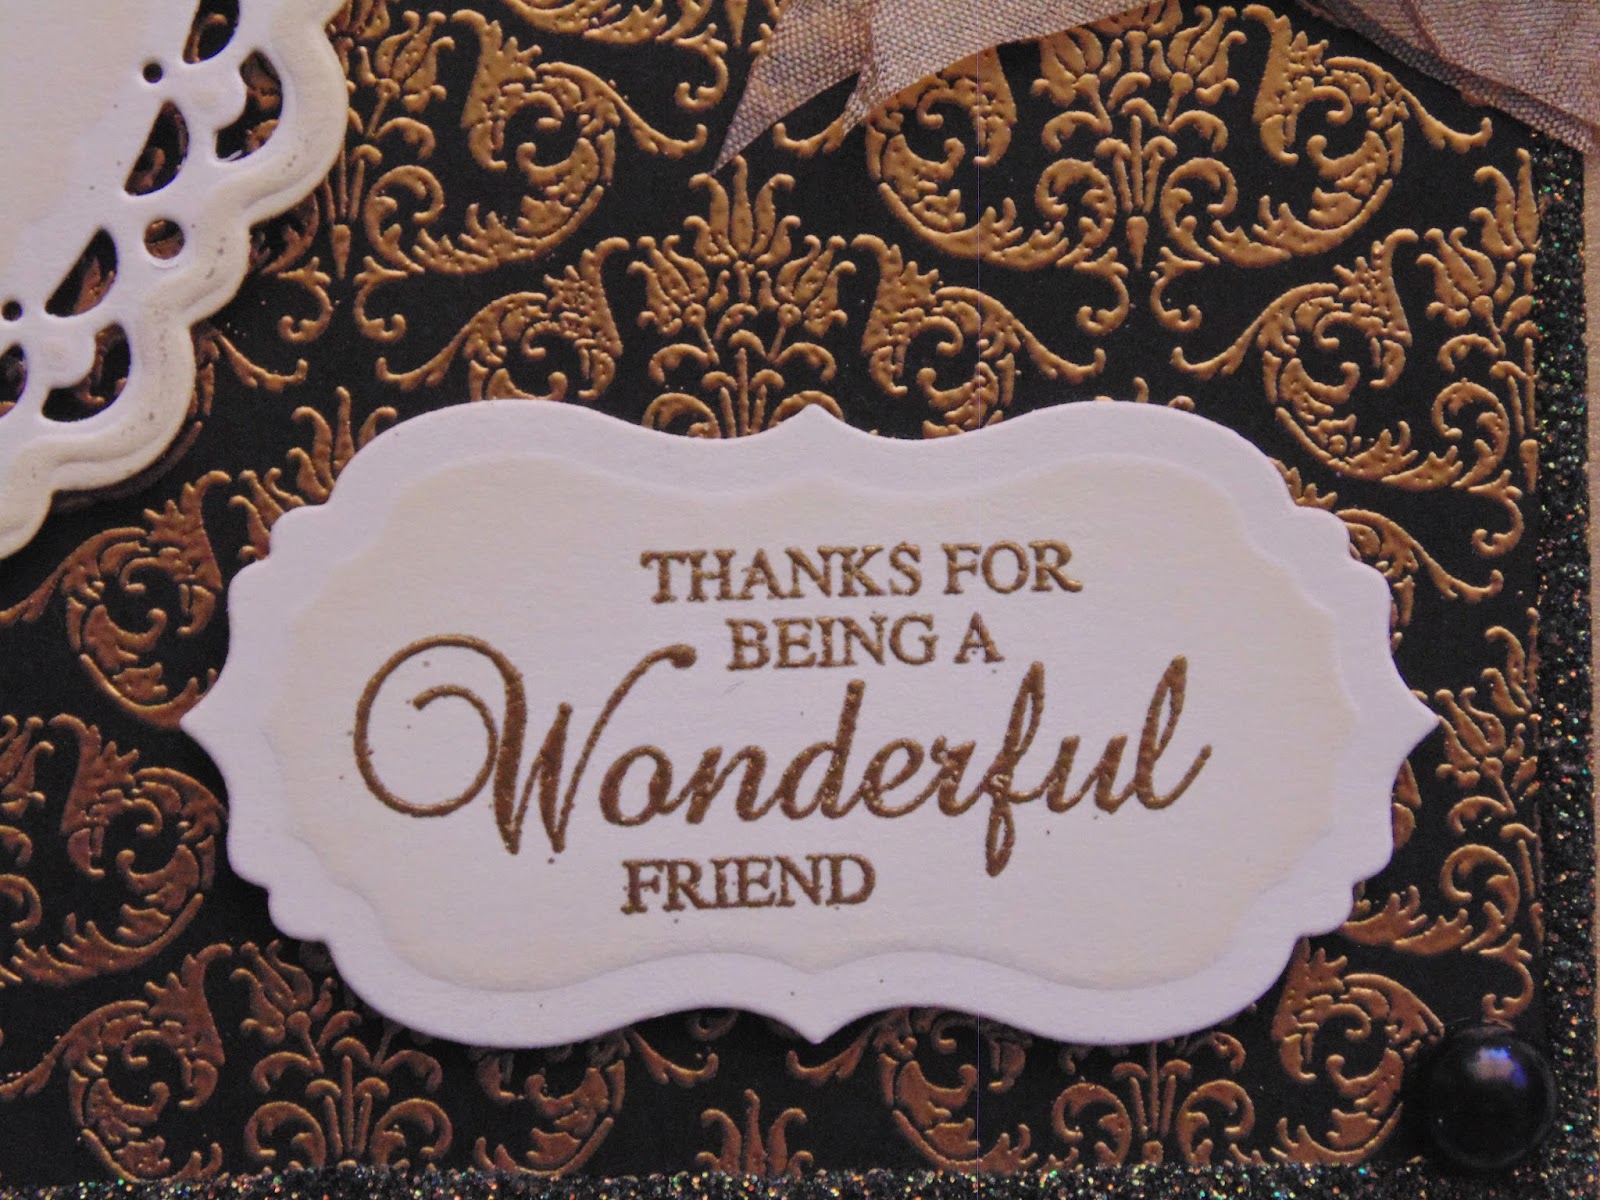
For the background, I ran a piece of Black Card through the Grand Calibur with the Creative Expressions Art Deco Fanfare Embossing Folder.

I popped some Cosmic Shimmer Flake & Glitter Glue onto my Craft Sheet. I picked some up onto a piece of Cut n Dry Foam and used it to 'ink' up the Justrite Garden Trellis Background. I put the stamped image aside while I cleaned my stamp using a Grime Boss. There 's no rush to add anything to the stamped image as the glue remains tacky until covered. I added Summer Meadow Cosmic Shimmer Gilding Flakes. I removed the excess using a piece of Rubit Scrubit and matted onto Vintage Gold Card.

I stamped the sentiment from the Justrite Extra Grand Sentiments Clear Stamp Set using Perfect Medium and embossed with Cosmic Shimmer Gold Detail Embossing Powder. I cut it out using Justrite Vintage Labels Four Die Set.

I tied a bow using 2 lengths of Black Silky Crush Ribbon and added a Black Vintage Button.

I assembled the card as shown adding some Black Pearls to the corners and I pierced around the edges.

Thanks for stopping by.

Julia.

Sunday, 26 October 2014

Happy Wedding Day

Hi Bloggers.

A very quick simple card today.

For the background, I simply ran a piece of Milk Card through the Grand Calibur with Chainmail Embossing Folder. I ran it through a second time to extend the design.

I stamped the Garden Frame Stamp using Perfect Medium and embossed with Cosmic Shimmer Gold Detail Embossing Powder. I cut it out using Spellbinders Grand Decorative Labels One and inked through the die with Antique Linen Distress Ink.

I stamped the sentiment from the All Occasions Sentiments Stamp Set using Perfect Medium and added Gold Detail Powder. I did not heat set just yet. I stamped one of the Mini Floral Frames around the sentiment (I had cut the excess rubber from the centre of the frame), added Gold Powder and heat set.

I tied a bow using 2 lengths of Champagne Silky Crush Ribbon.and added a Bronze Vintage Button.

I assembled the card as shown adding some Cream Pearls to the corners and some dots of Cosmic Shimmer Olympic Gold PVA around the edges.

Thanks for stopping by.

Julia.

Monday, 29 September 2014

Thanks Mom

Hi Bloggers.

Today I have a card from the Toolshed I did way back in August. Please don't comment on the fact that it says 'Mom'. Where I come from that's what we use and it is in the Cambridge Dictionary Online (I just cheked). Justrite are actually putting both 'Mom' and 'Mum' on alot of their stamp sets so hopefully everyone will be happy.

Anyway, here's the card -

For the background, I popped a piece of Milk Card through the Grand Calibur with the Creative Expressions Floral Brocade Embossing Folder. I rubbed Enchanted Gold Gilding Wax all over. Once dry, I buffed it up using a dry wet wipe.

I stamped the fan design from the Justrite Elegant Fan Elements Clear Stamp Set onto a patterned paper from the Creative Expressions Teresa Collins 8 x 8 Paper Pad using Perfect Medium. I added Cosmic Shimmer Gold Detail Embossing Folder (I did not heat set just yet). I stamped the little design in the centre from the same stamp set, added powder and heat set the lot. I repeated this another 4 times so I had 5 in all. I cut them out using Justrite Vintage Fan Die. I stacked them up in top of each other and added a brad. I fanned them out and secured with CS Dries Clear Glue.

I tied a bow using 2 lengths of Champagne Silky Crush Ribbon. I stamped the circular frame and the sentiment from the Justrite Floral Fan Elements using Perfect Medium and embossed with Gold Detail Powder. I cut it out using scissors (hadn't access to SVG file at the time!) and added it to the bow.

I pressed 4 Art Deco Metal Corners into Perfect Medium, added Gold Detail Powder, tapped off the excess and heat set. Once cool, I added some CS Dries Clear Glue to the backs and left for a couple of minutes to go tacky before adding to the background.

I assembled the card as shown adding dots of Cosmic Shimmer Pearlescent PVA in Golden Pearl around the edges.

Thanks for stopping by.

Julia.

Friday, 29 August 2014

To my Wonderful Friend

Hi Bloggers.

Thank you for your emails and comments here on the blog yesterday - much appreciated as always.

Here's today's card -

For the background, I spritzed a piece of Milk Card with Chestnut Cosmic Shimmer Ink Spray Mist. Once dry, I stamped some of the Ivy Corner Stamp in each corner using Gathered Twigs Distress Ink.

I stamped the Sunflower Delight Stamp using Coffee Archival and embossed with Cosmic Shimmer Clear Embossing Powder. I coloured in using Chestnut and Buttercup Cosmic Shimmer Ink Spray Mists and Soft Moss Cosmic Shimmer Vintage Ink Spray Mists. I cut it out using Spellbinders Marvelous Squares and inked through the die with Latte Adirondack Dye Ink. I cut the largest die in the same set out of Chestnut Card.

I stamped the sentiment that comes with the sunflower, again using Coffee Archival and embossed with Clear Powder. I cut it out using the smallest die in Sue's Cordoba Die Set and inked through the die with Latte Ink. I drew around the die with a pencil onto Chestnut Card. I cut it out using scissors. I smoothed out any rough edges with an emery board.

I tied a bow using Brown Silky Crush Ribbon and added a Vintage Metal Embellishment.

I assembled the card as shown adding dots of Cosmic Shimmer Ivory PVA around the edges.

Thanks for stopping by.

Julia.

Friday, 18 July 2014

Thanks

Hi Bloggers.

Here's today's card -

For the background, I started by inking through the Ornate Mask onto some Milk Card using Stonewashed Adirondack Dye Ink. I then ran it through the Grand Calibur with the Openwork Mask and inked around the edges with Stonewashed Ink.

I stamped the image from the Justrite Pansies in Spring Stamp Set onto Periwinkle Card using Perfect Medium and embossed with Cosmic Shimmer Gold Detail Embossing Powder. I cut it out using Spellbinders Decorative Labels One and inked through the die with Stonewashed Ink.

I stamped the sentiment from the same stamp set, again using Perfect Medium and embossed with Gold Powder. I cut it out using Justrite Vintage Labels 7 Dies and inked through the die with Stonewashed Ink.

I tied a bow using 2 lengths of Champagne Silky Crush Ribbon and added a Vintage Gold Button.

I assembled the card as shown adding a Cream 8mm Pearl in each corner and some dots of Cosmic Shimmer Vanilla PVA around the edges.

I'll be back tomorrow with a sneak peek from Sunday's shows.

Thanks for stopping by.

Julia.

Thursday, 17 July 2014

Proud of You

Hi Bloggers.

Back home - exhausted! Today will be mostly unpacking, washing and food shopping.

Here's today's card -

Haven't had a messy background for a while. I started by spritzing a piece of Coconut White Card with Cosmic Shimmer Grape Crush Ink Spray Mist. I then inked through the Openwork Mask with Dusty Concord Distress Ink using Cut n Dry Foam. With the stamp in my hand, I randomly stamped the Justrite Baroque Frame Background using Dusty Concord. I repeated the process with the Fern Fronds A6 Background using Seedless Preserves Distress Ink. Once the ink was dry, I inked around the whole piece with Cool Peri Adirondack Dye Ink.

I stamped the sentiment from the Justrite Congrats Vintage Labels 3 & 7 Stamp Set onto Mauve Card using Perfect Medium and embossed with Cosmic Shimmer True White Detail Embossing Powder. I cut it out using Justrite Vintage Labels 7 Dies and inked through the die with Dusty Concord. I stamped the frame from the same stamp set, again using Perfect Medium and embossed with White Powder. I cut it out using Justrite Vintage Labels 3 and inked through the die with Dusty Concord. I cut a Spellbinders Luscious Labels One Die and inked through the die with Dusty Concord.

I tied a bow using 2 lengths of Silver Silky Crush Ribbon and added a White Crystal Sparkler.

I assembled the card as shown adding some White Pearls in the corners and some dots of Cosmic Shimmer Pearlescent PVA in Vintage Plum around the edges.

Thanks for stopping by.

Julia.

Wednesday, 16 July 2014

Wonderful Friend

Hi Bloggers.

Sue and I are travelling home today. Hopefully, my Amazon Store is open again depending on my internet access!

I did get to meet my friend last night. So lovely to see her again.

Here's today's card -

For the background, I stamped the Justrite Tulip Damask Background onto Black Card using Perfect Medium and embossed with Cosmic Shimmer Gold Detail Embossing Powder. I stamped it a second time to extend the design. I ran some Autumn Cosmic Shimmer Twinkles around the edges and put aside to dry.

I stamped the image from the Justrite Pansies in Spring using Perfect Medium and embossed with Gold Detail Powder. I cut it out using Spellbinders Majestic Circles and inked through the die with Antique Linen Distress Ink.

I stamped the sentiment from the same stamp set, again using Perfect Medium and embossed with Gold Detail Powder. I cut it out using Justrite Vintage Labels 7 and inked through the die with Antique Linen.


I tied a bow using 2 lengths of Champagne Silky Crush and added a Vintage Metal Embellishment.

I assembled the card as shown adding a Black 8mm Pearl to each corner and some dots of Cosmic Shimmer Pearlescent PVA in Black Pearl around the edges.

Thanks for stopping by.

Julia.

Sunday, 13 July 2014

You Are Loved

Hi Bloggers.

Day 2 in Aberdeen. If my memory serves me right, Kim Robertson has shows on Create & Craft today. I'm not sure of the times so please check the schedule.

Here's today's card -

This card was inspired by a sample on the Justrite Stampers Blog.

I started by stamping 3 of the borders from the Justrite Ribbons, Lace & Tape Clear Stamp Set using Jet Black Archival. I made sure the ink was dry and then ran it through the Grand Calibur with the Couture Creations Small Dots Embossing Folder. I ran it through a second time to extend the design and inked around the edges with Antique Linen Distress Ink.

I stamped the sentiment from the Justrite Magnolia Vintage Labels 7 Clear Stamp Set using Jet Black Archival. I cut it out using Justrite Vintage Tag Dies and inked through the die with Antique Linen. I stamped the frame from the Magnolia Stamp Set, again using Jet Black Archival. I cut it out using Justrite Vintage Labels 7 and inked through the die with Antique Linen.

I tied a bow using 2 lengths of Black Silky Crush Ribbon and added a Vintage Metal Embellishment.

I assembled the card as shown adding some Black Pearls in the top left hand corner and some dots of Cosmic Shimmer Pearlescent PVA in Black Pearl around the edges.

I finally remembered to take some photos yesterday of Sue's first workshop. So, here's one of them -

You can see more photos on The Papeterie blog here.

Thanks for stopping by.

Julia.

Saturday, 12 July 2014

It's been too Long

Hi Bloggers.

Sue & I are at the Papeterie in Aberdeen today and tomorrow. I'm demoing today while Sue does her workshops and then we swop over tomorrow.

Here's today's card -
For the background, I stamped the Justrite Sweet Lace Background using Perfect Medium and embossed with Cosmic Shimmer Gold Detail Embossing Powder. I stamped it a second time to extend the design.

I stamped the image from the Taylored Expressions Mixed Blooms Set, using Perfect Medium and embossed with Gold Detail Powder. I cut it out using Spellbinders Classic Squares Large. I cut a Spellbinders Marvelous Squares out of Black Card.

I stamped the sentiment from the same stamp set, again using Perfect Medium and embossed with Gold Detail Powder. I cut it out using Spellbinders Decorative Labels 8 and cut a Spellbinders Labels 29 out of Black Card.

I tied a bow using 2 lengths of Black Silky Crush Ribbon and added a Bronze Vintage Button.

I assembled the card as shown adding some dots of Cosmic Shimmer Pearlescent PVA in Olympic Gold around the edges.

Thanks for stopping by.

Julia.