Showing posts with label Micro Beads. Show all posts

Thursday, 7 December 2017

Another Julia Background

Hi Bloggers.

Here's today's card -

For the lacy background on this one, I used the smallest die in the Julia Die Set and cut it lots of times into a piece of Coconut White Card. For the coloured background behind it, I used a piece of Watercolour Card. I misted it with Bright Sunshine and Tangy Tangerine CS Phill Martin Misters.I sprinkled over some Straw Yellow and Burnt Orange CS Pixie Powders and misted with water. I moved some of the excess ink around using a piece of Kitchen Roll, taking care not to remove too much of the mica powder contained in the Pixie Powder.

Once my Mister/Pixie Background was dry, I glued my Julia Backround to it. I made a frame using dies #2 and #4 from the Stitched Square Peg Board Die Set and added it to my backgrounds using Woodware Foam Tape. I matted onto a couple of pieces of Coconut White Card.

I stamped the Julia's Sunflower Posy Stamp onto Coconut White Card using Onyx Black Versafine Ink. I stamped the sentiment from the CE Petite Lavish Sentiments Stamp Set. I added CS Clear Embossing Powder and heat set.

I coloured in using CS Phill Martin Misters in Bright Sunshine, Tangy Tangerine and Lime Burst - I just misted a little on to my Craft Sheet and picked it up with a Paint Brush. I mixed Tangy Tangerine with a little Lime Burst for the centre of the flowers. I cut the design out using the largest die in the Julia Die Set.

I created another background with Lime Burst Mister and Pale Olive and Bronze Blush Pixie Powders. Once dry, I cut out a pair of Oak Leaf Swags.

I cut 3 sizes of flower from the Sunflower Bouquet Die Set out of some of my orange mister/pixie background that I had left over. For the centres of the flowers, I popped a little CE Double Sided Self Adhesive Sheet onto a piece of Dark Roast Coffee Card and cut 3 flower centres. I peeled away the backing and added Medium Clear Glass Micro Beads. I cut some sunflower leaves out of Forest Card.

I completed my card by adding an 8mm White Pearl to the corners of my frame.

Thanks for stopping by.

Julia.
www.juliawattscrafts.co.uk


Monday, 4 December 2017

Julia as a background with Gilding Flakes

Hi Bloggers.

Here's today's card -

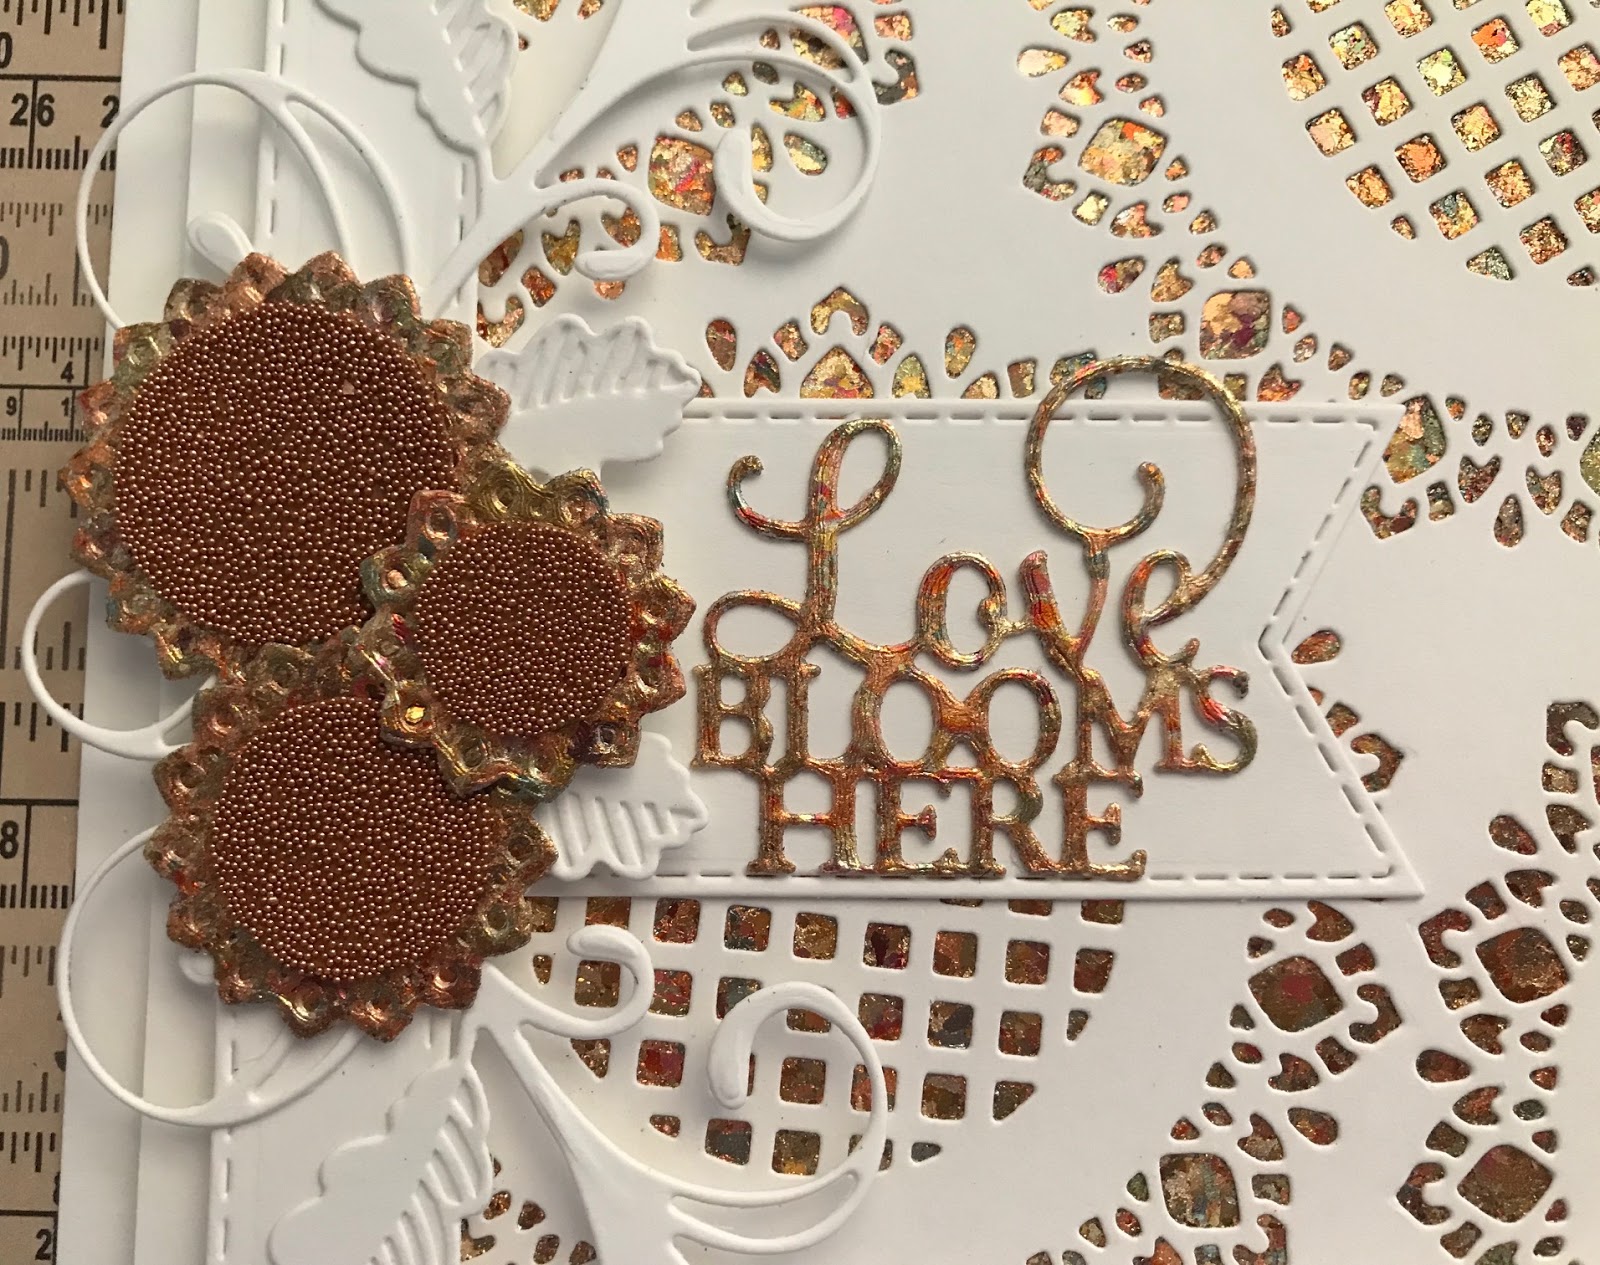
For the background, I cut dies #1and #4 together from the Julia Die Set into a piece of Coconut White Card several times.  I added a piece of CE Double Sided Self Adhesive Sheet to the back and then added CS Autumn Leaves Gilding Flakes to the exposed adhesive on the front, removing the excess with a piece of Rubit Scrubit.

I made a frame out of Coconut White Card using dies #2 and #4 from the Stitched Square Peg Board Die Set. I added it to my background using Woodware Foam Tape. I matted onto a couple of pieces of Coconut White Card.

I added a piece of CE Double Sided Adhesive to a piece of Coconut White Card. I peeled away the other backing sheet and then added some Autumn Leaves Gilding Flakes. I cut the sentiment from the Life is a Garden Die Set out of it. I popped it onto a banner cut using the Stitched Flags Die Set and tucked it into the side of my frame.

I cut a pair of Oak Leaf Swag Dies out of Coconut White Card. I cut 3 sizes of flowers from the Sunflower Bouquet Die Set out of more of my Gilded Card. I popped some more Double Sided Adhesive onto a piece of Cinnamon Card and cut out 3 flower centres. I removed the backing and added Copper Micro Beads. I added the centres to my flowers and popped them on my card as shown.

The winner of the card from Freebie Friday on 1st December is ............................

Betty McAlister

Please email me at juliawattscrafts@gmail.com with your address and I'll pop your card in the post.

Thanks for stopping by.

Julia.
www.juliawattscrafts.co.uk

Sunday, 3 December 2017

Easy Peasy Linear Leaf Background

Hi Bloggers.

A mega simple one for you today -

For this one, I started by cutting the Linear Leaf Background into a piece of Black Card. I then cut it out using the Stitched Pierced Rectangles. I popped a piece of CE Double Sided Self Adhesive Sheet onto the back, turned it over to the front and added Copper Micro Beads. You could also add - Polished Silk Glitter, Glitter Jewels or Gilding Flakes.

I cut the next sized die out of Cinnamon Card and matted onto Black Card.

I cut a Stiched Flag out of Black Card and cut my sentiment out of Cinnamon Card using the Mix & Match Friendship Die Set.

Easy! Mix your colours, mediums, sentiments and you can have a great collection of quick cards!

Thanks for stopping by.

Julia.
www.juliawattscrafts.co.uk

Thursday, 30 November 2017

One Day Special Shows Continue today

Hi Bloggers.

One Day Special shows continue today at 9am, 1pm and 5pm. Hope you can join me.

Here's today's card -

For the background, I've used the CE Bark Embossing Folder (the one you get in the One Day Special Bundle) and embossed a piece of Coconut White Card. It's easy to extend the design on this folder as it's quite a random design.

I cut the frame from the Celebrations Shadow Box Die Set out of Coconut White Card and glued it on top of my embossed background.

I made a frame out of Coconut White Card using dies #3 and #5 from the Stitched Square Peg Board Die Set. I added it to my background using Woodware Foam Tape and then matted onto a couple of pieces of Coconut White Card.

I cut the top section from the Majestic Tree Die Set out of Forest Card twice, inking though the die with Vintage Photo Distress Oxide. I cut the trunk section out of Cinnamon Card and again inked through the die with Vintage Photo Oxide.

I cut the sentiment from the Life is a Garden Die Set out of Cinnamon Card. I added some hearts from the Bushel Basket Die Set cut from Rich Red Card.

I cut 3 sizes of flower from the Sunflower Bouquet Die Set out of Coconut White Card. I painted them using Straw Yellow Pixie Powder. Once dry, I shaped them using a Woodware Shaping Tool and a Moulding Mat. I cut some leaves out of Coconut White Card using the same die set and painted them with Pale Olive Pixie Powder. I popped a little CE Double Sided Self Adhesive Sheet onto a piece of Dark Roast Coffee Card and cut 3 flower centres. I peeled away the backing and added Medium Clear Glass Micro Beads.

I completed my card by adding an 8mm White Pearl to each corner of my frame.

I'm offering 10% discount on items from the shows on my website. You can find them here. Please enter JULIAWATTS in the discount code box at checkout to activate the discount. Offer applies till midnight tonight or while stocks last.

I have loaded photos of the samples from the shows to the Gallery Section of this Blog and to my Julia Watts Crafts Facebook Page.

Thanks for stopping by.

Julia.
www.juliawattscrafts.co.uk

Sunday, 10 September 2017

Let it Snow

Morning.

Here's today's card -

I cut the bottom section of the Paper Cuts Let it Snow Frame out of Coconut White Card and trimmed away the excess to just leave the sentiment. I also cut 3 of the snowflakes in the set and the snowflake corner from the Paper Cuts Jingle Bells Die Set 4 times. I pressed them all into Clear Perfect Medium, added CS Sea Turtle Embossing Powder and heat set. I added more ink, more powder and heat set again.

I popped a piece of Creative Expressions Double Sided Adhesive Sheet onto Coconut White Card and cut one of Sue Wilson's Double Pierced Background Rectangles from it. I peeled away the other backing sheet, added my sentiment and then added Snow White Opaque Micro Beads to the exposed adhesive. You may find that your sentiment may lift a little if there is embossing powder on the back - just lift it up from around the Micro Beads, add some CS Glue and seat back in place. I glued my extra snowflakes as shown. I matted onto Silver Shine Pearl Card cut from the next sized rectangle in the set.

For the background, I cut a piece of Coconut White Card using a larger die in the rectangles set and embossed using the CE Ice Crystals Embossing Folder. I matted onto Silver Shine Pearl Card cut using the next sized die in the set. I added my snowflake corners.

I added CS Glue around the edges of the sentiment panel and the background and sprinkled CS Iced Snow over. I added CS Polar White Twinkles to the centres of the snowflakes and corners.

Thanks for stopping by.

Julia.
www.juliawattscrafts.co.uk
Free card with all website orders over £10 (ask for one in the comments box at checkout).

Sunday, 27 August 2017

Paper Cuts Noel Rudolf in Black & White

Hi Bloggers.

Hope you managed to catch some of the Paper Cuts One Day Special shows and get some lovely goodies. I have a busy week ahead of me - planning for September's shows, I've 6 workshops to plan, I have 3 month's worth of accounts and VAT to do and I really must cut the lawn (dandelion patch!) and do some washing and housework. Goodness knows how I'm going to fit it all in as I have shows on 14th, 23rd and 24th September and Ally Pally too! Oh well! I can rest when I'm 6 foot under!

Here's today's card -

For the background, I embossed a piece of Black Card using the Creative Expressions Nordic Tiles Embossing Folder. I matted onto Coconut White Card and then another piece of Black Card. I cut one of the corner designs from the Paper Cuts Turtle Doves Die Set out of Coconut White Card 4 times and added them to the corners of my background using CS Glue in a Woodware Fine Tip Glue Applicator.

I cut the Paper Cuts Noel Rudolf out of Coconut White Card. I popped a piece of Creative Expressions Double Sided Self Adhesive Sheet onto a piece of Black Card and cut the plain circle die from the Turtle Doves Die Set. I removed the backing sheet and added Black Micro Beads. I cut the decorative circle die out of Coconut White Card. I added the 2 circle die cuts to my background using 1mm Woodware Foam Tape. I added CS Glue around the micro beaded die cut and around the edges of my background and then sprinkled CS Iced Snow over. I glued Rudolf on top.


Easy! Change the colour of card and micro beads for a different look. Add Glitterbitz or Gilding Flakes for a change.

Thanks for stopping by.

Julia.
www.juliawattscrafts.co.uk
Free card with all website orders over £10 (ask for one in the comments box at checkout).


Sunday, 15 January 2017

Mask Techniques Takeover Shows

Hi Bloggers.

I have 2 shows today at 3pm and 6pm. I'll be showing you as many techniques with masks as I can. I have a bunch of backgrounds with texture pastes to share with you below.

Ocean Spray Sparkle Texture Paste through the More Squares Mask -

Penny Copper Sparkle Texture Paste through the Knitted Mask -

Chic Viola Sparkle Texture Paste through the Lattice Mask -

Chic Magenta Sparkle Texture Paste through the Just Sew Mask (on Black Gloss Card - very hard to photograph!) -

Frosty Dawn Sparkle Texture Paste through the Kaleidoscope Mask -

Frosty Dawn Sparkle Texture Paste through the Kaleidoscope Mask on Black Gloss Card -


Clear Texture Paste through the Grid Mask on Black Card. I've rubbed New Gold Gilding Wax over the right-hand side of the mask -
 
Penny Copper, Chic Magenta, Penny Copper Sparkle Texture Paste through Basket Weave Mask -

As above but mixed together before adding to Lattice Mask -

As above plus Ocean Spray Sparkle Texure Paste mixed in through Counterpane Mask -


As above through Rope Frame Mask, mask removed and Glacier Ice Glitter Jewels added -

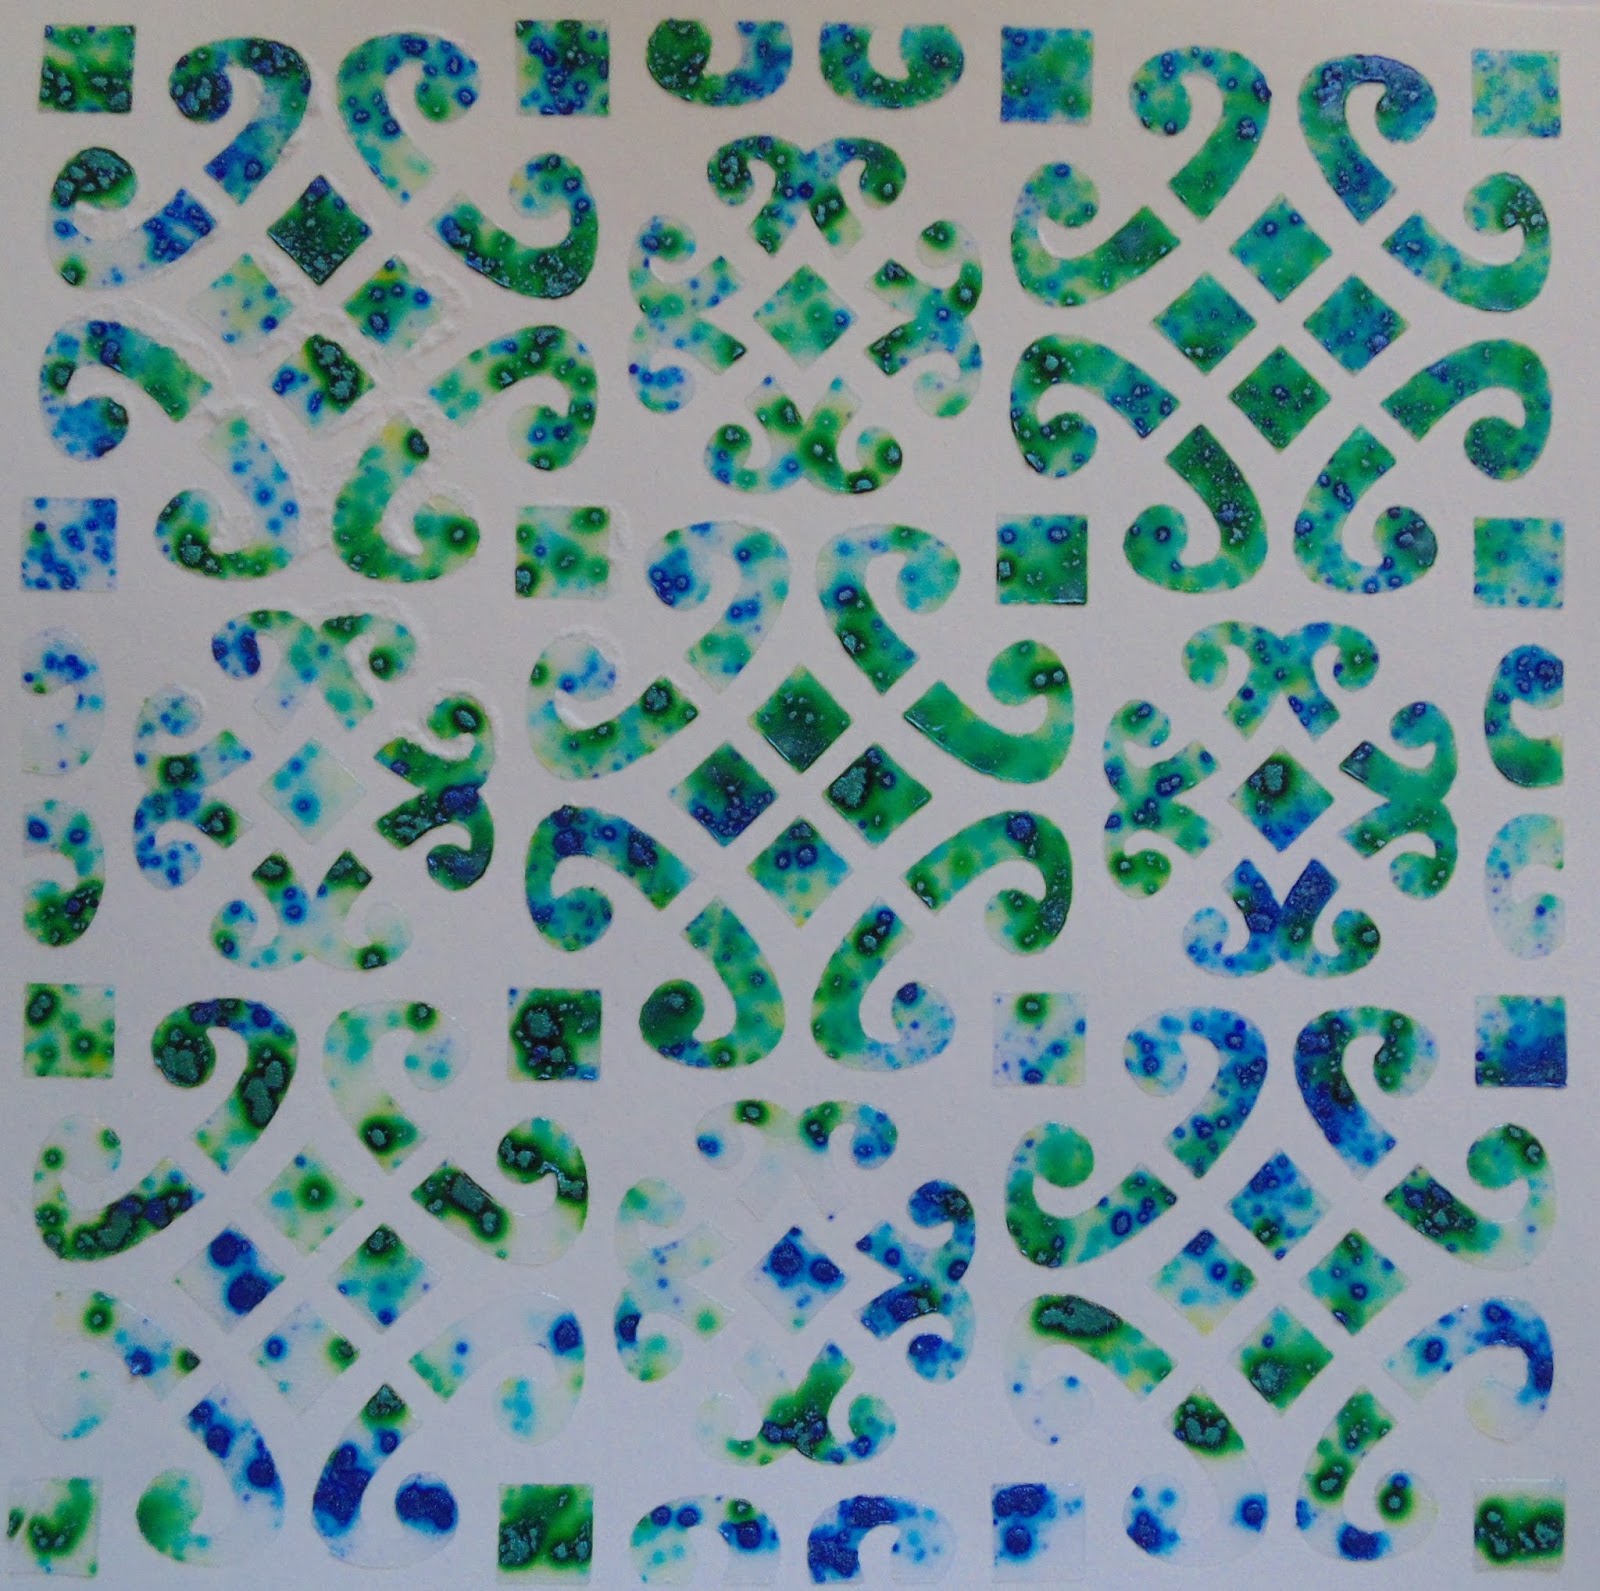
Clear Texture Paste through Lattice Mask. Leaving the mask in place, Peacock Green and Midnight Blue Pixie Powders added, remove mask -

As above but on Black Card and through Kaleidoscope Mask -

Clear Texture Paste through More Squares Mask. Leaving the mask in place sprinkle over Graceful Lilac and Chic Magenta Mica Powders, remove mask -

As above but on Black Card through the Lattice Mask -

Frosty Dawn Sparkle Texture Paste through the Basket Weave Mask. Leaving the mask in place, sprinkle over Firework Burst Pixie Powder, remove mask -

Chic Viola Sparkle Texture Paste through the Grid Mask. Leaving the mask in place, sprinkle over Chic Magenta Mica Powder, remove mask -

Frosty Dawn Sparkle Texture Paste through the Counterpane Mask. Leaving the mask in place, sprinkle over Chic Moss and Graceful Lilac Mica Powders, remove mask -

Pop some Frosty Dawn Sparkle Texture Paste on Craft Sheet, add Chic Magenta and mix well. Spread through the Just Sew Mask -

Pop some Clear Texture Paste onto Craft Sheet, add Titanium Mica Powder and mix well. Spread through the Kaleidoscope Mask -

Clear Texture Paste through the Basket Weave Mask. Leaving the mask in place sprinkle over Pale Olive and Aubergine Dream Pixie Powders, remove mask -

Dust Black Card with Anti-Static Bag. Clear Texture Paste through Knitted Mask. Remove mask, add Silverlight Brilliant Sparkle Embossing Powder and heat set -

Dust Coconut White Card with Anti-Static Bag, Clear Texture Paste through the Just Sew Mask, remove mask, add Decadent Denim Embossing Powder and heat set -

Clear Texture Paste through Rope Frame Mask, remove mask and add Silver Micro Beads -
These are just some of the techniques with masks that I hope to share on Hochanda today. Time permitting, I have techniques with Polished Silk Glitter, Gilding Flakes, Migro Beads, Embossing Powders, Mica Powders, Inks and whatever else I can think of.

I'm offering 10% discount on all the products from all of the Takeover Shows this weekend that I have on my website. They're all together here. Discount applies till midnight tonight or While Stocks Last and will be applied at checkout.

Thanks for stopping by.

Julia.
www.juliawattscrafts.co.uk
Free card with all website orders over £10 (ask for one in the comments box at checkout).

Deal of the Day today (15th January) - Woodware Clear Magic Single - Sunflower Patch only £1.99!