Saturday, 31 May 2014

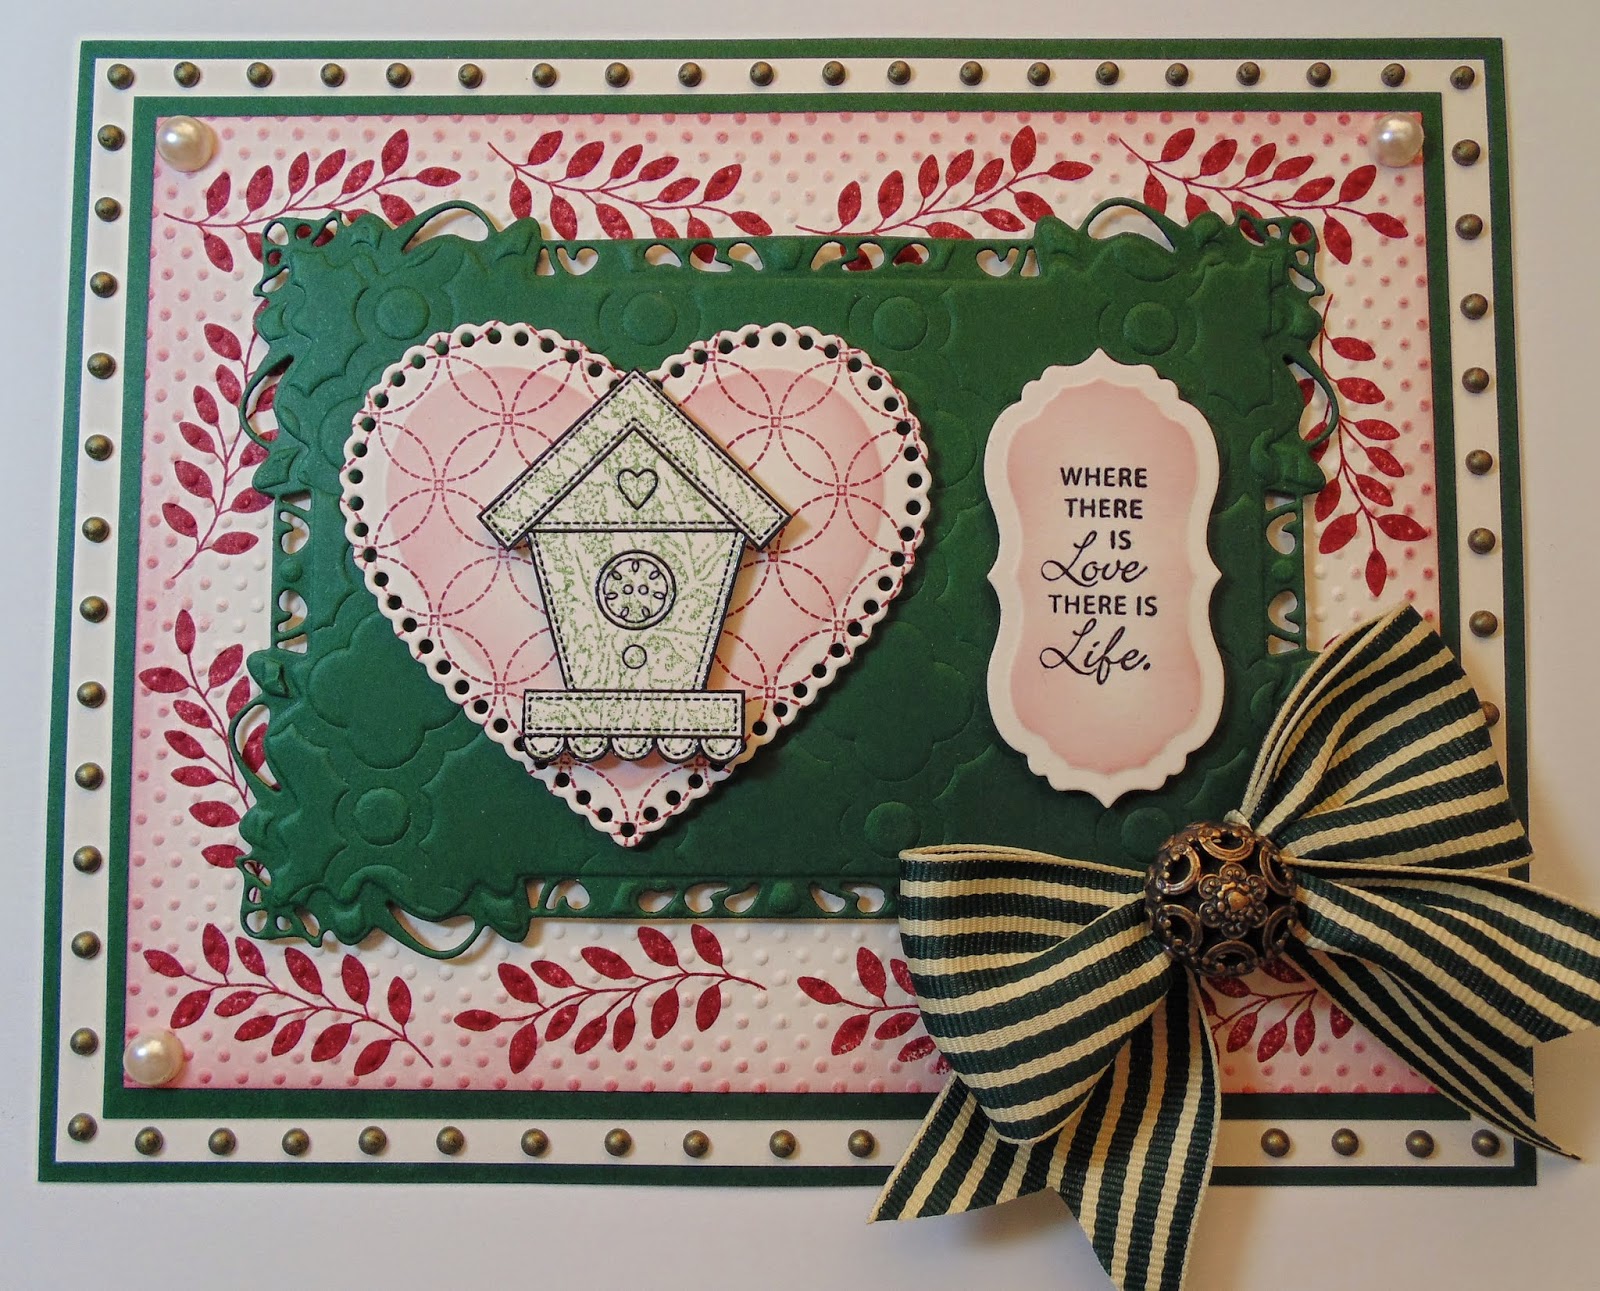
Where there is love

Hi Bloggers.

Here's today's card -

For the background, I stamped the leaves image from the Justrite Home Tweet Home Clear Stamp Set around the edges of a piece of Milk Card using Raisin Adirondack Dye Ink. I made sure the ink was dry and ran it through the Grand Calibur with the Couture Creations Small Dots Embossing Folder. I ran it through a second time to extend the design and inked around the edges with Raisin Ink using Cut n Dry Foam.

I stamped the Creative Expressions Fern Fronds Background onto some copy paper and then onto some Milk Card (without re-inking) using Meadow Adirondack Dye Ink. I wanted a lighter image that's obtained from 2nd generation stamping. I made sure the ink was dry, dusted it with my anti static bag and stamped the Birdhouse from the Home Tweet Home Stamp Set using Jet Black Archival and embossed with Cosmic Shimmer Clear Embossing Powder. I cut it out using scissors and went around the edges with a Black Marker Pen to hide any white bits.

I stamped the Justrite Stitched Circles using Raisin Adirondack. I made sure the ink was dry and cut a Spellbinders Lace Hearts Die from it and inked through the die with Raisin Ink.

I stamped the sentiment from the Justrite Home Tweet Home Set using Jet Black Archival and embossed with Clear Powder. I cut it out using Justrite Vintage Labels 7 Dies and inked through the die with Raisin Ink.

I cut the largest die in Sue's Valencia Die Set (Spanish Collection) out of Brunswick Green Card. At the emboss stage I added the Openwork Mask.

I tied a bow using Green/Ivory Striped Grosgrain and added a Bronze Vintage Button.

I assembled the card as shown adding a Cream 8mm Pearl in each corner and some dots of Cosmic Shimmer Pearlescent PVA in Vintage Golden Green around the edges.

Thanks for stopping by.

Julia.

Friday, 30 May 2014

Happy Thoughts and Amazon Stock Updates

Hi Bloggers.

Here's today's card -

For the background, I inked through a section of the Floral Frame Mask with Victorian Velvet Distress Ink using Cut n Dry Foam. I then ran it through the Grand Calibur with the Couture Creations Thinking of You Embossing Folder. I ran it through a second time to extend the design and inked around the edges with Victorian Velvet.

I stamped the image from the Taylored Expressions Mixed Blooms Stamp Set using Jet Black Archival and embossed with Cosmic Shimmer Clear Embossing Powder. I coloured in using Aged Mahogany Distress Ink, Buttercup Cosmic Shimmer Ink Spray Mist, Arctic Blue, Evergreeen and Purple Orchid Cosmic Shimmer Vintage Ink Spray Mists. I cut out using the largest 2 dies in Sue's Decorative Frames Die Set from the Italian Collection and inked through the die with Victorian Velvet Distress Ink.

I stamped the sentiment from the same stamp set, again using Jet Black Archival and embossed with Clear Powder. I cut it out using one of the dies from Sue's Decorative Frames Die Set from the Californian Collection and inked through the die with Victorian Velvet.

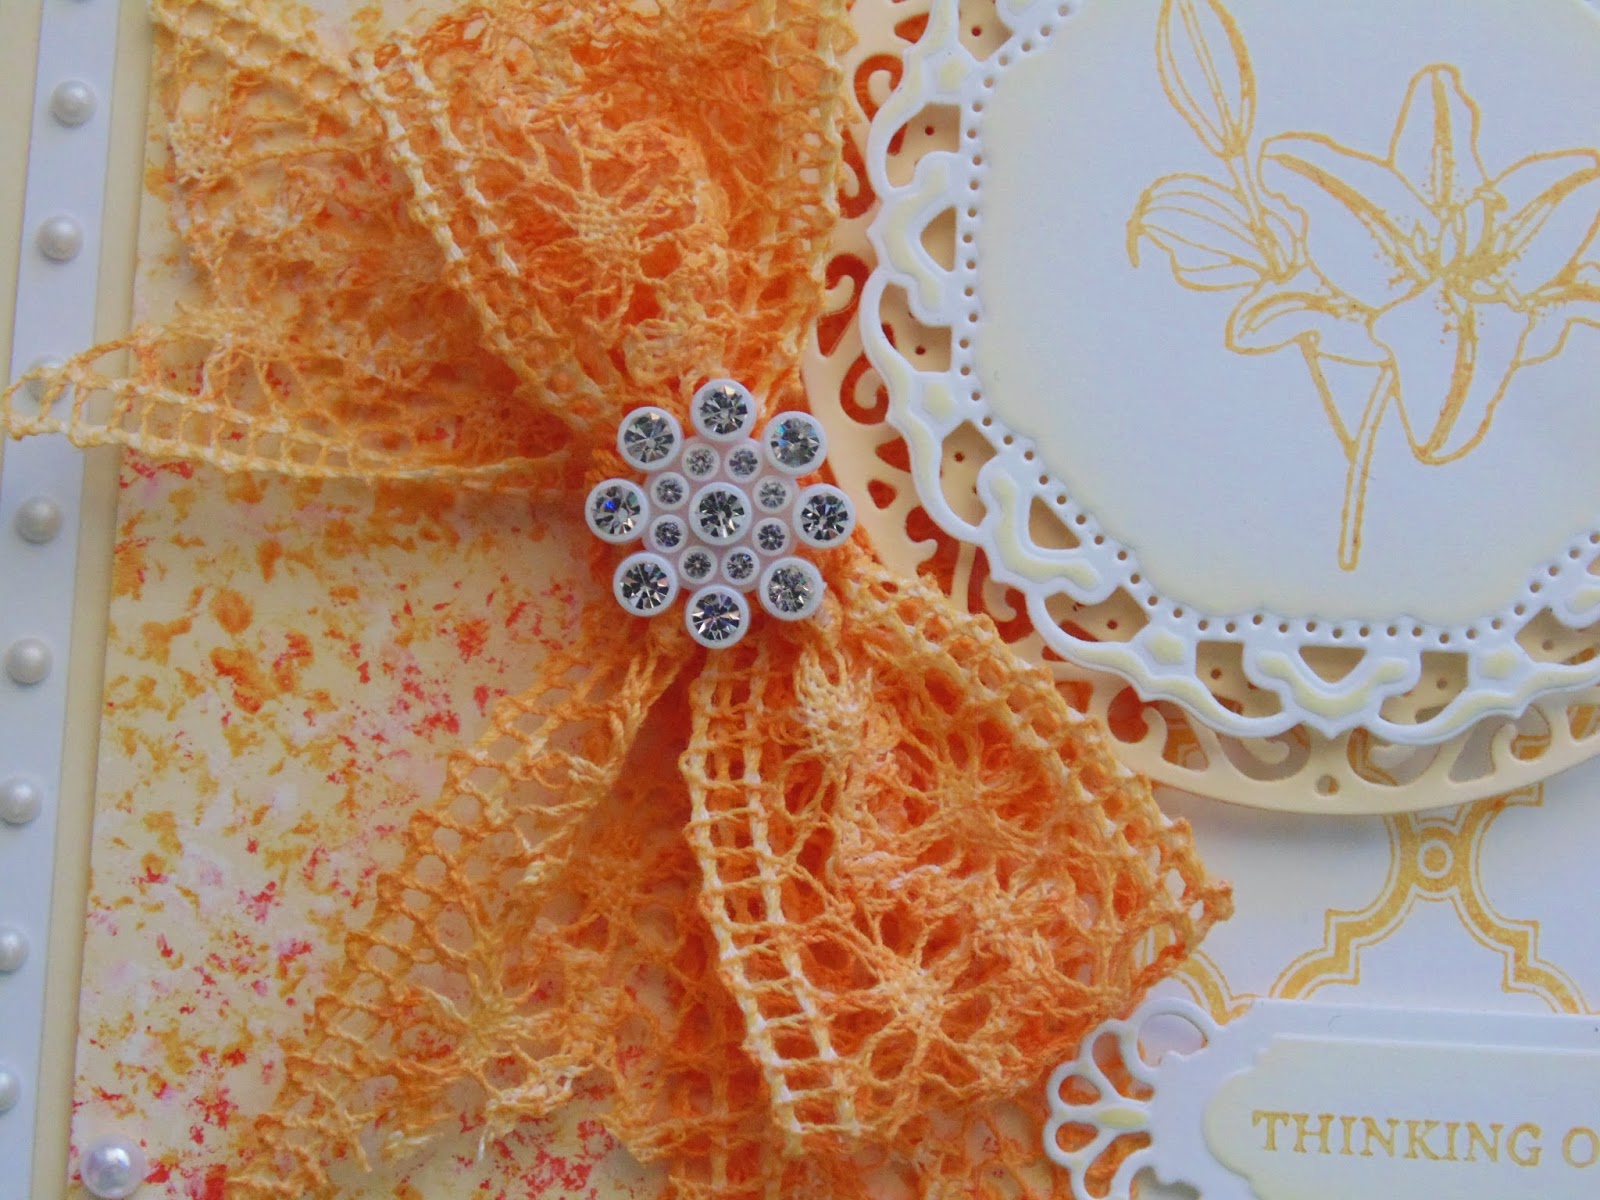
I tied a bow using White Crochet Ribbon and added a White Crystal Sparkler.

I assembled the card as shown adding a White 8mm Pearl in each corner and some dots of Cosmic Shimmer Pastel Pink PVA around the edges.

The lovely Garden Frame Stamp is back in stock in my Amazon Store, you can find it here.

 Couture Creations have bought out a die to match the very popular Tied Together Embossing Folder. It's called Tied Together (surprise, surprise) and there's none left at the Creative Expressions Warehouse so who knows when/if it'll be back in stock so first come first served as they say. You can find it here. Measures 6" x 4" but you can extend it if you pop one of the outside cutting edges outside your plates.

I've also added another Couture Embossing Folder from my shows on 11th June as I've been using it alot on my samples. It's called Irish Clubs and is a pretty repeating pattern. You can find it here.

All for now.

Thanks for stopping by.

Julia.

Thursday, 29 May 2014

Heart and Soul

Hi Bloggers.

Here's today's card -

The background is simply a piece of Milk Card run through the Grand Calibur with the Couture Creations Small Dots Embossing Folder. I ran it through a second time to extend the design and inked around the edges with Meadow Adirondack Dye Ink using Cut n Dry Foam.

I stamped the Justrite Diamond Filigree Background onto Milk Card using Bottle Adirondack Dye Ink. I stamped the Justrite Tulip Damask Background onto Milk Card using Meadow Adirondack Dye Ink. I cut 2 squares out of each background using Spellbinders Classic Squares Large. I cut 4 squares out of Black Card using Spellbinders Marvelous Squares.


 I stamped the sentiment from the Justrite Magnolia Vintage Labels 7 Clear Stamp Set using Olive Archival and embossed with Cosmic Shimmer Clear Embssing Powder. I cut ir out using Justrite Vintage Tag Dies and inked through the die with Meadow Adirondack. I stamped the frame from the Magnolia Stamp Set using Jet Black Archival and embossed with Cosmic Shimmer Clear Embossing Powder. I cut it out using Justrite Vintage Labels 7 Dies.

I tied a bow using Green/Ivory Striped Grosgrain and added a Black Vintage Button.

I assembled the card as shown adding a Black 8mm Pearl in each corner and some dots of Cosmic Shimmer Vintage Golden Green Pearlescent PVA around the edges.

Thanks for stopping by.

Julia.
Wednesday, 28 May 2014

Shimmer Paint - a few ideas

Hi Bloggers.

This card was a demo last Thursday and it includes a few different ways to use Cosmic Shimmer Shimmer Paints.

I started with changing the colour of my White Crochet Ribbon. I popped a little Topaz Cosmic Shimmer Shimmer Paint onto my Craft Sheet. I picked some up onto a piece of Cut n Dry Foam and dragged it over the ribbon. I repeated this until the entire length was covered and did the same on the other side of the ribbon as I wanted to use it for bow so needed to make sure that no white was showing.

I 'inked' up the Justrite Moroccan Lattice Background with the Topaz Paint using Cut n Dry Foam and stamped on the right hand side of a piece of Coconut White Card. I inked the very edges of the card with the Topaz Paint using Cut n Dry Foam.

For the left-hand background panel, I used a piece of Custard Card. I popped a little Topaz Paint onto my Craft Sheet. Using a natual spronge, I sponged some paint onto the Custard Card. I repeated the process with Harvest Gold Cosmic Shimmer Shimmer Paint and then with Warm White Cosmic Shimmer Matt Chalk Paint.

I stamped the image from the Taylored Expressions Stargazer Lily Bouquet Stamp Set using Topaz Paint. I cut it out using Spellbinders Majestic Circles and inked through the die with Scattered Straw Distress Ink. I cut one of Sue's Decorative Frames from the Italian Collection out of Custard Card.

I stamped the sentiment from the Taylored Expressions Teacup Bouquet using the Topaz Paint. I cut it out using Spellbinders A2 Devine Eleoquence Die Set and inked through the die with Scattered Straw.

I wrapped a piece of the painted Crochet Ribbon around the join in the backgrounds. I tied a bow with the rest and added a White Crystal Sparkler.

I assembled the card as shown adding some White Pearls in the corners and some dots of Cosmic Shimmer Pearlescent PVA in Cosmic Pearl around the edges.

Phill Martin is on Create & Craft today with some more new stamps from his Sentimentally Yours stamp range. I believe the times are 10am and 1pm but do check the schedule.

Thanks for stopping by.

Julia.

Tuesday, 27 May 2014

Love Bug

Hi Bloggers.

What a miserable bank holiday weekend weather wise. I have to say though that I do prefer it when I have prep to do. I did manage to make a good start on my samples for June 11th, did the housework, parcelled up the orders from my Amazon Store and went to see the new X-Men movie. Doesn't sound like much now I've wriiten it down - where does the time go?

I'm loving my new frame stamps. You guys seem to be favouring the larger stamps but there's some glimpses of what I've been doing with the Mini Frames at the bottom of this post which will hopefully convince you that you love them too.

Here's today's card -

For the background, I simply ran a piece of Coconut White Card through the Grand Calibur with Sue's Quilted Flower Embossing Folder. I inked around the edges with Raisin Adirondack Dye Ink using Cut n Dry Foam.

I stamped the Lady Bugs and trails from the Justrite Garden Tools Clear Stamp Set as shown using Jet Black Archival. I coloured in using Barn Door and Black Soot Distess Markers. I ran the panel through the Grand Calibur using the Couture Creations Small Dots Embossing Folder and inked around the edges with Raisin Ink.

I stamped the sentiment from the same stamp using Jet Black Archival. I cut out using Spellbinders Decorative Labels 8 and inked through the die with Raisin Ink. I cut a Spellbinders Labels 8 out of Black Card.

I tied a bow using 2 lengths of Black Silky Crush Ribbon, added a White Crystal Sparkler and a couple of White Mini Pearl Swirls.

I assembled the card as shown adding some White Pearls in the top right hand corner and some dots of Cosmic Shimmer Crystal Sparkle PVA around the edges.

Here's one of the Floral Mini Frames  -


and the other one -

You don't have to stamp the sentiment within the frame - you can die cut it and add to centre or add an image or a flower - one of the Mini Scrollwork Frames -


Here's the other Mini Scrollwork Frame -

You like? All the sentiments I've used with the Mini Frames are from the Creative Expressions All Occasions Sentiments Stamp Set.

All for now.

Thanks for stopping by.

Julia.

Monday, 26 May 2014

Thinking of You Always

Hi Bloggers.

Here's today's card -

For the background, I popped some Violet Cosmic Shimmer Shimmer Paint on to my Craft Sheet. I added some Pearl Cosmic Shimmer Shimmer Paint and mixed it to produce a lighter colour purple. I used a piece of Cut n Dry Foam to pick up some paint and 'ink' up the Justrite Sweet Lace Background. I stamped it onto Coconut White Card. I re-inked the stamp and extended the design to cover the card. I ran it through the Grand Calibur with the Couture Creations Thinking of You Embossing Folder. I ran it through a second time to extend the design and inked around the edges with Dusty Concord Distress Ink.

I stamped the image from the Taylored Expressions Teacup Bouquet Stamp Set using Jet Black Archival and embossed with Cosmic Shimmer Clear Embossing Powder. I coloured in using Distress Markers. I used Shaded Lilac, Dusty Concord, Mustard Seed, Evergreen Bough and Tumbled Glass. I cut it out using Spellbinders Luscious Labels One and inked through the die with Dusty Concord.

I stamped the sentiment from the same stamp set using Jet Black Archival and embossed with Cosmic Shimmer Clear Embossing Powder. I cut it out using a die from the Spellbinders A2 Devine Eleoquence Die Set and inked through the die with Dusty Concord.

I tied a bow using White Crochet Ribbon and added a Vintage Bronze Button.

I assembled the card as shown adding a White 8mm Pearl in each corner and some dots of Cosmic Shimmer Pastel Lilac PVA around the edges.

Thanks for stopping by.

Julia.

Sunday, 25 May 2014

Your Friend Forever

Hi Bloggers.

I'm really glad you like the new frame stamps. I'm out of stock of the Garden Frame so I'll be ordering more on Tuesday morning. I had a question about whether they fit in the Spellbinders Majestic Squares Die Set. Well, I don't actually have that die so I can't answer that. I expect the Mini Frames will fit within one of them. The 4 large frames fit nicely within the smallest die in the Spellbinders Grand Squares Die Set. The smallest die in the Spellbinders Grand Decorative Labels One will also be suitable. The Mini Frames fit nicely within a Spellbinders Classic Squares Small Die - I've also found that Spellbinders Luscious Labels One and Captivating Squares work too.

Here's today's card -

For the background, I started by spritzing a piece of Milk Card with Soft Moss Cosmic Shimmer Vintage Ink Spray Mist. Once dry, I ran it through the Grand Calibur with the Couture Creations Small Dots Embossing Folder. I ran it through a second time to extend the design and inked around the edges with Meadow Adirondack Dye Ink using Cut n Dry Foam.

For the image panel, I started by inking up the branch from the Justrite Home Tweet Home Clear Stamp Set with Walnut Stain and Peeled Paint Distress Markers. I spritzed with a little water and stamped on to Milk Card. I pulled a little of the colour out using a Tim Holtz Water Brush.

I stamped the owl from the Justrite Owl be There Clear Stamp Set using Coffee Archival, I stamped it a second time onto a paper from the 8 x 8 Teresa Collins Paper Pad and then a third time onto Milk Card. On the first image, I coloured in the wings using Antique Linen Distress Ink. On the second image, I cut out the body, no colouring. On the third one I cut out the eyes and nose and the heart. I coloured in with Antique Linen and Tumbled Glass Distress Markers. I glued the heart to the patterned image and layered the rest up using 3d Foam.

I cut out using Spellbinders Wonky Rectangles and inked through the die with Meadow Ink.

I stamped the Creative Expressions Fern Fronds A6 Stamp using Meadow Ink and cut a larger Wonky Rectangles.

I cut the largest of the Spellbinders Branching Out Dies out of Brunswick Green Card and at the emboss stage I added the Counterpane Mask.

I stamped the sentiment from the Justrite Owl be There Stamp Set using Coffee Archival. I cut it out using Justrite Vintage Labels 7 Dies and inked through the die with Meadow Ink.

I tied a bow using Green/Ivory Striped Grosgrain and added a Vintage Metal Embellishment.

I assembled the card as shown adding a Cream 8mm Pearl to each corner and piercing around the edges using my Tim Holtz Ruler.

Thanks for stopping by.

Julia.