Monday, 20 April 2015

Love

Hi Bloggers.

My daughter, Kathryn, has blogged some photos from Ally Pally last weekend. You can see them here. She's disappointed as it looks like the college she's selected to do her masters next year may not be running the course she wants to do so she has asked me to share the course info with as many people as I can to dry and get some more sign-ups. If you know anyone who might be interested in Aquaculture, please point them in this direction.

Here's today's card -

For the main background, I ran a piece of Coconut White Card through the Grand Calibur with the Couture Creations Velvet Tea Lights Embossing Folder. I ran it through a second time to extend the design (repeating pattern) and inked around the edges with Antique Linen Distress Ink. I rubbed Enchanted Gold Gilding Wax over the surface. I left it a few minutes to dry and then buffed it up using a dry wet wipe.

For the panels, I added some Cosmic Shimmer Frosty Dawn Sparkle Texture Paste through the Daisy Chain Mask and put aside to dry. Once dry, I cut it into 3 panels, inked around the edges with Antique Linen and matted onto Milk Card.

 I stamped the sentiment from the Creative Expressions Wedding Greetings Stamp Set onto Coconut White Card using Perfect Medium and embossed with Cosmic Shimmer Gold Detail Embossing Powder. I cut it out using Sue's Saltzburg die set and inked through the die with Antique Linen. I cut the largest die in the set out of Milk Card and glued the 2 die cuts together using Cosmic Shimmer Dries Clear Glue.

I made a flower using White Felt from the Wedding Collection and cut a couple of leaves out of Milk Card using the Couture Creations Vintage Branch Die.

I assembled the card as shown adding some Cream Pearls to the corners and some dots of Cosmic Shimmer Ivory PVA around the edges.

Thanks for stopping by.

Julia.

Sunday, 19 April 2015

Winner of the Craft Clinic Bits and Pieces

Hi Bloggers.

I've drawn a winner for the collection of bits from the Craft Clinic and the winner is..........

SPARROW

Please email me at juliawattscrafts@gmail.com with your address and I'll pop them in the post to you.

All for now.

Julia

Friend is a Beautiful Word

Hi Bloggers.

Here's today's card -

I cut a frame out of Teal Card using a Spellbinders 6 x 6 Matting Basics A Die and a Spellbinders Grand Squares Die and popped it on top of a paper from Phill Martin's Decadent Damask 8 x 8 Paper Pad.

I cut the Spellbinders Contemporary Squares Die out of Teal Card. I stamped the sentiment from the Justrite Flower For Your Thoughts Stamp Set using Peacock Feathers Distess Ink and cut it out using the smaller die in the set.

I tied a bow using 2 lengths of Creative Expressions Tornado Blue Satin Ribbon. I made a flower out of the same paper as before from the Phill Martin Paper Pad and the Spellbinders Flower Play Die Set. I added Cosmic Shimmer Dries Clear Glue to the petals and sprinkled Cosmic Shimmer Iced Snow Glitter Jewels over. I made a couple of Decorative Stick Pins using Creative Expressions Stick Pin Elements and Glossy Accents.

 Thanks for stopping by.

Julia.
www.juliawattscrafts.co.uk

Saturday, 18 April 2015

Best Wishes

Hi Bloggers.

I'm demoing at Domino Crafts in Wolverhampton today 10 till 4. Please stop by if you're in the area.

Here's today's card -

For the background, I covered a paper from the Phill Martin Decadent Damask 8 x 8 Paper Pad with a piece of Creative Expressions Double Sided Self Adhesive Sheet and then added Cosmic Shimmer Diamond Snow Glitter Jewels.

I cut the frame from Coconut White Card using Sue Wilson Classic Adorned Rectangles Noble Die Set. I rubbed Phill Martin Cosmic Shimmer Decadent Oak Gilding Wax over the surface.

I cut Sue's Best Wishes Expressions Die out of Coconut White Card.

I cut a couple of leaves out of Chestnut Card using Sue's Delicate Fronds Die set and added a flower that I had previously made using Spellbinders Flower Play die set.


I assembled the card as shown adding a few 8mm Gold Dazzlers and piercing around the edges.

Thanks for stopping by.

Julia.

Friday, 17 April 2015

Always & Forever

Hi Bloggers.

Had a great day at Doodleso in Prestatyn yesterday. Lovely shop! It was so nice to wake up looking at the sea! Got home late last night so as usual this is a scheduled post as I intend to be tucked up in bed when it goes live! Just an early heads up - I'll be back at Domino Crafts in Wolverhampton tomorrow for another demo.

When I gave you the drive times yestersday, it was so that you could get some idea of how long a taxi drive it would be from the station or hotel if you come by train. I don't actually assume that everyone can drive - my daughter has to take the trains everywhere as she can't drive yet. My journey to Prestatyn would have been shorter time wise had I been able to take the train but I have to take so much stuff with me that I would struggle to get on and off the train! The M1 and the M6 are a nightmare at the moment with roadworks all over the place!

Anyway, enough of that - here's today's card :

For the background, I ran a piece of Coconut White Card through the Grand Calibur with the Creative Expressions Heart Lattice Embossing Folder. I rounded the edges with a punch,

I stamped the sentiment from the Justrite Mr & Mrs Vintage Labels Four Stamp Set using Perfect Medium and embossed with Cosmic Shimmer Gold Detail Embossing Powder. I cut it out using Justrite Vintage Labels Four Die Set and inked though the die with Antique Linen Distress Ink. I cut the next size die in the set out of Milk Card.

I cut a bunch of the Couture Creations Vintage Branch Die out of Coconut White and Milk Card and arranged them around the sentiment.

I cut the border from Sue's Dotty 3D Bow Die Set out of Milk Card and made a bow using the same die set again out of Milk Card.

I assembled the card as shown adding some CS Ivory PVA in the corners.

Thanks for stopping by.

Julia.

Thursday, 16 April 2015

Relax

Hi Bloggers.

As mentioned in yesterday's post, I'm at Doodleso in Prestatyn, North Wales today demoing Spellbinder dies and a host of Creative Expressions goodies - 10 till 4. Do pop by if you're in the area. By the way, it's 190 miles each way for me so if you live less distance away than that, don't tell me it's too far, lol!

Just to re-interate a couple of things from yesterday's post - the giveaway is just for the bits and bobs from the Craft Clinic Show on Monday, not for a card. All the workshops in Milton Keynes are on Saturdays to cater for those of you who work during the week. We can't run workshops at CE in Kettering at weekends as the premises is only open Monday to Friday. There is a hotel on the edge of the industrial estate where CE HQ is located and there is a train station in Kettering. There are loads of hotels in Milton Keynes, a Travelodge is located just a few minutes drive from the MK venue in Yardley Gobion. There's a train station in Central Milton Keynes approx 10 minutes drive from the venue.

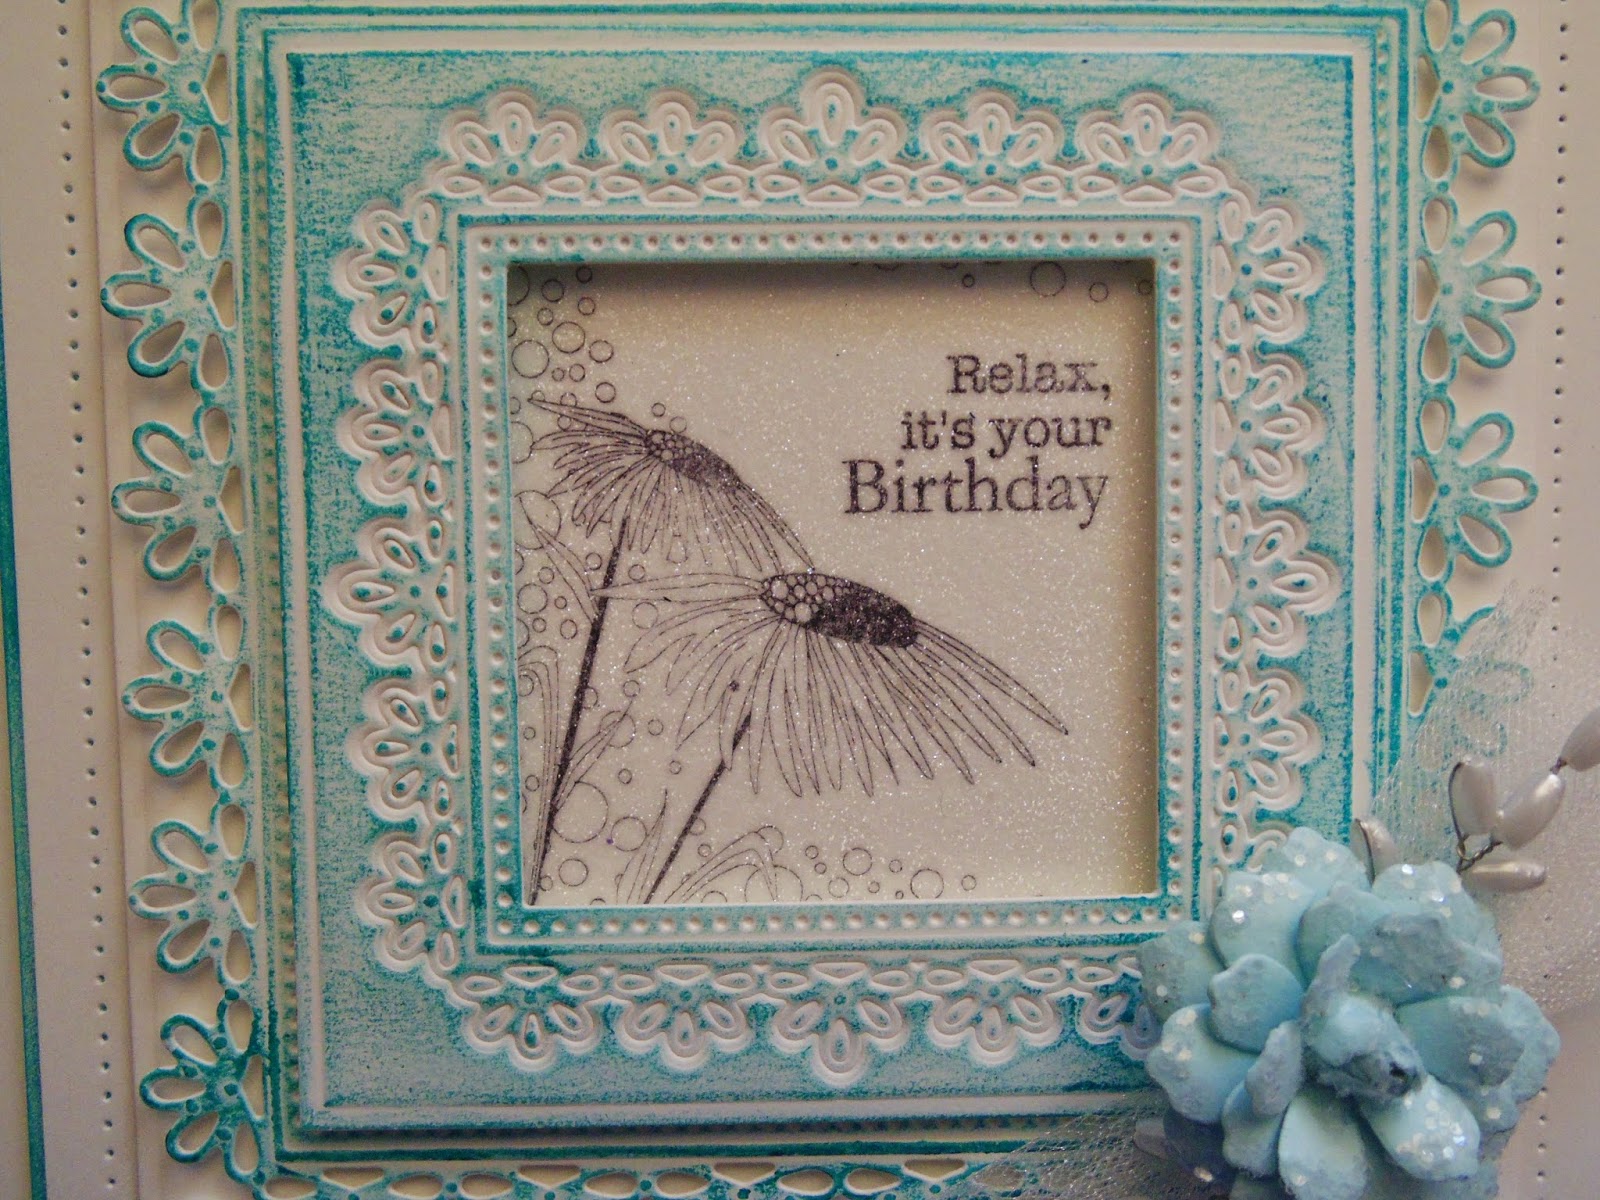
Here's a sample that will be on view today at Doodleso -

I cut the largest die in the Spellbinders Triple Floral Die Set out of Coconut White Card. At the emboss stage, I added the next size down die. I rubbed Phill Martin CS Decadent Teal Gilding Wax over the surface.

I laid the 3 middle sized dies in the set on another piece of Coconut White Card and ran them through the Grand Calibur with the emboss sandwich. I removed the decorative die and ran the other 2 dies through with the cutting sandwich. I rubbed Decadent Teal Gilding Wax over the surface.

I stamped the image and sentiment from John Lockwood's Daisy Corner Elements Stamp Set using Jet Black Archival. I added a piece of Creative Expressions Double Sided Self Adhesive Sheet and sprinkled Cosmic Shimmer Diamond Snow Glitter Jewels over.

I tied a knot in a piece of White Tulle and added a couple of White Pearl Sprays. I made a flower out of Aqua Card using Spellbinders Flower Play Die Set following Sue's Tutorial here and here. I added Cosmic Shimmer Dries Clear Glue and Cosmic Shimmer Iced Snow Glitter Jewels.

The white mat behind was created from Coconut White Card and Spellbinders 6 x 6 Matting Basics A. I added a White 8mm Pearl to each corner.

Thanks for stopping by.

Julia.

Wednesday, 15 April 2015

Happy Birthday and a Giveaway

Hi Bloggers.

Well, I've recovered now from the weekend - just needed a good nights sleep and a bit of a lie in! I'm off on may travels again this afternoon - heading over to Prestatyn in North Wales for a demo at Doodleso tomorrow. Maybe I'll see some of you there?

Here's today's card -

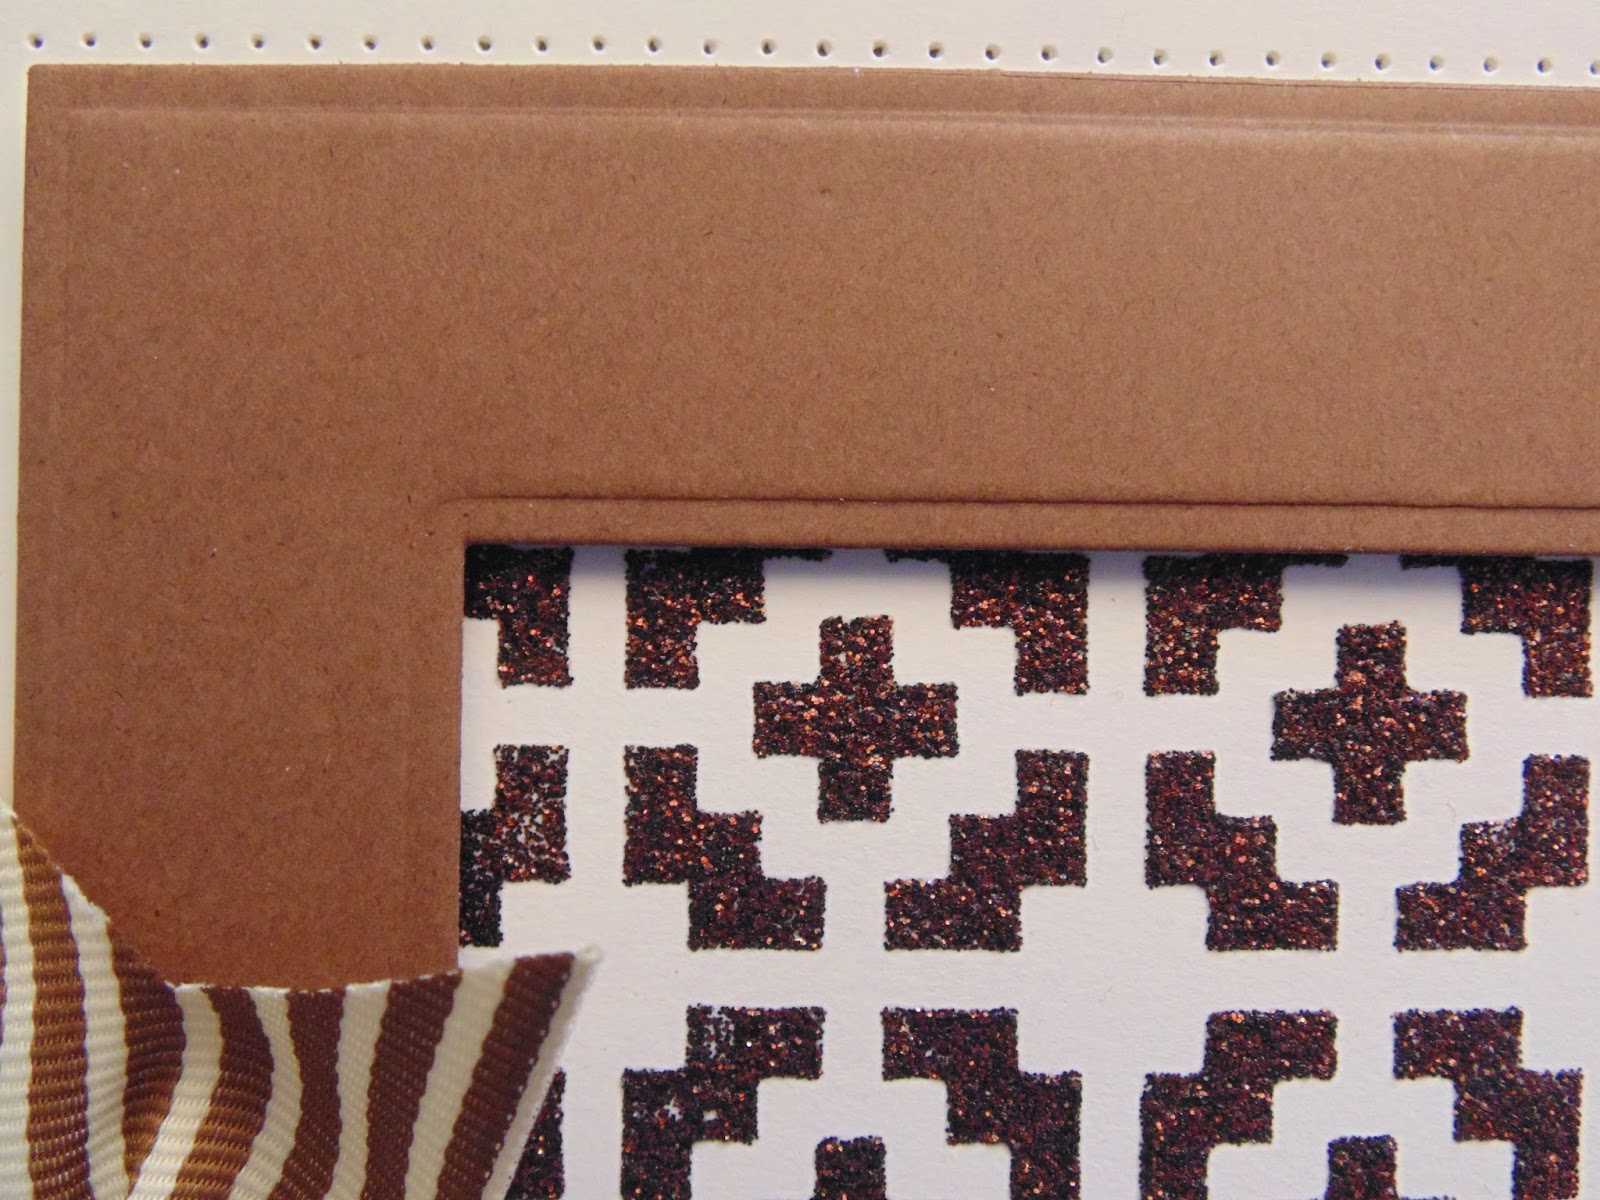
For the background, I applied some Phill Martin CS Decadent Oak Sparkle Texture Paste through the Native Mask onto Milk Card and put aside to dry.


I made a frame out of Chestnut Card using Spellbinders 6 x 6 Matting Basics B.

I stamped the sentiment from the Creative Expressions Amazing Sentiments Clear Stamp Set onto Milk Card using Coffee Archival. I cut it out using Sue Wilson's Pierced Flags Die Set. I cut a larger die from the same set out of Chestnut Card.

I tied a knot in a piece of Ivory/Brown Striped Grosgrain and added it to the side of the frame.

I had to fight off putting flowers on this one! A good card for a man though as the glitter in the paste won't come off!

Now to the Giveaway -

I thought someone might like my bits from the Craft Clinic on Monday - otherwise they'll never get used! One or 2 other unused bits may also find their way into the bag!

If you think you can find them a good home, please leave a comment below and I'll draw a name out on Sunday sometime.

Tracey is taking bookings for a couple of my workshops at Creative Expressions HQ. The first is on Tuesday April 28th and it's a repeat of the projects we did on April 2nd which were a sell out.

Here's the projects -

There's a different workshop on Tuesday 12th May but the projects are top secret at the moment as they're using some new, new dies from Creative Expressions but Tracey has already started taking bookings!

Please ring Tracey on 01536 481778 or email her at tracey@creative-expressions.uk.com for more details on both dates. John Lockwood also has a workshop on May 7th that I'll be hindering at - ask Tracey for details on that one.

There has been a lot of interest in my Milton Keynes Workshops and I have been asked to share the details here on the main page of the blog again so here's the details of the next one

Saturday 16th May 2015 -


Please email me at juliawattscrafts@gmail.com for more details/

My workshops can always be viewed via the Workshops tab in the top menu of this blog (browse web version if on a mobile or tablet).

That's all for now - must get packing, again!

Thanks for stopping by.

Julia.

Tuesday, 14 April 2015

Faux Batik

Hi Bloggers.

Well I can honestly say that I was completely bushed yesterday afternoon. 3 days at Ally Pally followed by an early start to do the Craft Clinic and then I had to do my weekly food shop! I hope you managed to catch the Craft Clinic yesterday morning and learnt something! If you missed it, you can still watch it online on the Create & Craft website - just look for Monday 13th April 11am.

Here's a card a made using the Faux Batik technique -

Please have a look at the show online to see how the background was made.


I'll be back tomorrow with a more wordy post!

Thanks for stopping by.

Julia.

Monday, 13 April 2015

Craft Clinic today on Create & Craft

Hi Bloggers.

I'm on the Craft Clinic today on Create & Craft at 11am for 2 hours. Hope you can join me. I have lots of techniques to show you.

Here's a card featuring a couple of techniques that are on the show. I'm not going to go into the details right now - you'll have to tune in!

See you later!

Thanks for stopping by.

Julia.

Sunday, 12 April 2015

Remember

Hi Blogger.

Day 2 of Ally Pally - do stop by the Creative Expressions stand if you're attending today.

Here's today's card -

For the background, I ran a piece of Coconut White Card through the Grand Calibur with the new Creative Expressions Fine Finials Embossing Folder. I inked around the edges with Stonewashed Adirondack Dye Ink using a Creative Expressions Smoothie.

I stamped the heart and the sentiment from the new John Lockwood Stamp Set Daisy Chain Elements using Cobalt Archival. I cut it out using a die from the Spellbinders Heirloom Legacy 5 x 7 Card Creator Die Set and inked through the die with Stonewashed Ink.

I cut the largest die in the Spellbinders Heirloom Legacy 5 x 7 Card Creator Die Set out of Periwinkle Card.

I tied a bow using 2 lengths of 3/4" Off White Satin Ribbon. I tied another bow using 3 lengths of 1/16" Bluebird Ribbon. I made a flower out of Periwinkle Card using Spellbinders Flower Play Die Set following Sue's tutorial here and here. I added Cosmic Shimmer Dries Clear Glue to the bud and petals and then sprinkled Cosmic Shimmer Iced Snow Glitter Jewels over. Once dry, I added it to my bows.

I assembled the card as shown adding some White Pearls to the corners and I pierced around the edges.

Thanks for stopping by.

Julia.

Saturday, 11 April 2015

Remember

Hi Bloggers.

Day 1 of Ally Pally. Don't forget to come and say hello if you're attending. Tracey is running Make & Takes this time - first time we've done this so it's sure to be busy!

John Lockwood is launching some new stamps this weekend and here's a sample I've made from one of his new sets and a gorgeous new Spellbinders Die Set -

I stamped the sentiment and the frame from John's Rosebud Elements Stamp Set onto Coconut White Card using Jet Black Archival. I coloured in the roses with Scarlet Flame Cosmic Shimmer Matt Drawing Ink from the Autumn Shades Set and Soft Moss from the Garden Twist Set. I used the Out of the Box Technique (will hopefully demo that on the Craft Clinic on Monday) and cut out using one of the dies im the Spellbinders Imperial Square Die Set. I inked through the die with Aged Mahogany Distress Ink.

I cut the largest die in the set out of Rich Red Card. At the emboss stage, I added the die I used for the frame to give me a faux piercing look.

I cut the largest die in the Spellbinders 6 x 6 Matting Basics Die Set out of Coconut White Card and ran it through the Grand Calibur with the Creative Expressions Bed of Roses Embossing Folder. I added Aged Mahogany Distress Ink to the very edges.

 Thanks for stopping by.

Julia.