Saturday 28 February 2015

Happy Birthday

Hi Bloggers.

I'm afraid I'm taking a little break from Scrapbook Saturday as I've been a bit busy and haven't had a chance to do any scrapbooking recently.

John Lockwood has shows on Create and Craft today at 10am and 4pm (I think) lauching a new range of stamps designed by the man himself. They really are gorgeous designs and work really well with new Spellbinders Dies. Today's card features both John's stamps and new Spellbinders.

I began by stamping the sentiment from John's Butterfly Dreams Elements Stamp Set onto Milk Card using Plum Archival. I cut it out using a die from the Spellbinders Oval Floral Die Set and inked through the die with Seedless Preserves Distress Ink. I cut the next largest die out of Rich Plum Card and at the emboss stage I added the oval die I had just used to give me the faux piercing look.

I cut the largest plain oval die from the same set out of Milk Card and inked through the die with Seedless Preserves. I used one of the elements from the stamp set and stamped around the edges of the oval using Plum Archival. I cut the largest die out of Rich Plum Card and at the emboss stage I added the oval die I had just used to give me the faux piercing look.

 I cut the largest die in the Spellbinders Triple Floral Die Set out of Milk Card and at the emboss stage I added the next smallest die to give me the faux piercing look (bit of a theme running here!). I removed the smaller die and inked through the remaining die with Seedless Preserves.

I tied a bow using Cream Crochet Ribbon. I made a flower out of Rich Plum Card using a die from the Spellbinders Marisa's Bouquet Die Set and added a 5mm Cream Pearl to the centre.

I matted all this onto a piece of Plum Card cut using Spellbinders 6 x 6 Matting Basics B Die Set.

I assembled the card as shown adding some 8mm Cream Pearls to the corners and piercing around the edges.

Thanks for stopping by.

Julia.

Friday 27 February 2015

Life is for Living

Hi Bloggers.

John Lockwood has shows on Create & Craft tomorrow with his first release of his very own stamp designs. He's done a really good job and has come up with some fantastic designs. Today's card features some of John's stamps, one of Phill's Scribbled Sentiments and a Spellbinder die from the Retailer Exclusive January release.

I've used the Spellbinders Triple Flip Card Die. It's a rather unexciting die to look at but it's a great die to use to make a quick card. I thought I'd show you the picture on the packaging so you know what to look for!

So, all I've done on my card is stamped the frame and the sentiment from John's Scribble Rose Stamp Set in the centre section using Cobalt Archival. I stamped a couple of the elelments from the same stamp set around the central section, again using Cobalt Archival.

I stamped one of the sentiments from Phill Martin's More Scribbled Sentiments Stamp Set around the outer section, using Cobalt Archival.

I then matted it onto Cobalt Card and assembled as shown with some dots of Cosmic Shimmer Cosmic Pearl PVA in the corners.

I've added a Spellbinders page in the top menu of this blog to hopefully help you with the questions I keep getting asked about the new dies I've been featuring.

Thanks for stopping by.

Julia.

Thursday 26 February 2015

Happy Birthday to You

Hi Bloggers.

I have updated the workshops section (in the menu above) with details of the workshop I'm running at CE HQ on 17th March. Tracey is already taking bookings. There are a few places still available on the Introduction to Stamping Workshop on 3rd March at CE HQ and on the workshop I'm running at Yardley Gobion on 7th March. I've been getting a mobile shop together to take with me to Yardley Gobion where workshop attendees will enjoy 10% discount on their purchases. If you're not attending the workshop but would still like to browse the shop, Tracey has agreed to come over to help me and will be on hand to serve you.

I've also updated the out and about section in the left hand sidebar and shows on Create & Craft have changed again!

I have a pop up box today made from new Spellbinders Dies -

Not easy to photograph especially on dull days (hence the shadows)! Hopefully you get the idea of it though.

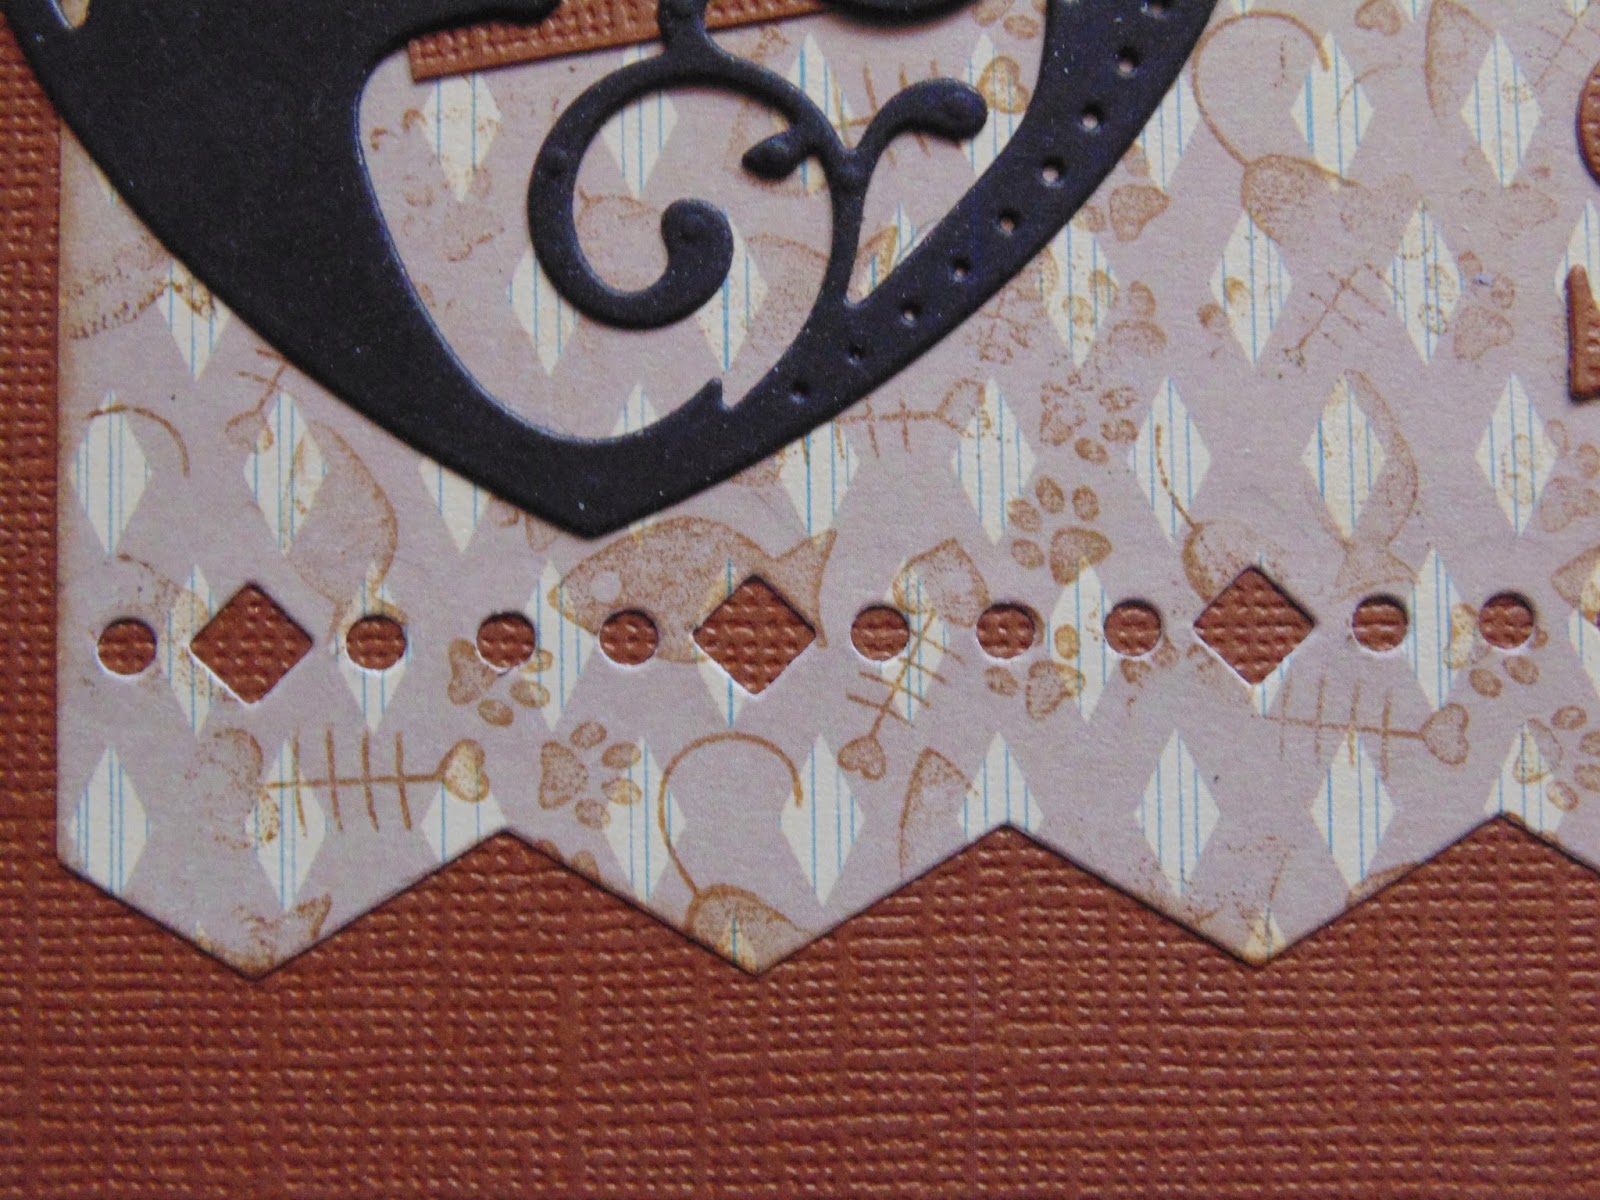
For the box itself, I used the Spellbinders Scalloped Pop Up Box Die Set. In this die set you get the die to make the box sides/flaps, the bar to hold the pop up bits & pieces and the scalloped edges. I cut the box and bars out of Sky Blue Card and the scalloped edges out of Milk Card.


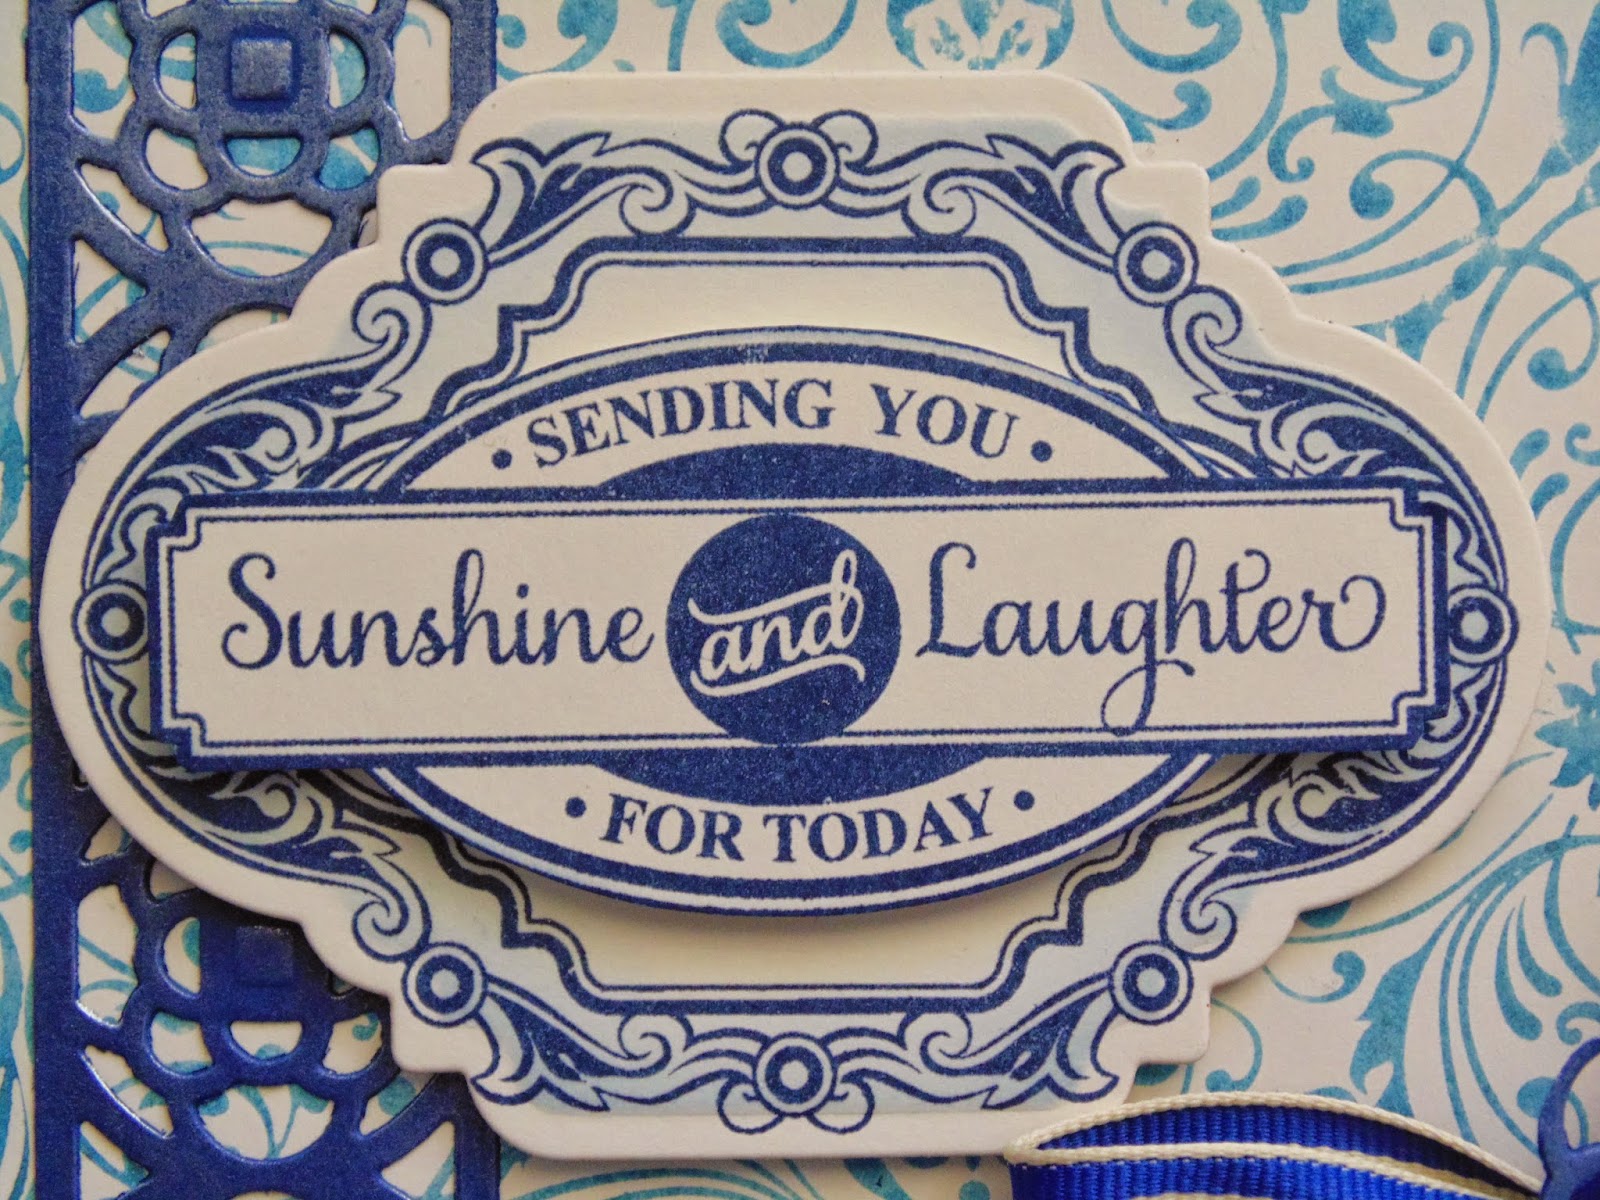
The sentiment pieces are cut from Milk Card using the Spellbinders Bordered Sentiments Die Set.


All the flowers, butterflies and leaves have been cut from Milk Card using the Spellbinders Marisa's Bouquet Die Set. I coloured them all using Cosmic Shimmer Phill Martin Gilding Waxes - Vintage Rose, Vintage Lavender, Vintage Sage, Graceful Blue, Graceful Peach and graceful Mustard. I shaped them using a Shaping Tool and Moulding Mat and added some Cream Pearls to the centres.

This is the first time I've made a pop up box. I really enjoyed it. Time consuming but quite relaxing.

Thanks for stopping by.

Julia.

Wednesday 25 February 2015

You are the Daisy in my chain!

Hi Bloggers.

Today's card features a couple of stamps from one of John Lockwood's new stamp sets and a few new Spellbinders dies -

So, the main image and sentiment are from John's Daisy Corner Clear Stamp Set, stamped onto Coconut White Card using Perfect Medium and embossed with Cosmic Shimmer Gold Detail Embossing Powder. I cut it out using a Spellbinders 6 x 6 Matting Basics A Die.

I cut the largest die from the Spellbinders Floral Assortment Die Set out of Milk Card.

I used the largest die from the Spellbinders Triple Floral die set out of Coconut White Card and at the emboss stage I added the next smallest die to give me the faux piercing look.

I cut the largest die from the 6 x 6 Matting Basics A die set out of Milk Card and added an 8mm White Pearl to each corner.

I tied a bow using Cream Crochet Ribbon and added a White Crystal Sparkler.

Thanks for stopping by.

Julia.

Tuesday 24 February 2015

Wishing You a Wonderful Day

Hi Bloggers.

I'm up at Creative Expressions HQ today running some workshops. It's bound to be a fun day.

Here's today's card -

I sprayed some Graceful Mustard Ink Spray Mist onto a piece of Cut n Dry Foam to make myself an 'ink pad'. I then spayed a little more onto my Craft Sheet and mixed this with a little Graceful Mustard Mica Powder. I added this to my 'ink pad' and used it to stamp the sentiment from the Creative Expressions Delightful Sentiments Clear Stamp Set. I cut it out using one of the dies from Sue's St. Kitts Die Set and inked through the die with Scattered Straw Distress Ink.

I cut the next size die out of Primrose Card. I rubbed Graceful Mustard Gilding Wax over the surface. I left it to dry for a few minutes and then buffed it up using a dry wet wipe.

I stamped the Tumbling Leaves Stamp using my custom made ink pad and cut it out using the largest die in the St. Kitts die set. I inked through the die with Scattered Straw.

For the background, I ran a piece of Coconut White Card through the Grand Calibur with the Creative Expressions 5 3/4 x 7 Floral Stripes Embossing Folder. I then ran my custom made ink pad around the edges.

I cut a corner out of Coconut White Card using Sue's Ornamental Corners Die Set and rubbed Graceful Mustard Gilding Wax over.

I made a flower using Sue's Cornflower Die Set - I cut 2 of 2 sizes of die out of Coconut White Card and inked using Scattered Straw adding a Small Circle Dazzler to the centre. I cut a couple of leaves out of Coconut White Card using Sue's Delicate Fronds Die Set and rubbed Graceful Mustard Gilding Wax over. I cut a couple of twirly bits out of Primrose Card using Sue's Splendid Swirls Die Set.

I assembled the card as shown adding some White Pearls and some dots of Cosmic Shimmer Cosmic Pearl PVA around the edges.

Phill Martin has shows on Create & Craft today at 10am and 3pm with some new colour collections and some gorgeous new stamps. I'll be watching on catchup when I get home - hope you can join him one way or another.

Thanks for stopping by.

Julia.

Monday 23 February 2015

Happiest of Birthdays

Hi Bloggers.

Here's today's card -

This is such an easy peasy card from the latest release of Spellbinders dies that are exclusive to UK Retailers. I like to use new dies quite simply at first but as you can see this frame has plenty of snipping opportunities.

I've cut the main die from the Draping Vine Frame Die Set out of Black Card. The little birds and the flowers are also from the same die set - I cut those out of Sky Blue and Rich Red Card.

The sentiment is from the Creative Expressions Amazing Sentiments Clear Stamp Set, stamped using Jet Black Archival. I've cut it out using Spellbinders Oval Floral. The fancy frame id cut from Black Card from the same die set.

As I said, easy peasy. I just finished it off with some 3mm White Pearls in the flower centres and pierced around the edges.

I was asked about the cat dies from Saturday's post - yes, there are dog dies too. You can see all the Spellbinders UK Retailer Exclusive dies on the Creative Expressions website here and all the other Spellbinders January Release Dies here.

Thanks for stopping by.

Julia.

Sunday 22 February 2015

Sunshine and Laughter

Hi Bloggers.

Sue has more shows on Create & Craft today starting at 11am - if there's any stock left!

Here's today's card -

For the background, I sprayed some Cosmic Shimmer Arctic Blue Vintage Ink Spray Mist onto a piece of Cut n Dry Foam to make myself an 'ink pad'. I sprayed a little more Ink onto my Craft Sheet and mixed this with a little Enchanted Blue Mica Powder from the Cosmic Shimmer Delicate Lace Mica Spray Set. I added this to my 'ink pad' and used it to stamp a section of the Justrite Iron Swirls Background. I inked around the edges with Faded Jeans Distress Ink.

I stamped the sentiment panel from the Justrite Live, Love Laugh Vintage Labels 2 Clear Stamp Set onto Milk card using Cobalt Archival and cut it out using scissors. I stamped the frame from the same stamp set, again using Cobalt Archival. I cut it out using Justrite Vintage Labels 2 Dies and inked through the die with Faded Jeans.

I cut a Couture Creations Simplicity Border out of Cobalt Card. I rubbed Phill Martin Cosmic Shimmer Vintage Blue Gilding Wax over it. I left it a few minutes to dry and then buffed it up using a dry wet wipe. I ran a piece down one side.

I tied a bow using Royal Blue/Ivory Striped Grosgrain. I cut out a section from the leftover Simplicity Border and added it to the centre of the bow.

I assembled the card as shown adding some 5mm Cream Pearls and piercing around the edges.

Thanks for stopping by.

Julia.

Saturday 21 February 2015

Scrapbook Saturday

Hi Bloggers.

Here's this week's scrapbook page -

This is an 8 x 8 page. The card is Colorcore.

The patterned paper is from the Couture Creations Sew Jo 12 x 12 Paper Pad. With the stamp in my hand, I randomly stamped the Creative Expressions Kitten Treats A6 Background Stamp using Vintage Photo Distress Ink. I cut a border and insert using Spellbinders Ric Rac Edgeabilities Die Set. I inked around the edges with Vintage Photo.

I cut 'Smokey' out of the Colorcore Card using Spellbinders Font One Upper and Lower Case Die Sets.

I cut the heart out of Black Card using Spellbinders Pawing Around (Cat) Die Set.

I cut the 3 pawprints out using the same die set. You can get the pads on the paws in the right place by adding some low tack tape to the back of the dies to keep the shapes in them. Add the glue to the under sides and press them onto the page through the low tack tape. Hope that makes sense!

I cut the mouse and the fish bone out of Black Card using Spellbinders Kitty Play Die Set.

I keep getting asked about the Spellbinders dies that I'm using. Most of them are from the January release of UK Retailer Exclusive Dies so they won't be on TV. You need to ask your local shop to order them in for you from Creative Expressions.

Sue Wilson has shows on Create & Craft today and tomorrow with a Weekender featuring her New York and Gemini Collections plus loads of goodies. First show is at 9am today.

Thanks for stopping by.

Julia.

Friday 20 February 2015

Enjoy

Hi Bloggers.

This card went down really well at the Trade Show this week.

So, I used Sue's Striped Weaving Die for the background. I cut it twice out of Milk Card and twice out of Sky Blue Card. I glued the 2 Milk Die Cuts together along one side.

I separated all of the Sky Blue strips and wove them in and out of the Milk strips. You can see how the weaving dies work on Sue's You Tube Channel here. This version with just the Striped Weaving Die does take a little longer than when you use the Classic but it's quite relaxing!

I cut the largest 3 dies together from Sue's Noble Classic Adorned Squares Die Set out of Sky Blue Card. I cut the largest die from the Sue's Ornate Pierced Squares Die Set out of Milk Card. I glued the Sky Blue Frame to the pierced die cut, seated the Classic Adorned Squares Die back in the centre of the Sky Blue Die Cut and ran it through the Grand Calibur to remove the centre from the Milk Die Cut (great tip from Sue).

I cut Sue's Enjoy Die out out Sky Blue Card.

I made a flower out of Cream Crochet Ribbon.

I cut the 2 branch dies from Sue's Blossoming Branch Die Set out of Milk Card and the flowers from the same die set out of Sky Blue Card. I shaped the flowers using a ball tool on a moulding mat and added them to the branches. I added a 3mm Cream Pearl to the centre of each one.

I assembled the card as shown adding an 8mm Cream Pearl to each corner.

Just a reminder that I have workshops on Tuesday 24th February in Kettering and Saturday 7th March near Milton Keynes with Sue's Dies and lots of Cosmic Shimmer and Creative Expressions products - details in the Workshop section of this blog (access via the top menu).

John Lockwood has shows on Create & Craft today at 10am and 4pm - hope you can tune in.

Thanks for stopping by.

Julia.