Thursday, 26 June 2014

Think Positive

Hi Bloggers.

Here's today's card -

For the back background, I ran a piece of Rich Plum Card through the Grand Calibur with the Couture Creations Irish Clubs Embossing Folder. I ran it through a second time to extend the design.

I swiped some Currant Adirondack Dye Ink onto my Craft Sheet, added some Silver Moon Cosmic Shimmer Sparkle Texture Paste and mixed together. I spread it thought the Ornate Frame Mask and put aside to dry. Once dry, I inked around the edges with Current Ink using Cut n Dry Foam.

I stamped the sentiment from the All Occasions Sentiments Stamp Set using Currant Adirondack Dye Ink and added Cosmic Shimmer Clear Embossing Powder. I did not heat set at this point. I stamped one of the Scrollwork Mini Frames around it, again using the Currant Ink, added Clear Powder and heat set the lot. I cut it out using a Spellbinders Captivating Squares Die and inked through the die with Currant. I cut another Captivating Squares Die out of Rich Plum Card.

I cut some flowers using Sue's Faux Quilled Blooms Die Set and some leaves using Sue's Faux Quilled Leaves Dies Set.

I assembled the card as shown adding some White Pearls and some dots of Cosmic Shimmer Pearlescent PVA in Cosmic Pearl around the edges.

I have taken delivery of the Christmas Stamps that I was originally scheduled to launch on Create & Craft this week. The show is now re-scheduled for 15th August. There are 6 new stamps in the series, all drawn by Sue's wonderful artist. Just click on the titles to go straight to them in my Amazon Store.

Merry Christmas
Happy New Year
Let it Snow
Believe
Peace on Earth
 Joy to the World
As with the everyday single sentiment stamps, you have the ability to mix and match the words and image panels. Although there is no outer frame on these, they are cut as one stamp so they are already lined up perfectly when used as is. I can't wait to start using these - no time at the moment though, sadly.

I have also re-stocked the Garden Frame and Rose Frame stamps. Also the Iced Snow that Sue had on her shows last weekend. I have managed to get hold of some big pots of Cosmic Shimmer Clear Embossing Powder.

The first auctions for packs of my sample cards end on ebay this evening. Thank you so much to those of you who have placed bids.

Finally, look what Sue found in the warehouse yesterday

I have ordered some and will let you know as soon as they arrive.


All for now.

Thanks for stopping by.

Julia.

Wednesday, 25 June 2014

With Love

Hi Bloggers.

Here's today's card -

I started by spreading some Warm Gold Cosmic Shimmer Sparkle Texture Paste through the Rope Frame Mask onto some Milk Card. I put it aside to dry. Once dry, I edged with Antique Linen Distress Ink.

I stamped the Baroque Frame using Perfect Medium and embossed with Cosmic Shimmer Gold Detail Embossing Powder. I cut out using Spellbinders Grand Squares and inked through the die with Antique Linen.

I stamped the sentiment from the All Occasions Sentiments Stamp Set, using Perfect Medium and added Gold Detail Powder (I did not heat set yet). I then stamped the Baroque Frame around the sentiment using Perfect Medium, added the Gold Detail Powder and heat set the lot. I cut out just the inner frame and set it on top of the larger frame using 3d Foam Pads.

I tied a bow using 2 lengths of Champagne Silky Crush Ribbon and added a Vintage Metal Embellishment.

I assembled the card as shown adding some Cream Pearls to the corners and some dots of Cosmic Shimmer Pearlescent PVA in Olympic Gold around the edges.

Thanks for stopping by.

Julia.

Tuesday, 24 June 2014

Miss You

Hi Bloggers.

I do not have shows today, there was an error in the scheduling on the Creative Expressions News Blog. My next shows on on Tuesday 1st July.

Here's today's card -

The background for this one took a while as I had to wait for each corner to dry before adding another. For each corner, I spread some Penny Copper Cosmic Shimmer Sparkle Texture Paste through one of the elements in the Decorative Elements Mask. Once all the corners were completed and dry, I inked around the edges with Caramel Adirondack Dye Ink.

I stamped the image from the Justrite Sunflower Vintage Labels Five Stamp Set using Jet Black Archival and embossed with Cosmic Shimmer Clear Embossing Powder. I cut it out using Justrite Vintage Labels Five dies and inked through the die with Caramel Ink. I coloured in using Caramel, Butterscotch and Pesto Adirondack Dye Inks. I cut a Couture Creations Elegant Motif out of Milk Card and inked through the die with Caramel Ink.

I stamped the sentiment from the same stamp set, again using Jet Black Archival and embossed with Clear Powder. I cut it out using a Justrite Vintage Label & Banner Die and inked through the die with Caramel Ink.

I tied a bow using Cream Crochet Ribbon and added a Vintage Black Button.

I assembled the card as shown adding some dots of Cosmic Shimmer Pearlescent PVA in Black Pearl around the edges.

Thanks for stopping by.

Julia.

Monday, 23 June 2014

Wonderful Friend

Hi Bloggers.

Here's today's card -

For the background, I dusted a piece of Periwinkle Card with an anti stati bag and popped it on top of my tan mat which was on top of the Grand Calibur Pink Plate. I inked up the Damask Mask with Perfect Medium and placed it face down onto the dusted card. I added the Base Plate and ran it through the Grand Calibur. The ink transferred to the debossed pattern. I added Cosmic Shimmer Clear Embossing Powder and heat set. I added Cosmic Shimmer Sky Blush Twinkles around the edges and put aside to dry.

I stamped the sentiment from the Justrite Pansies in Spring Stamp Set using Cobalt Archival  and embossed with Cosmic Shimmer Clear Embossing Powder. I cut it out using Justrite Vintage Labels 7 and inked through the die with Stonewashed Adirondack Dye Ink. I cut one of Sue's Decorative Frames (Set B) from the Californian Collection out of Periwinkle Card and inked through the die with Stonewashed Ink. I cut one of Sue's Basic Frames (Set A) from the Californian Collection out of Cobalt Card. I stamped 3 single pansies from the same stamp set using Cobalt Archival and embossed with Clear Powder. I cut them out using scissors.

I tied a bow using Blue/White Grosgrain and added a White Crystal Sparkler.

I assembled the card as shown adding some White Mini Pearl Swirls and some dots of Cosmic Shimmer Pastel Blue PVA around the edges.

Some of you will have heard Sue mention yesterday that we'll be doing a Toolshed together in July. It's on July 20th and we're both really looking forward to it. Lots of lovely new stamps and as Sue hinted, something really special - that's all I'm saying!

I am so pleased to see that there are bids on some of my sample packs on ebay so I have popped another 3 packs on there. I will add more as I get time.

Thanks for stopping by.

Julia.

Sunday, 22 June 2014

Wishing you Happiness

Hi Bloggers.

Here's today's card -

Another really simple card.

For the background,I tan the Squared Mask through the Grand Calibur with a piece of Milk Card. Leaving the mask in place, I inked through the mask using Mountain Rose Adirondack Dye Ink using Cut n Dry Foam.

I stamped the Rose Frame using Jet Black Archival and embossed with Cosmic Shimmer Clear Embossing Powder. I cut it out using Spellbinders Grand Squares and inked through the die with Mountain Rose. I coloured in using Pastel Orange from the Cosmic Shimmer Pastels Watercolour Paint Set and Golden Pear from the Cosmic Shimmer Garden Tones Watercolour Paint Set.

I stamped the sentiment from the True Thoughts Stamp Set, again using Jet Black Archival and embossed with Clear Powder. I cut it out using Spellbinders Classic Squares Small and inked through the die with Mountain Rose.

Itied a bow using White Crochet Ribbon and added a Frosted Peach Dazzler.

I assembled the card as shown adding some White Pearls to the corners and some dots of Cosmic Shimmer Pearlescent PVA in Cosmic Pearl around the edges.

I've started listing some packs of old demo cards on ebay as I really need the space! I am hoping they will sell as 50% of the final value will go to The Teenage Cancer Trust. Please click on the ebay link in the top menu of this blog to go and have a look.

Don't forget that Sue has shows today at 11am, 2pm and 7pm.

Thanks for stopping by.

Julia.

Saturday, 21 June 2014

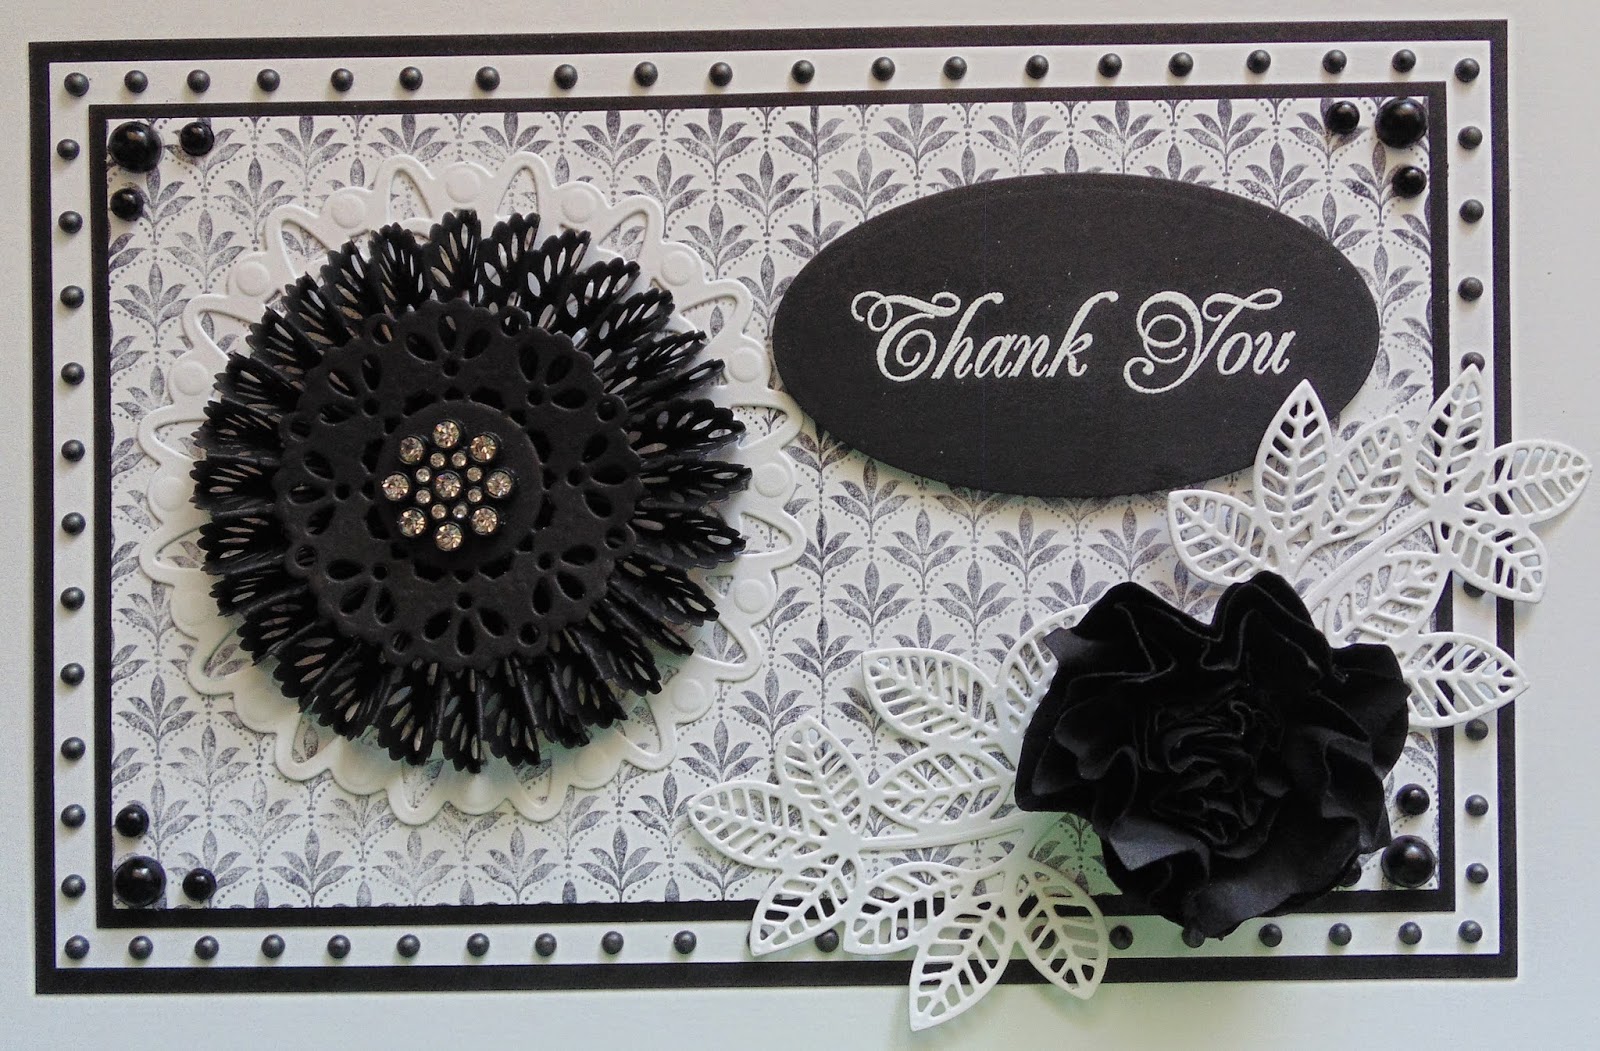
Thank You

Hi Bloggers.

Here's today's card -

For the background, I inked up the Justrite Dotted Fronds Background with Jet Black Archival. I stamped it onto copy paper before stamping it onto Coconut White Card. I did this as I wanted a lighter image. I repeated the process to extend the design.

I cut a Couture Creations Elegant Motif Die out of Coconut White Card. I cut 4 of the largest die from the Couture Creations Cameo Die Set out of Black Card and made a rosette. I cut the smaller die from the set and added it to the centre stacking several 3d Foam Pads. I added a Crystal Sparkler to the centre.


I stamped the sentiment from the Justrite Floral Thank You Stamp Set onto Black Card using Perfect Medium and embossed with Cosmic Shimmer True White Detail Embossing Powder. I cut it out using Justrite Vintage Labels Four Dies.

I made a scrunched up flower out of Black Card using Justrite Vintage Labels 3 Dies and cut 2 of Sue's Faux Quilled Leaves out of Coconut White Card.

I assembled the card as shown adding some Black Pearls in the corners and some dots of Cosmic Shimmer Pearlescent PVA in Black Pearl around the edges.

Sue has shows today on Create & Craft with a Justrite Christmas Weekender at 9am, 12noon and 6pm and then again tomorrow at 11am, 2pm and 7pm.

Thanks for stopping by.

Julia.

Friday, 20 June 2014

Get Well

Hi Bloggers.

Here's today's card -

For the background, I stamped the flourish from the Justrite Butterfly Dreams Stamp Set using Perfect Medium and embossed with Cosmic Shimmer Arctic Lake Lustre Embossing Powder. I inked around the edges with Faded Jeans Distress Ink.

I masked off the area around the Flower Garden Mask and spread some Perriwinkle Cosmic Shimmer Sparkle Texture Paste through it. I put aside to dry. Once dry I cut it out using Justrite Vintage Labels Three Dies and inked through the die with Faded Jeans.

I stamped the sentiment from the Justrite Floral Thank You Stamp Set using Jet Black Archival and embossed with Cosmic Shimmer Clear Embossing Powder. I cut it out using Justrite Vintage Labels Four Dies and inked through the die with Faded Jeans.

I tied a bow using White Crochet Ribbon. I pressed a Clear Sparkler into Perfect Medium, added Cosmic Shimmer Arctic Lake Lustre Embossing Powder, tapped off the excess and heat set.

 I assembled the card as shown adding some 8mm White Pearls to the corners and some dots of Cosmic Shimmer Pearlescent PVA in Summer Blue around the edges.

Thanks for stopping by.

Julia.

Thursday, 19 June 2014

Happiness

Hi Bloggers.

Here's today's card -

For the background, I randomly stamped the butterfly from the Justrite Butterfly Dreams Stamp Set using Perfect Medium. I dusted over with Violet Frost Mica Powder from the Cosmic Shimmer Garden Flora Mica Spray Set.

I stamped the sentiment from the same stamp set using Perfect Medium and embossed with Cosmic Shimmer True White Detail Embossing Powder. I cut it out using Justrite Vintage Labels Three Dies and inked through the die with Dusty Concord Distress Ink. I cut 2 Couture Creations Elegant Motif out of Rich Plum Card and made a rosette. I did a YouTube video a couple of years ago showing how to do this with another die, but the principal is the same. You can find it on this post.

I made 2 flowers out of White Crochet Ribbon and cut a couple of leaves out of Rich Plum Card using Sue's Faux Quilled Leaves Die Set.

I assembled the card as shown adding some White Pearls in the corners and some dots of Cosmic Shimmer Pearlescent PVA in Vintage Plum around the edges.

Thanks for stopping by.

Julia.

Wednesday, 18 June 2014

Creative Expressions Blog Hop Winner

Hi Bloggers.

3rd post of the day for me today!

I wanted to let you know as quickly as possible that the winner of my prize on the Blog Hop is........

Happy Nana

Please pop over to the Creative Expressions Blog here to find out how to claim your prize.

Thank you to everyone who took part.

All for now.

Julia

New Colours of Sparkle Texture Paste now in stock

Hi Bloggers.

All 9 of the new colours of Cosmic Shimmer Sparkle Texture Paste are now in stock in my Amazon Store. You can find all the colours I have here.

Don't forget your masks - you can find all the designs I have in stock here.

All for now.

Julia.

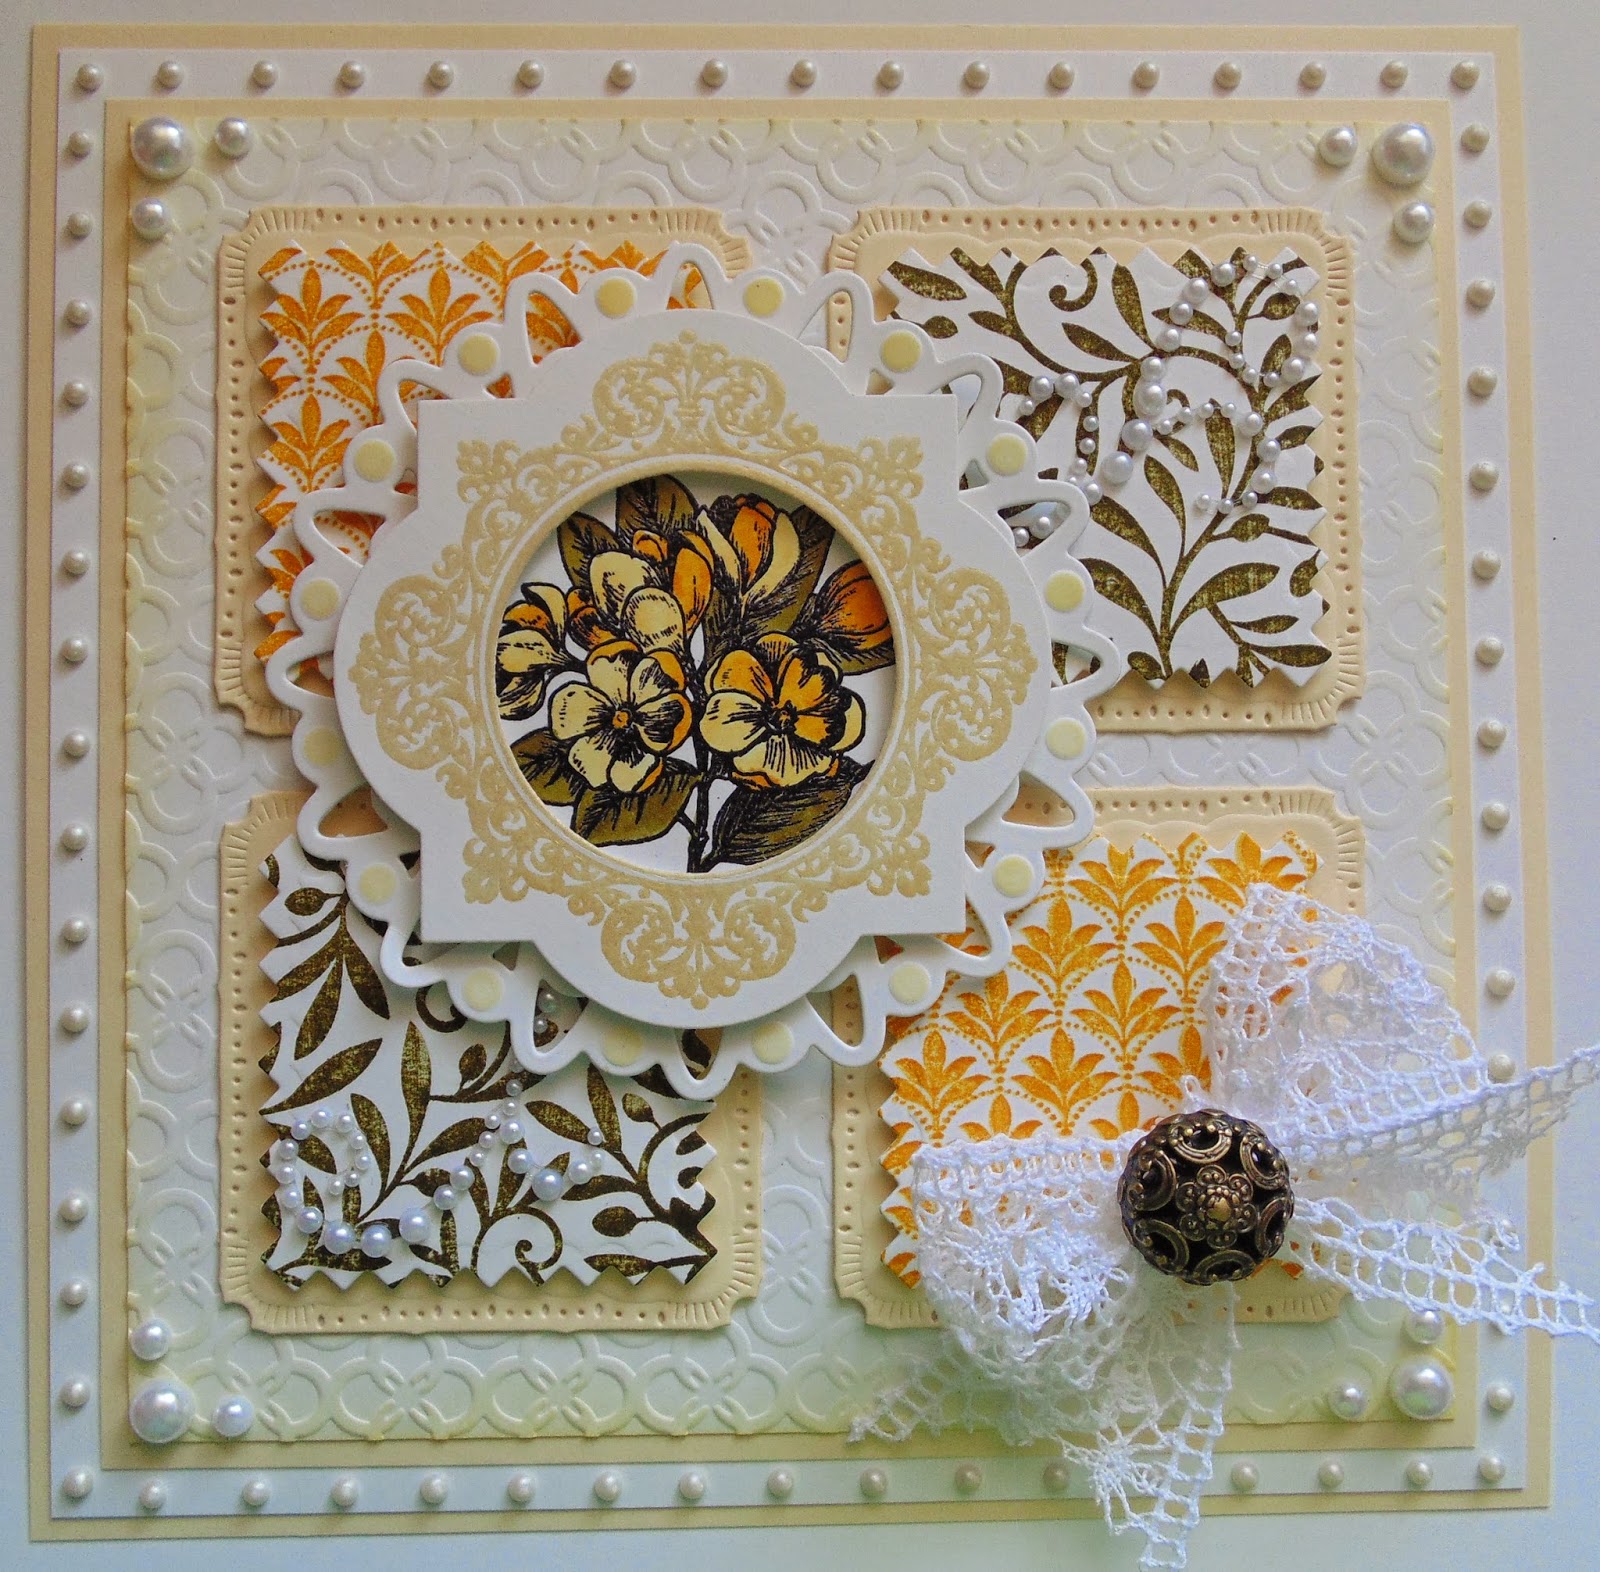
Circle of Friends

Hi Bloggers.

Thanks for all the emails yesterday and the comments here on the blog. Much appreciated as always.

Here's today's card -

For the background, I simply ran a piece of Coconut White Card through the Grand Calibur with the Couture Creations Irish Clubs Embossing Folder. I ran it through a second time to extend the design and inked around the edges with Lemonade Adirondack Dye Ink using Cut n Dry Foam.

I stamped the Justrite Leafy Background using Pesto Adirondack Dye Ink. I stamped the Justrite Dotted Fronds Background using Butterscotch Adirondack Dye Ink. I cut 2 swatches out of each of them using Spellbinders Square Swatches. I cut 4 Spellbinders Marvelous Squares dies out of Custard Card.


I stamped the image from the Justrite Circle of Friends Vintage Labels Three Stamp Set using Jet Black Archival and embossed with Cosmic Shimmer Clear Embossing Powder. I coloured in using Lemonade, Butterscotch and Pesto Adirondack Dye Inks.

I stamped the frame from the same stamp set using Perfect Medium and embossed with Cosmic Shimmer Olympic Gold Lustre Embossing Powder. I cut it out using Justrite Vintage Labels Three Dies. I cut a Couture Creations Elegant Motif die out of Coconut White Card and inked through the die with Lemonade Dye Ink.

I tied a bow using White Crochet Ribbon and added a Bronze Vintage Button.

I assembled the card as shown adding some White Pearls in the corners, a couple of White Mini Pearl Swirls and some dots of Cosmic Shimmer Pearlescent PVA in Cosmic Pearl around the edges.

Thanks for stopping by.

Julia.