Friday, 4 July 2014

Thanks for your Help

Hi Bloggers.

Thanks for all your comments yesterday about my workshops and my Amazon Store (and the card of course!). I had to have a giggle when some of you said you were too far away to come to a workshop - I've just looked it up and it's 495 miles from Milton Keynes (where I live) to Aberdeen (where we'll be at the end of next week)! Now that is a long way! I was asked if I would share the workshop card details here on the blog. I don't think it's appropriate to ask people to pay for a workshop and then give full details of how the cards were made here so that won't be happening. Sorry.

I am once again struggling with whether to continue with my Amazon Store or not. When I started on Amazon in 2008, there were only a couple of stores selling craft and they were in the States so postage was high. So, I did pretty well. Now it's much harder as there are lots of sellers with craft on there now. Many undercutting me on products I demo. With the unsold stock I have, it may be costing me more money than it's making for me now. So, I will have to have a good old think over the next few weeks and decide what to do. I will, of course, let you know.

Here's today's card -

For the background, I ran a piece of Milk Card through the Grand Calibur with the Couture Creations Feather Frenzy Embossing Folder. I ran it through a second time to extend the design and inked around the edges with Latte Adirondack Dye Ink.

I inked through the Doodle Squares Mask onto Milk Card using Latte Ink. I cut 4 Couture Creations Square Plaques from it. I cut 4 Spellbinders Marvelous Squares out of Gold Card.

I  stamped the sentiment from the All Occasions Sentiments Stamp Set using Perfect Medium and embossed with Cosmic Shimmer Ancient Copper Metallic Embossing Powder. I cut it out using Couture Creations Cameo Die. I cut one of Sue's Decorative Frames Set B from the Californian Collection out of Gold Card.

I tied a bow using Brown/Ivory Striped Grosgrain and added a Gold Satin Ribbon Rose.

I assembled the card as shown adding a Cream 8mm Pearl in each corner and some dots of Cosmic Shimmer Ivory PVA around the edges.

The lovely Phill (with 2 'L's) Martin has shows today on Create & Craft at 11am and 4pm. Some more new Sentimentally Yours stamps on offer.

Thanks for stopping by.

Julia.

Thursday, 3 July 2014

Live Your Dream

Hi Bloggers.

Just a reminder that whenever I have a product that I've used in stock in my Amazon Store, you will see it highlighted in the text. Just click on it and you will go straight to the product in my store. Postage is charged at £2.90 for the first item and then 10p extra for each extra item in the same order. I'm sorry, I just cannot afford to offer you free postage. I would, if I could. Please be careful that if you order from another seller who offers free postage that they quite often increase the price of the item so if you order more than one item you may end up paying more. I do try to post same or next day depending on my work schedule.

Here's today's card -

Sorry about the wonky photo!

For the background, I popped the Lace Mask onto a piece of Milk Card and ran it through the Grand Calibur. Leaving the mask in place, I inked through it with Stonewashed Adirondack Dye Ink using Cut n Dry Foam. I then inked through one of the designs in the Floral Elements Mask in each corner, again using Stonewashed Ink.

I stamped the sentiment from the All Occasions Sentiments Stamp Set using Perfect Medium and embossed with Cosmic Shimmer Pastel Blue Embossing Powder. I cut it out using Couture Creations Square Plaque and inked through the die with Stonewashed Ink. I cut a Spellbinders Majestic Circle out of Milk Card and inked through the die with Stonewashed.

I cut some flowers in 2 different sizes using Sue's Faux Quilled Blooms Die Set. I cut 3 sets of leaves using Couture Creations Ivy Die, cut them up into individual leaves and popped a couple behind each flower.


I completed the card adding Cream Pearls to the centre of each flower and in the corners of the background and some dots of Cosmic Shimmer Pastel Blue PVA around the edges.

I've just finalised my next set of workshops at Creative Expressions HQ, Ketteting. Tuesday August 5th - a morning and an afternoon workshop. The morning workshop is mainly mica powder based though other products will be used. Pic below.

The afternoon will be mainly Shimmer Paint based, again other products will be used. Pic below.

 Each session is approx 2 1/2 hours (never exact!) and the price is £25 per session. Please contact Tracey on 01536 481778 to book a place.

Thanks for stopping by.

Julia.

Wednesday, 2 July 2014

Because I Care

Hi Bloggers.

Thanks for all your emails and comments yesterday. Much appreciated as always.

Here's today's card -

For the background, I stamped the Dresses Corner Stamp in each corner using Perfect Medium and embossed with Cosmic Shimmer Pastel Pink Embossing Powder. I inked around the edges with Tattered Rose Distress Ink.

I stamped the sentiment from the Celebration Stamp Set onto Blush Card using Perfect Medium and embossed with Pastel Pink Powder. I cut it out using the Couture Creations Square Plaque Die and inked through the die with Tattered Rose. I cut a Couture Creations Cameo Set die out if Coconut White Card.

I made a rosette out of Blush Card using Couture Creations Cappuccino Die. I cut the die twice and then a third time - I only used half of the third one.


I assembled the card as shown adding a White 8mm Pearl in each corner and some dots of Cosmic Shimmer Pastel Pink PVA around the edges.

Thanks for stopping by.

Julia.

Tuesday, 1 July 2014

Shows on Create & Craft today

Hi Bloggers.

I have shows today on Create & Craft at 8am with Nigel and 2pm with Martyn. Hope you can join me.

Here's today's card -

For the background, I ran a piece of Coconut White Card through the Grand Calibur with the Couture Creations Feather Frenzy Embossing Folder. I ran it through a second time to extend the design (this one is not a repeating pattern). I rubbed some Pearl Moon Gilding Wax over the surface. I left it to dry for a couple of minutes and then inked around the edges with Peach Bellini Adirondack Dye Ink using Cut n Dry Foam.

I cut 2 of one of the border dies from the Couture Creations Chandeliers Set out of Soft Peach Card. I inked through the die with Peach Bellini.

I stamped the sentiment from the All Occasions Sentiments Stamp Set using Perfect Medium and embossed with Cosmic Shimmer Pastel Peach Embossing Powder. I cut it out using Couture Creations Square Plaque Die and inked through the die with Peach Bellini. I cut a Spellbinders Luscious Labels One out of Soft Peach Card and inked through the die with Peach Bellini.

I cut a piece of White Tulle and tied a knot in the centre. I tied a bow using White Satin Edged Organza. I rubbed a White Organza Ribbon Rose into the Peach Bellini Ink Pad to change the colour,

I assembled the card as shown adding a White 8mm Pearl in each corner, some White Mini Pearl Swirls and some dots of Cosmic Shimmer Pearlescent PVA in Cosmic Pearl around the edges.

See you later!

Thanks for stopping by.

Julia.

Monday, 30 June 2014

Sneak Peek

Hi Bloggers.

As promised, I have a sneak peek for you today from tomorrow's shows. The show is mainly a die based show featuring some lovely new dies from Couture Creations. They work well on their own and with other dies you may already have in your stash.

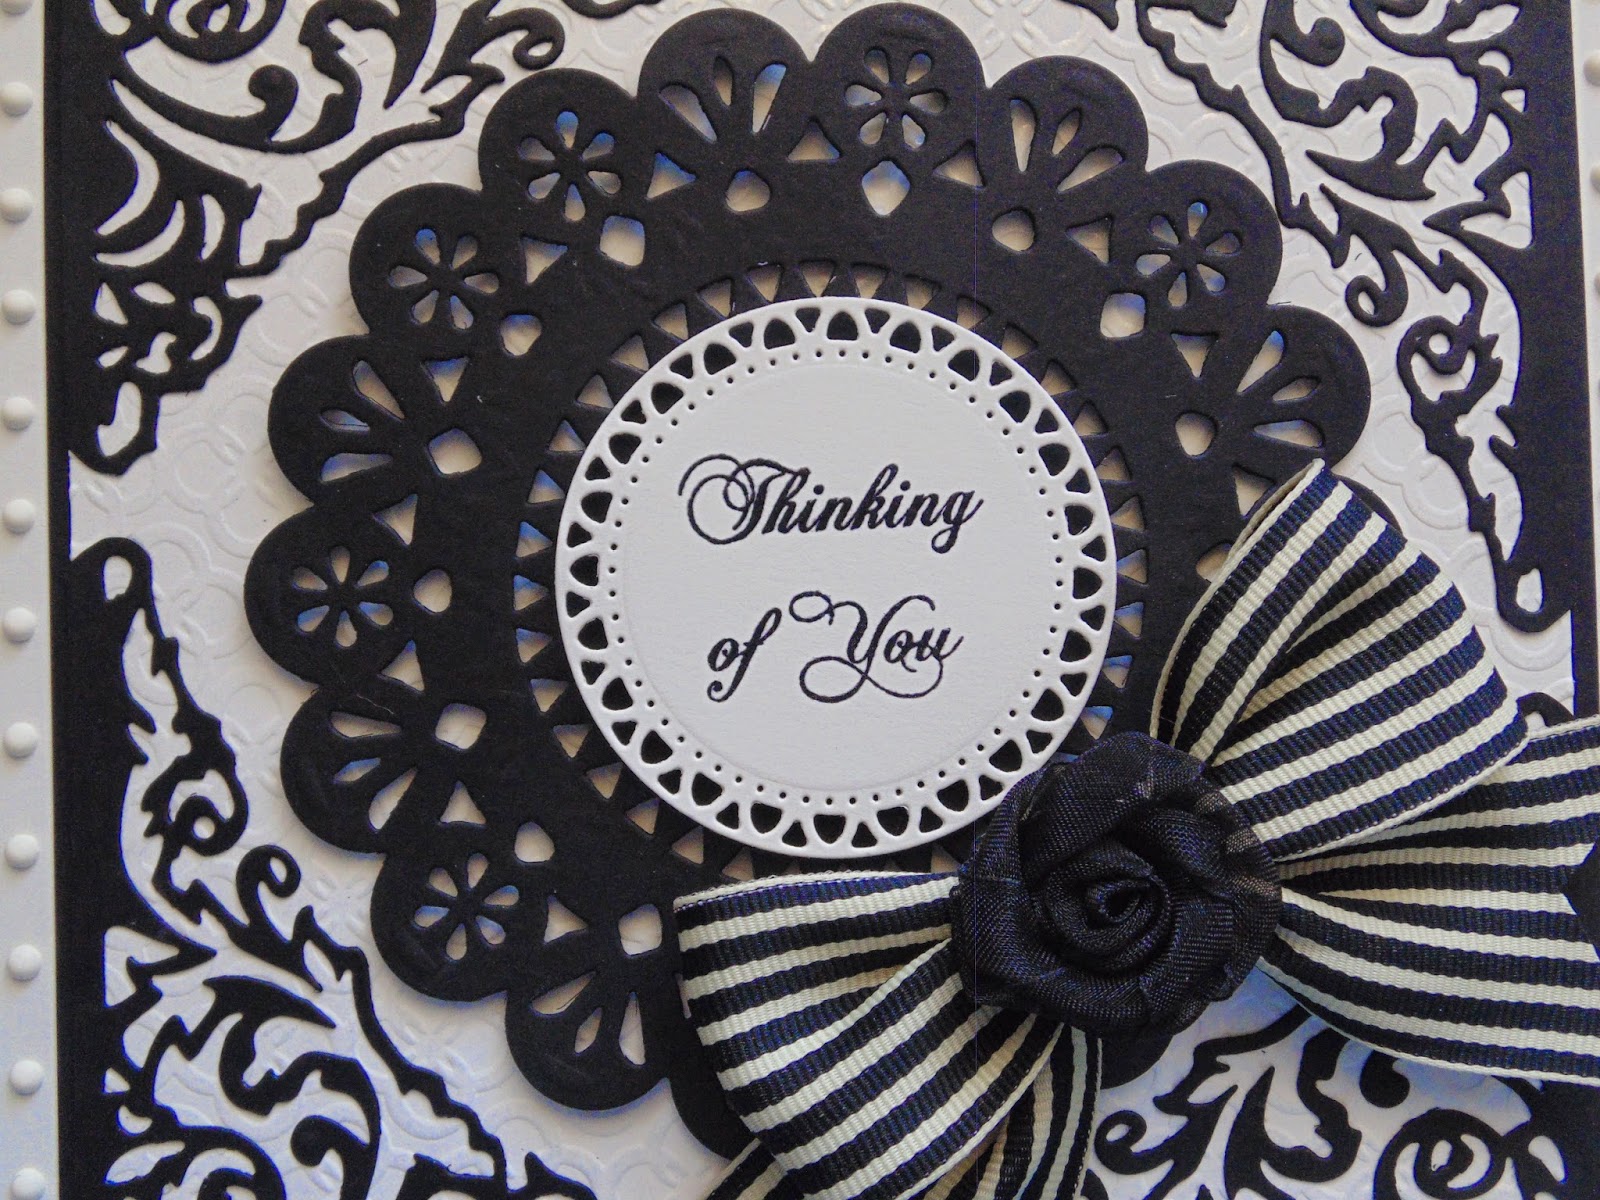
Here's today's card -

For the background, I ran a piece of Milk Card through the Grand Calibur with the Couture Creations Irish Clubs Embossing Folder. I ran it through a second time to extend the design. I rubbed Enchanted Gold Gilding Wax over the surface.

The corners are cut from the Couture Creations French Frame Die. The die looks like this -
 
So, for the corners, I cut 4 French Frames and trimmed them down keeping just the ornate section of each one.

I stamped the sentiment from the All Occasions Sentiments Stamp Set using Jet Black Archival and embossed with Cosmic Shimmer Clear Embossing Powder. I cut it out using Sue's Decorative Frames from the Italian Collection.

I cut a Couture Creations Cappuccino Die out of Black Card.

I tied a bow using Black/Ivory Striped Grosgrain and added a Black Organza Ribbon Rose.

I assembled the card as shown adding a Cream 8mm Pearl in each corner and some dots of Cosmic Shimmer Ivory PVA around the edges.

I have listed all of the sample packs I have so far on ebay. The first 7 packs have been sold and have raised over £40 for The Teenage Cancer Trust. I chuffed to bits that they have been so popular. 12 packs selling this week, then I'll pop some more on after I've been away with Sue.

Thanks for stopping by.

Julia.

Sunday, 29 June 2014

Loves Me - Loves me Not

Hi Bloggers.

Here's today's card -

For the background, I started by spritzing with Purple Orchid Cosmic Shimmer Vintage Ink Spray Mist. I popped a little Pearl and Violet Cosmic Shimmer Shimmer Paints onto my Craft Sheet and mixed them together. I picked some up onto a piece of Cut n Dry Foam and 'inked' through one of the designs in the Ornate Elements Mask in each corner. With the stamp in my hand, I randomly stamped a section of the Justrite Sweet Lace Background Stamp using Dusty Concord Distress Ink. Again, with the stamp in my hand, I randomly stamped the Taylored Expressions Daisy Bouquet image using Dusty Concord. Once the ink was dry I ran the background through the Grand Calibur with the Couture Creations My Garden Embossing Folder. I ran it through a second time to extend the design and inked around the edges with Dusty Concord using Cut n Dry Foam.

I stamped the Taylored Expressions Daisy Bouquet onto Mauve Card using Perfect Medium and embossed with Cosmic Shimmer True White Detail Embossing Powder. I cut it out using Spellbinders 5 x 7 Elegant Labels 4 and inked through the die with Dusty Concord.

I stamped the sentiment from the Daisy Bouquet set, again using Perfect Medium and embossed with True White Detail Powder. I cut it out using Spellbinders Romantic Rectangles 2 and inked through the die with Dusty Concord.

I tied a bow using White Crochet Ribbon and added some White Pearl String and a Frosted Violet Dazzler.

I assembled the card as shown adding a White 8mm Pearl to each corner and some dots of Cosmic Shimmer Pastel Lilac PVA around the edges.

I'll be back tomorrow with a sneak peek from Tuesday's shows.

Thanks for stopping by.

Julia.

Saturday, 28 June 2014

Love & Kisses

Hi Bloggers.

Here's today's card -

For the background, I started by inking through a section of the Ornate Frame Mask onto Coconut White Card in each corner using Currant Adirondack Dye Ink using Cut n Dry Foam. I ran it through the Grand Calibur with the Couture Creations Irish Clubs Embossing Folder. I ran it through a second time to extend the design and inked around the edges with Currant Ink.

I swiped some Currant Ink onto my Craft Sheet and mixed in some Silver Moon Cosmic Shimmer Sparkle Texture Paste. I spread through the Trelliage Mask onto Coconut White Card and put aside to dry. Once dry, I cut it into 4 squares and mounted onto Rich Plum Card.

I stamped the sentiment from the All Occasions Sentiments Stamp Set using Perfect Medium and added Cosmic Shimmer Silver Shine Detail Embossing Powder. I did not heat set at this point. I stamped the Baroque Frame around the sentiment using Perfect Medium, added Silver Detail Powder  and heat set the lot. I cut out the inner frame using scissors and then inked around the edges with Currant Ink. I cut a Spellbinders Luscious Labels One out of Rich Plum Card.

I tied a bow using White Crochet Ribbon and added a Silver Vintage Button.

I assembled the card as shown adding a White 8mm Pearl in each corner and some dots of Cosmic Shimmer Pearlescent PVA in Cosmic Pearl around the edges.

Just in case you missed it yesterday, the Heart Lattice Embossing Folder is back in stock. You can find it here.

Thanks for stopping by.

Julia.

Friday, 27 June 2014

Heart Lattice Embossing Folder Back in Stock

Hi Bloggers.

It's here!

Don't miss it!

All for now.

Julia

Sunflower

Hi Bloggers.

Here's today's card -

For the background, I inked through one of the elements in the Decorative Elements Mask in each corner onto a piece of Coconut White Card using Butterscotch Adirondack Dye Ink and a piece of Cut n Dry Foam. I then ran it through the Grand Calibur with the Couture Creations Irish Clubs Embossing Folder. I ran it through a second time to extend the design and then inked around the edges with Butterscotch Ink. I wrapped a piece of White Crochet Ribbon around the centre.

I stamped the image from the Justrite Sunflowers Vintage Labels Five Stamp Set using Jet Black Archival and embossed with Cosmic Shimmer Clear Embossing Powder. I stamped the sunflower wording in the same way beneath the flower. I cut out using Spellbinders A2 Devine Eleoquence Die Set and inked through the die with Butterscotch Ink. I coloured in using Pesto, Caramel and Butterscotch Adirondack Dye Inks. I stamped the sunflower a second time, cut out just the flower head, coloured in the same way as before and added to the full image using 3d Foam.

I tied a bow using White Crochet Ribbon and added a Vintage Bronze Button.

I assembled the card as shown adding some White Pearls to the corners and some dots of Cosmic Shimmer Pearlescent PVA in Cosmic Pearl around the edges.

Thanks for stopping by.

Julia.