Showing posts with label Eco Green. Show all posts

Friday, 19 February 2016

Freebie Friday

Hi Bloggers.

Here's this week's card that needs a new home.

Leave a lovely comment below to go into the draw to win it. I will announce the winner on Wednesday next week (a couple of days later than usual as I'm away at the UK Trade Show for a few days).

You can read how this card was made here.

Thanks for stopping by.

Julia.
www.juliawattscrafts.co.uk
Free card with all website orders (ask for one in the comments box at checkout).
Deal of the Day today (19th February) - Wild Rose Studio Peach Blossom Paper Pad only £2.99!

Thursday, 8 May 2014

True Friendship

Hi Bloggers.

Thanks for all your orders for the Spellbinders Tool n One. There's a video demo on YouTube by Spellbinders here.

Here's today's card -

For the background, I simply ran a piece of Coconut White Card through the Grand Calibur with the Couture Creations Exotic Embossing Folder. I ran it through a second time to extend the design and inked around the edges with Classic Cobalt Eco Green Dye Ink Pad.

I stamped the image from the Justrite Irises Vintage Labels Four Stamp Set using Jet Black Archival ans embossed with Cosmic Shimmer Clear Embossing Powder. I coloured in using Eco Green Dye Ink Pads. I used Classic Cobalt, Lavender Organza and Emerald. I also used Sunflower Cosmic Shimmer Matt Drawing Ink from the Summer Fayre Set. I cut the image out using a Justrite Vintage Labels Four Die. I cut a Spellbinders Decorative Labels One out of Cobalt Card.

I stamped the sentiment from the Justrite True Friends Vintage Labels Four Stamp Set using Jet Black Archival and embossed with Clear Powder. I cut it out using a Justrite Vintage Labels Four Die and cut another die out of Cobalt Card.

I tied a bow using Blue/Ivory Striped Grosgrain and added a Fancy Pearl Embellishment.

I assembled the card as shown adding some White Pearls in the corners and some dots of Cosmic Shimmer Crystal Sparkle PVA around the edges.

Thanks for stopping by.

Julia.

Saturday, 3 May 2014

Iris

Hi Bloggers.

A couple of you have asked me to stock some items in my Amazon Store. I have emailed but received no response so just in case I thought I'd mention it here. Not using any surnames - Carol - the embossing powder you wanted is here and Susan - the Lace Mask is here.

My Justrite Toolsheds have now been combined and will be in a One Day Wonder on May 15th. I think my May dates are fixed now  but we'll see!

Here's today's card -

For the background, I ran a piece of Milk Card through the Grand Calibur with the Fleur de Lys Tiles Mask. I cut a border out of Black Card using the Spellbinders Classic Postage Stamp Edgeabilities Die Set.

I stamped the image from the Justrite Irises Vintage Labels Four Stamp Set using Jet Black Archival and embossed with Cosmic Shimmer Clear Embossing Powder. I cut it out using Justrite Vintage Labels Four and inked through the die with Walnut Eco Green Dye Ink Pad.

I cut a Spellbinders Elegant Post out of Black Card.

I stamped the sentiment from the same stamp set using Jet Black Archival and embossed with Clear Powder. I cut it out using Spellbinders Venetian Accents and inked through the die with the Walnut Ink.

I tied a bow using Black/Ivory Striped Grosgrain and added a Black Crystal Sparkler.

I assembled the card as shown adding some Black Pearls to the top left-hand corner and some dots of Cosmic Shimmer Pearlescent PVA in Black Pearl around the edges.

Thanks for stopping by.

Julia.

Saturday, 11 January 2014

Thanks

Hi Bloggers.

Wow, thank you for all your orders. Some stamps have already sold out and I will be ordering some more first thing Monday morning so hopefuly more stock will be in my Amazon Store by the end of the week. I will let you know when they arrive.

Here's today's card -

A 3 panel background. I stamped the Justrite Autumn Damask Background a couple of times using Eco Green Cherry Blossom Dye Ink and embossed with Cosmic Shimmer Clear Embossing Powder. I cut them down into strips and matted them on to Raspberry Card. For the white background I used the Couture Creations Exotic Embossing Folder, running it through a second time to extend the design.

I stamped the sentiment from the Justrite Kindness Stamp Set using Coffee Archival. I stamped the frame around it - from the Justrite Always & Forever Medallion Labels Stamp Set, using the Cherry Blossom Ink and embossed with Clear Powder. I cut it out using Justrite Nested Oval Medallion Dies. I stamped the lower frame from the Justrite Kindness Stamp Set, again using Cherry Blossom and embossed with Clear Powder. I cut it out using Spellbinders Labels 20.

I made a flower out of felt from the Vintage Felt Pack using Spellbinders Spiral Blossom 4. I cut a couple of 'leaves' out of Raspberry Card using Spellbinders Venetian Motifs.

I assembled the card as shown adding an 8mm White Pearl in each corner and dots of Cosmic Shimmer Pearlescent PVA in White around the edges.

Thanks for stopping by.

Julia.

Tuesday, 12 March 2013

Happiness Always

Hi Bloggers.

Peachy card today.

For the background, I used Milk card and inked through the Doodle Daisies mask with Dried Marigold Distress Ink. Then I stamped the little windmill style flower from the Eco Green Embellishing Flourishes Stamp Set using Tattered Rose Distress Ink.

I stamped the heart image from the Creative Expressions From the Heart Stamp Set using Perfect Medium and embossed with Cosmic Shimmer Lapis Pearl Lustre Embossing Powder. I cut it out using Spellbinders Blossom 5 and inked through the die with Dried Marigold. I cut a larger Blossom 5 out of Peach Card and inked through the die with Dried Marigold.

I stamped the sentiment from the same stamp set using Perfect Medium and embossed with Lapis Pearl Lustre. I cut it out using Spellbinders Matting Basics B and inked through the die with Dried Marigold. I cut a mat out of Peach Card and used Matting Basics B to cut it out inking through the die once again with Dried Marigold.

I tied a bow using Cream Satin Edged Organza Ribbon. I pressed a Fancy Pearl Embellishment into the Perfect Medium and added some Lapis Pearl Lustre. I tapped off the excess and heat set then added it to my bow.

I assembled the card as shown adding some dots of Cosmic Shimmer Pearlescent PVA in Golden Pearl around the edges.

Thanks for stopping by.

Julia


Sunday, 10 March 2013

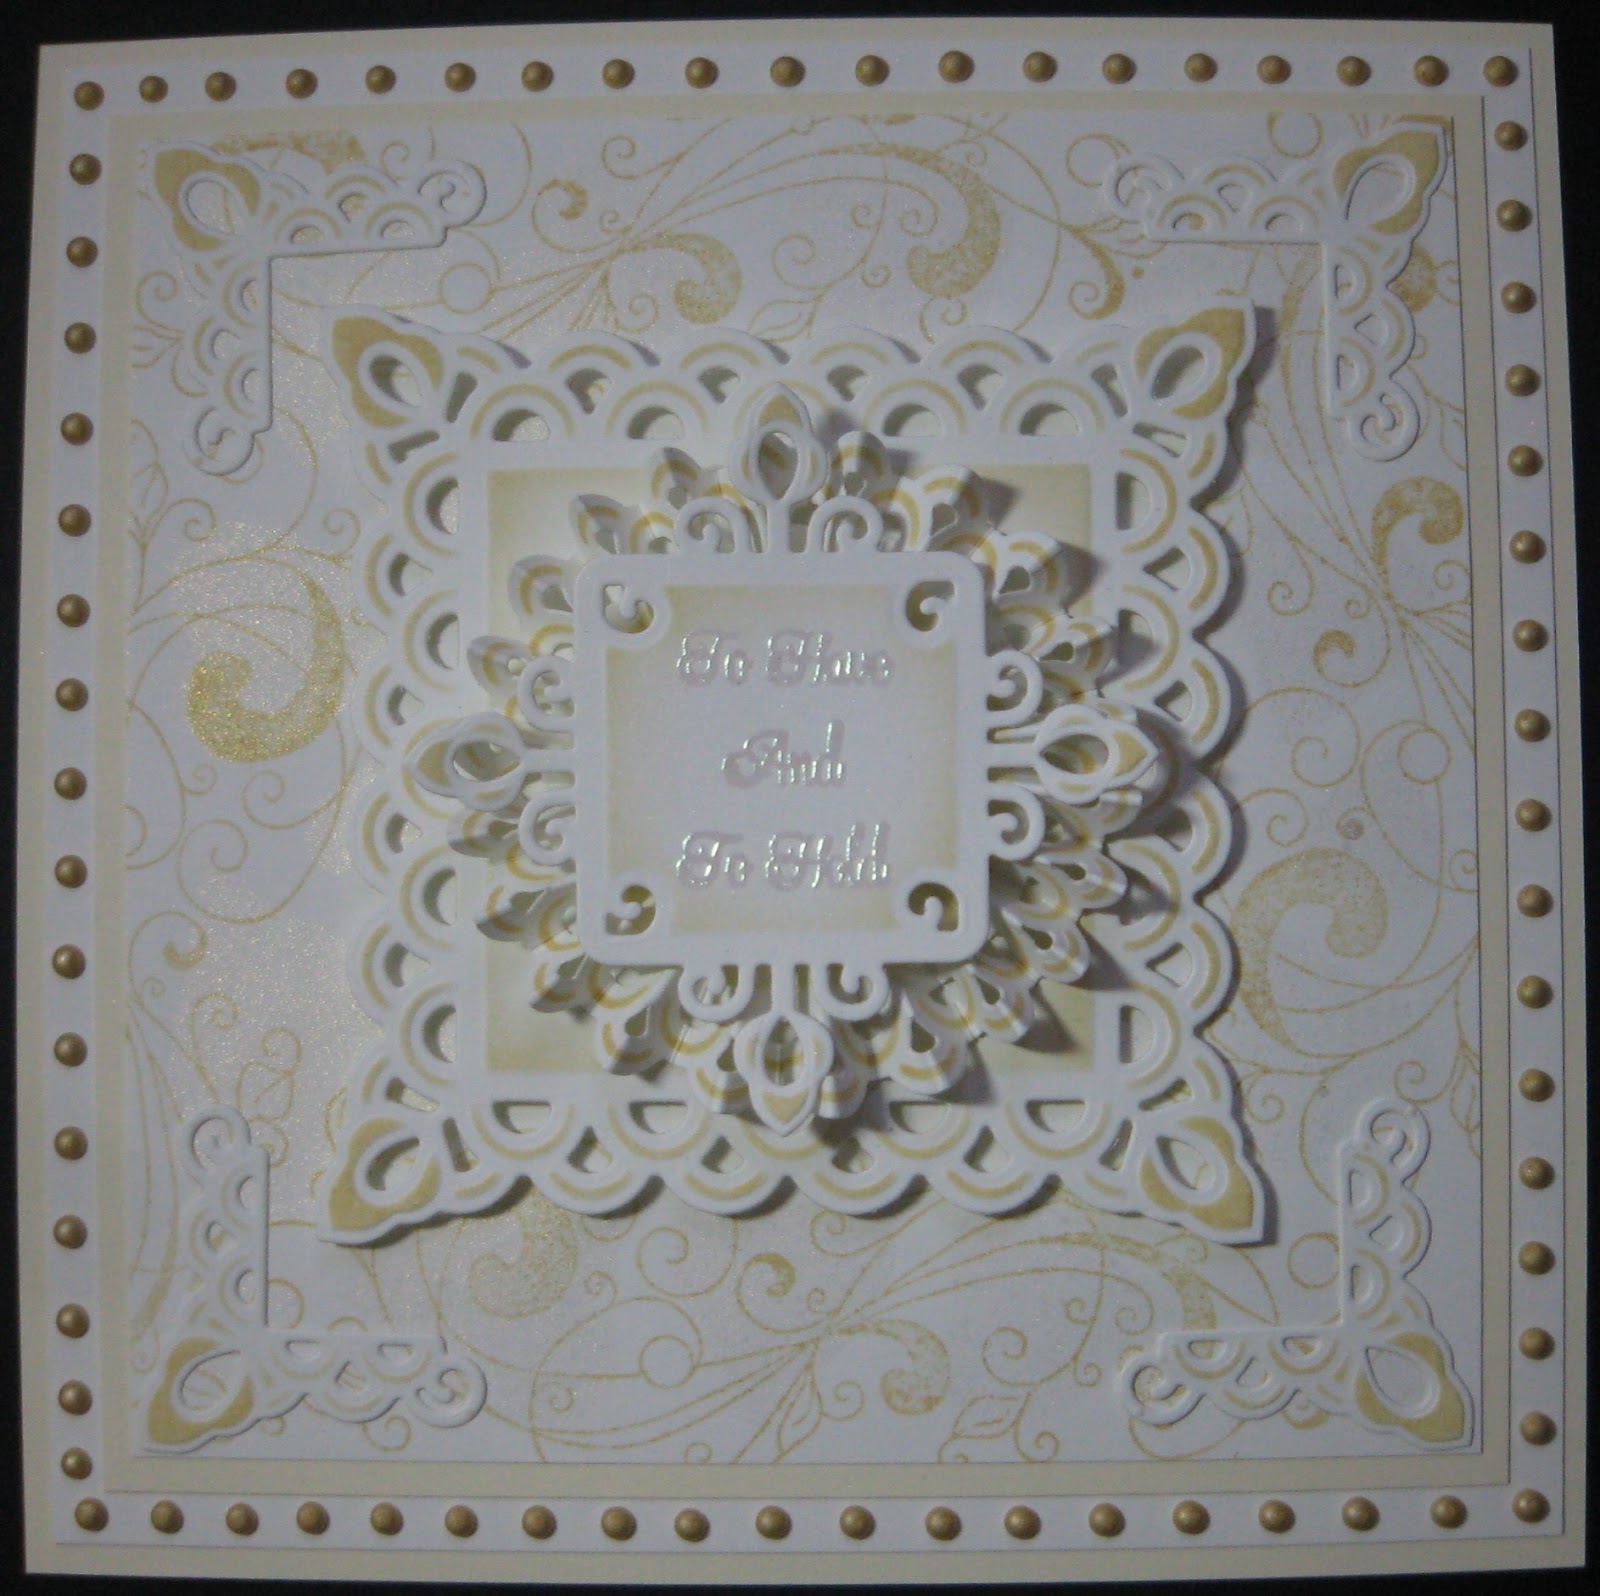
To Have and to Hold

Hi Bloggers.

Happy Mother's Day. Kathryn came home on Friday (last minute decision) and is staying till Wednesday which is lovely. Unfortunately, I have to spend most to spend most of the time prepping for the Pick of the Week so won't get to spend much time with her. Sometimes this job isn't quite so much fun!

Here's today's card -

For the background, I used Coconut White card and spritzed through the Heart Confetti Mask with the Cosmic Shimmer Sunlight Mist Mister. I then stamped one of the flourishes from the Eco Green Embellishing Flourishes Stamp Set using Antique Linen Distress Ink. I cut 4 corners using the Spellbinders Asian Accents die set and inked through the die with Antique Linen.

I cut a large square motif using the Spellbinders Asian Motifs die set and inked through the die with Antique Linen. I cut 2 of the circle motifs from the Asian Accents die set and inked though the die with Antique Linen. I scored then right across the centre on every peak of the design and then turned then over and scored across the centre on every lower part of the design (hope that makes sense - if you have the die set it probably makes more sense!). I cut to the centre on each one and then concertina folded. I glued the 2 pieces together using Cosmic Shimmer Glue.

I stamped the sentiment from the Creative Expressions From the Heart Stamp Set using Perfect Medium and embossed with Cosmic Shimmer Lapis Pearl Lustre Embossing Powder. I cut it out using a smaller motif from the Asian Motifs die set and inked through the die with Antique Linen.

I assembled the card as shown adding some dots of Cosmic Shimmer Pearlescent PVA in Golden Pearl around the edges.

Thanks for stopping by.

Julia.

Friday, 8 March 2013

A Successful Marriage

Hi Bloggers.

Back home from Preston late last night. Had a lovely time at Inspirations. Back to prepping for next week's Pick of the Week. Sue is going to be doing the shows on Friday and Sunday and I'll be doing Saturday and then Monday till Friday morning or until stocks last.

I've popped all the times for the week in the left-hand sidebar indicating the shows that Sue is doing and the ones that are on Ideal World. We've popped lots of new Creative Expressions products on the shows which we hope you will enjoy. That's all I'm saying for now - tease!!

Here's another card from the shows last Sunday -

For the background, I inked through the Doodle Daisies Mask with Milled Lavender Distress Ink using Cut n Dry Foam. I then stamped one of the flourishes from the Eco Green Embellishing Flourishes Stamp Set using Milled Lavender.

I stamped the sentiment from the Creative Expressions Wedding Bliss Stamp Set using Perfect Medium and embossed with Cosmic Shimmer Amethyst Mist Lustre Embossing Powder. I cut it out using Spellbinders Blossom 5 and inked through the die with Milled Lavender. I cut the smallest of the Spellbinders Grand Stately Circles and inked through the die with Milled Lavender.

I tied a bow using 2 lengths of White Sheer Wrinkled Edge Ribbon and added a Fancy Pearl Embellishment.

I assembled the card as shown adding a Pearl Swirl and some dots of Cosmic Shimmer Pearlescent PVA in White around the edges. I edged all my white mats with Milled Lavender beforehand.

Thanks for stopping by.

Julia.


Thursday, 7 March 2013

An abundance of love and happiness

Hi Bloggers.

I'm in Preston today demoing at Inspirations from 10am. Hope to see some of you there.

Here's today's card -

For the background, I used Coconut White Card and inked through the Heart Confetti Mask with Antique Linen Distress Ink using Cut n Dry Foam. I then stamped one of the flourishes from the Embellishing Flourishes Stamp Set using the Antique Linen. I made sure the ink was dry and then ran it through the Grand Calibur with the Walrus & Carpenter Embossing Folder. I ran it through a second time to extend the pattern and inked around the edges with Antique Linen using Cut n Dry Foam.

I stamped the image from the Creative Expressions Wonderful Beginnings Stamp Set using Perfect Medium and embossed with Cosmic Shimmer Lapis Pearl Lustre Embossing Powder. I cut it out using Spellbinders Grand Stately Circles and inked through the die with Antique Linen. I added some Cream 3mm Self Adhesive Pearls to the dress.

I stamped the sentiment from the same stamp set using Perfect Medium and embossed with Lapis Pearl Lustre. I cut it out using Spellbinders Asian Accents and inked through the die with Antique Linen.

I tied a bow using 2 lengths of Cream Silky Crush Ribbon. I cut one of the smaller motifs from the Asian Motifs die set and inked through the die with Antique Linen. I added a Medium Heart Dazzler.

I assembled the card as shown adding a Pearl Swirl and some dots of Cosmic Shimmer Pearlescent PVA in Golden Pearl around the edges.

Thanks for stopping by.

Julia


Tuesday, 5 March 2013

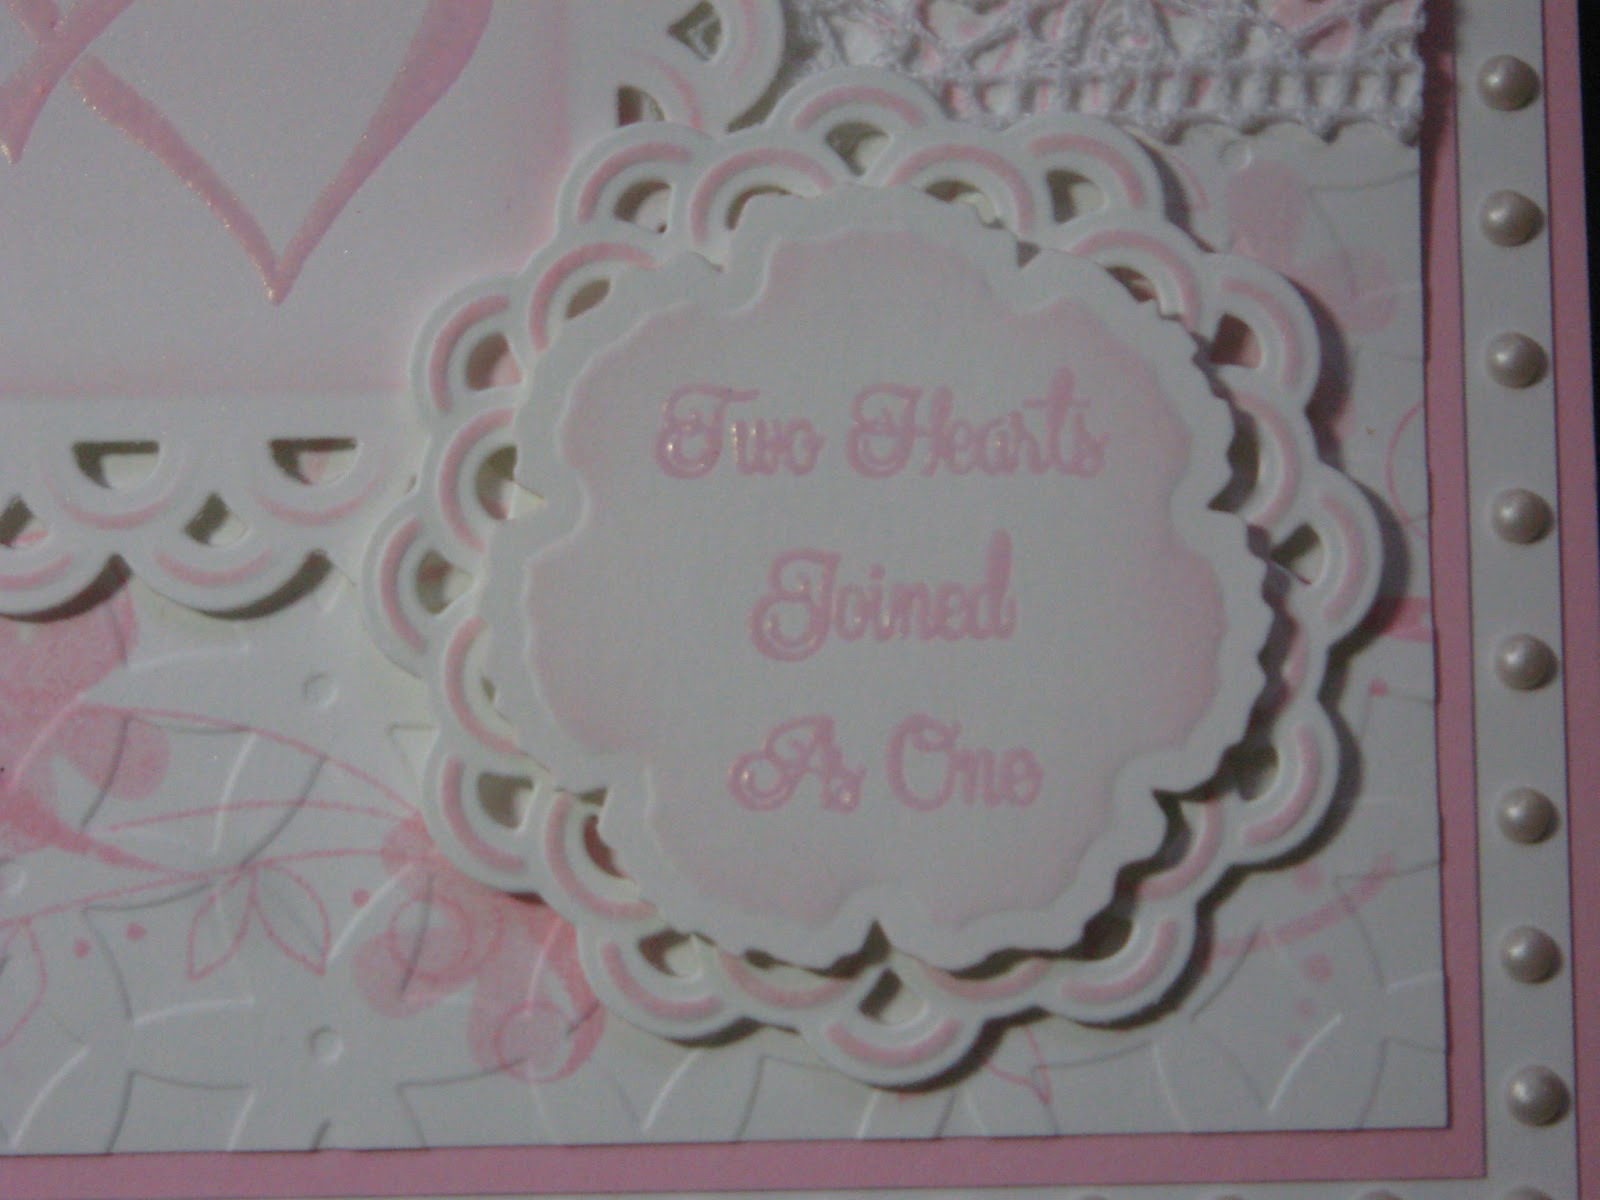
Two Hearts

Hi Bloggers.

This card should have been a demo on Sunday but there wasn't time.

For the background, I inked through the Doodle Daisies Mask using Spun Sugar Distress Ink using Cut n Dry Foam. I then stamped one of the flourishes from the Eco Green Embellishing Flourishes Stamp Set using the same ink pad. I made sure the ink was dry and then popped it through the Grand Calibur with the Couture Creations Wild Poinsettia Embossing Folder. I ran it through a second time to extend the pattern. I wrapped a piece of White Crochet Ribbon around it.

I stamped the image from the Creative Expressions Hearts Entwined Stamp Set using Perfect Medium and embossed with Cosmic Shimmer Sunrise Pink Lustre Embossing Powder. I cut it out using the Spellbinders Asian Motifs die set and inked through the die with Spun Sugar.

I stamped the sentiment from the same stamp set, again using Perfect Medium and embossed with Sunrise Pink Lustre. I cut it out using Spellbinders Blossom 5 and inked through the die with Spun Sugar. I cut a circle motif using the Asian Accents die set and again inked through the die with Spun Sugar.

I tied a bow using White Crochet Ribbon. I pressed a Fancy Pearl Embellishment into the Perfect Medium Ink Pad and then sprinkled over some Sunrise Pink Lustre Powder. I tapped off the excess and heat set. I added it to my bow.

I assembled the card as shown adding some dots of Cosmic Shimmer Pearlescent PVA in White around the edges.

Thanks for stopping by.

Julia.


Saturday, 2 March 2013

LOVE

Hi Bloggers.

Today I'm at Melbicks Garden & Leisure, Coleshill, Birmingham. I'm demoing some Spellbinders dies and some Creative Expressions products. If you're in the area, please stop by and say hello.

As promised, today I have a sneak peak from tomorrow's Wedding Shows. But before I show you it, I want to show you the embossing powders I have on the shows. I've picked 4 yummy Cosmic Shimmer Lustre Embossing Powders - in big 20ml pots. I am not planning on stocking my Amazon Store with these or any other products for the next 3 weeks at least as I have to devote as much time as possible prepping for a Pick of the Week starting March 15th. I need to come to terms with the fact that I'm not Superhuman! There are still lots of products still in stock and a whole bunch on auction on ebay - see the links in the right-hand sidebar of this blog.

By the way, if you have any questions for me, it's better if you ask me via email to juliawattscrafts@gmail.com rather than asking here on the blog. I can't guarantee that I'll reply immediately at the moment as I am a bit snowed under!

Anyway, these Lustre embossing powders are fab. Here's what they look like on white card -

And here's the same powders in the same order on black card - cool, eh?

They are a bit of a challenge to photograph so I'm apologising ahead of time for some of the rubbish photos that are to come in future posts!

Here's today's card -


For the background I used Coconut White Card. I stamped one of the flourishes from the Eco Green Embellishing Flourishes Stamp Set using Antique Linen Distress Ink. I made sure the ink was dry and then ran it though the Grand Calibur with the Couture Creations Wild Poinsettia Embossing Folder. I ran it through a second time to extend the pattern and then inked around the edges with Cut n Dry Foam. I wrapped a piece of Cream Crochet Ribbon around it.

I stamped the image from the Creative Expressions Wedding Bliss Stamp Set using Perfect Medium and embossed with the Cosmic Shimmer Lapis Pearl Lustre Embossing Powder. I cut it out using Spellbinders Blossom 5 and inked through the die with Antique Linen. I cut a large square motif using Spellbinders Asian Motifs and inked through the die with Antique Linen.

I stamped the sentiment from the same stamp set, again using Perfect Medium and embossed with Lapis Pearl Lustre. I cut it out using Matting Basics B and inked through the die with Antique Linen.

I tied a bow using the Cream Crochet Ribbon. I changed the colour of the Fancy Pearl Embellishment slightly by pressing it into Perfect Medium, sprinkling with Lapis Pearl Lustre and heat setting.

I assembled the card as shown adding some dots of Cosmic Shimmer Pearlescent PVA in Golden Pearl around the edges.

Thanks for stopping by.

Julia.


Saturday, 16 February 2013

Friends are a Wonderful Gift

Hi Bloggers.

Just to let you know that my shows on 23rd Feb are still going ahead, it's just the March 1st shows that were cancelled. As always, my TV dates are in the left-hand sidebar of this blog.

I'm off to the Trade Show at the NEC early tomorrow morning. I'm there till Tuesday demonstrating on the Creative Expressions Stand. I may not be able to post any Amazon orders till Wednesday - sorry about that. I will be scheduling my posts over those 3 days - hopefully Blogger will behave itself.

Here's today's card -

For the background, I stamped one of the large flourishes from the Eco Green Embellishing Flourishes Stamp Set using Jet Black Archival. I made sure the ink was dry and then ran it through the Grand Calibur with the Couture Creations Intrinsic Embossing Folder. I ran it through a second time to extend the pattern.

I cut the largest of the Spellbinders Decorative Labels 8 out of Milk Card and inked through the die with Aged Mahogany using Cut n Dry Foam. I cut the next size down out of Burgundy Card. I stamped the sentiment from the Creative Expressions Classic Sentiments Stamp Set using Jet Black Archival and embossed with Cosmic Shimmer Clear Embossing Powder. I cut it out using the second smallest of the Decorative Labels 8 dies and inked through the die with Aged Mahogany.

I tied a bow using Burgundy/Ivory Striped Grosgrain Ribbon. I left it 'naked'.

I assembled the card as shown adding some Black Pearls in the corners and some dots of Cosmic Shimmer Pearlescent PVA in Black Pearl around the edges.

Thanks for stopping by.

Julia.


Friday, 8 February 2013

Birthday Wishes

Hi Bloggers.

Another feminine card today which was a demo in my first show on Monday.

For the background, I popped a piece of Milk Card inside the Couture Creations Pastorale Embossing Folder. The card was wider than the folder. I ran it through the Grand Calibur. I stamped one of the long thin flourishes from the Embellishing Flourishes Stamp Set along the top and bottom borders using Victorian Velvet Distress Ink. I then inked through the Doodles Daisies Mask with Victorian Velvet using Cut n Dry Foam in the centre section. I inked around the edges of the background by just scraping my foam with Victorian Velvet on it just on the edge of the card. I did the same on my mat pieces.

I stamped the sentiment from the Creative Expressions Classic Sentiments Stamp Set using Jet Black Archival and embossed with Cosmic Shimmer Clear Embossing Powder. I cut it out using Spellbinders Decorative Labels 8 and inked through the die with Victorian Velvet.

I made 2 flowers using Spellbinders Spiral Blossom 4. I removed the die cuts from the die and inked along the edge before rolling. I added a 5mm Cream Pearl to the centre of each flower and a Pearl Swirl.


I tied a bow using Burgundy Grosgrain Ribbon and added a Fancy Pearl Embellishment.
I assembled the card as shown adding some dots of Cosmic Shimmer Pearlescent PVA around the edges.

Thanks for stopping by.

Julia.