Hi Bloggers.
As we say goodbye to 2014, I thought I would share with you some of my favourite cards from this year.
From January -
You can read how I made the above card here.
From February -
You can read how I made the above card here.
From March -
You can read how I made the above card here.
From April -
You can read how I made the above card here.
From May -
You can read how I made the above card here.
From June -
You can read how I made the above card here.
From July -
You can read how I made the above card here.
From August -
You can read how I made the above card here.
From September -
You can read how I made the above card here.
From October -
You can read how I made the above card here.
From November -
You can read how I made the above card here.
And finally from December -
You can read how I made the above card here.
I hope you've enjoyed my favourites.
Thanks for stopping by.
Julia.
Wednesday, 31 December 2014
Tuesday, 30 December 2014
You Touched My Life
Hi Bloggers.
One for the boys today -
For the background, I ran a piece of Milk Card through the Grand Calibur with the Creative Expressions Checkerboard PinPoint Embossing Folder and inked around the edges with Vintage Photo Distress Ink. I wrapped a piece of mesh ribbon from my stash around the centre.
I stamped the frame and the ship from the Justrite Anchors Away Clear Stamp Set using Sepia Archival. I cut it out using Justrite Nested Medallion Labels Die Set and inked through the die with Vintage Photo.
I stamped the sentiment from the same stamp set using Sepia Archival. I cut it out using a Spellbinders Ornate Squares Die and inked through the die with Vintage Photo.
I cut the largest 2 dies from Sue's Valencia Die Set together out of Chestnut Card.
I attached a Creative Expressions Fancy Key Charm and a Chain Tassel using Cosmic Shimmer Dries Clear Glue and some frayed strands from my Mesh Ribbon.
I assembled the card as shown adding some Brads to the corners and some dots of Cosmic Shimmer Ivory PVA around the edges.
Thanks for stopping by.
Julia.
Monday, 29 December 2014
Happy Birthday
Hi Bloggers.
Here's today's card -
For the background, I started by randomly inking through the Criss Cross Mask using Wild Honey Distress Ink onto a piece of Coconut White Card. Then, with the stamp in my hand, I randomly stamped Phill Martin's Leafy Background using Dried Marigold Distress Ink. I repeated the process with Phill Martin's Crackled Background and Rusty Hinge Distress Ink. I made sure the ink was dry and ran it through the Grand Calibur with the Creative Expressions Rambling Blossoms Embossing Folder and inked around the edges with Dried Marigold Distress Ink. I rubbed Enchanted Gold Gilding Wax over the surface. Once dry, I buffed it up using a dry wet wipe.
I stamped the Daisy Spray using Jet Black Archival and embossed with Cosmic Shimmer Clear Embossing Powder. I coloured in using Distress Markers. I used Ripe Persimmon, Evergreen Bough and Gathered Twigs.
I stamped the Scrollwork Vase using Pefect Medium and brushed Burnt Red Mica Powder from the Cosmic Shimmer Golden Winter Mica Spray Set over. I removed the excess with a dry wetwipe and cut it out using scissors.
I popped the vase on top of the Daisy Spray and selected a die to fit - the largest in Sue's Granada Die Set. I removed the vase and cut out using the die, inking through the die with Dried Marigold. I added the vase using Cosmic Shimmer Dries Clear Glue.
I stamped the sentiment that comes with the Earthenware Vase using Jet Black Archival and embossed with Cosmic Shimmer Clear Embossing Powder. I cut it out using the smallest die in Sue's Valencia Die Set and inked through the die with Dried Marigold.
I assembled the card as shown adding some White Pearls to the corners and some dots of Cosmic Shimmer Cosmic Pearl PVA around the edges.
Thanks for stopping by.
Julia.
Sunday, 28 December 2014
Winner of the Christmas Day Card
Hi Bloggers.
Mr Random.Org has picked a winner! It is ...............................
Ros Hodgkins
Please email me at juliawattscrafts@gmail.com with your address and I'll pop it in the post.
All for now.
Julia
Never Give Up
Hi Bloggers.
Here's today's card -
For the background, I stamped one of the corners from the Justrite Ornate Corners Clear Stamp Set in all 4 corners of a piece of Coconut White Card using Victorian Velvet Distress Ink. I stamped one of the smaller elements from the same stamp set top and bottom in the gaps. I made sure the ink was dry and then ran it through the Grand Calibur with the Creative Expressions Checkerboard PinPoint Embossing Folder and inked around the edges with Victorian Velvet.
I stamped the sentiment from the Justrite What Defines Us Clear Stamp Set using Victorian Velvet. I cut it out using Justrite Filigree Bracket Die Set and inked through the die with Victorian Velvet.
I tied a bow using Pink/White Striped Grosgrain Ribbon and added a White Crystal Sparkler.
I assembled the card as shown adding some dots of Phill Martin Graceful Pink PVA around the edges.
Don't forget to pop back later to see if you've won the card from Christmas Day's post.
Thanks for stopping by.
Julia.
Saturday, 27 December 2014
Hope is a Word
Hi Bloggers.
Here's today's card -
For the back background, I ran a piece of Coconut White Card through the Grand Calibur with the Couture Creations Great Chain Wire Embossing Folder. I ran it through a second time to extend the design.
I stamped the Justrite Cornflower Damask Background using Perfect Medium. I dusted Tropic Blue Mica Powder from Cosmic Shimmer Garden Flora Mica Spray Set over the surface and removed the excess with a dry wet wipe.
I stamped the main image from the Justrite Hope & Love Vintage Labels 8 & 9 Clear Stamp Set onto Sky Blue Card using Perfect Medium and embossed with Cosmic Shimmer True White Detail Embossing Powder. I cut it out using Justrite Vintage Labels 8.
I cut a couple of sets of leaves out of Sky Blue Card using Sue's Faux Quilled Leaves Die Set and made a couple of flowers out of White Crochet Ribbon.
I assembled the card as shown adding some Self Adhesive Pearls and some dots of Cosmic Shimmer Cosmic Pearl around the edges.
Thanks for stopping by.
Julia.
Friday, 26 December 2014
Happy Days
Hi Bloggers.
Hope you had a good Christmas Day and have a relaxing day today.
Here's today's card -
This card started with some coloured Sparkle Texture Paste that I had left over from another project. Rather than waste it I used it through the Criss Cross Mask so I could use it as a panel. By the way, it was the Cosmic Shimmed Frosty Dawn Texture Paste mixed with a little Tumbled Glass Distress Ink. Once the Texture Paste was dry I ran the piece through the Grand Calibur with the Creative Expressions Rambling Blossoms Embossing Folder and then matted it onto Aqua Card.
For the background, I ran a piece of Coconut White Card through the Grand Calibur with the Creative Expressions Sea Garden Embossing Folder and inked around the edges with Tumbled Glass.
I masked off the frame on the Regal Iris Stamp with Low Tack Tape. I inked it up with Jet Black Archival, removed the tape and stamped onto Coconut White Card. I embossed with Cosmic Shimmer Clear Embossing Powder. I coloured in using Tumbled Glass and Crushed Olive Distress Markers. I cut it out using Spellbinders Labels 29 and inked through the die with Tumbled Glass.
I stamped the sentiment that comes with the Desert Daisies Stamp using Jet Black Archival and embossed with Clear Powder. I cut it out using Spellbinders Romantic Rectangles Two and inked through the die with Tumbled Glass.
I assembled the card as shown adding a couple of White Mini Pearl Swirls, some 8mm White Pearls to the corners and somw dots of Cosmic Shimmer Cosmic Pearl PVA around the edges.
Thanks for stopping by.
Julia.
Thursday, 25 December 2014
Smiles
Hi Bloggers.
Happy Christmas! Hope your Turkey is in the oven!
Today's card was meant to be a demo when I did the Justrite Sale Shows but there wasn't time so, I've put it together and I thought I would offer it up as a giveaway. So, leave a comment on this post and I'll make the draw on Sunday.
For the background, I stamped the little flourishes from the Justrite Ornate Happiness Squares Clear Stamp Set down both sides of a piece of Coconut White Card using Dusty Concord Distress Ink. I then ran it through the Grand Calibur with the Creative Expressions Art Deco Fanfare Embossing Folder and inked around the edges with Dusty Concord.
I stamped the sentiment from the Justrite Enjoy the Day Clear Stamp Set and the frame from the Justrite Ornate Happiness Squares Clear Stamp Set using Perfect Medium and embossed with Phill Martin's Graceful Lilac Embossing Powder. I cut it out using Spellbinders Ornate Squares.
I cut a Spellbinders Asian Motif Die out of Mauve Card and inked through the die with Dusty Concord. I cut the largest die in the set out of Coconut White Card and rubbed Phill Martin's Graceful Lilac Gilding Wax over it. Once dry, I buffed it up using a dry wet wipe.
I made a flower out of Purple/Ivory Striped Grosgrain. I cut some leaves out of Mauve Card using Sue's Curled Vines Die Set. I popped some Phill Martin Graceful Lilac Twinkles onto my Craft Sheet, picked it up onto some Cut n Dry Foam and used it to cover the leaves.
I assembled the card as shown adding some White Pearls and some dots of Phill Martin's Graceful Lilac PVA around the edges.
Don't forget to leave a comment!
Have a Great Day.
Julia.
Wednesday, 24 December 2014
Cats rule, Dogs drool
Hi Bloggers.
Happy Christmas Eve!
Here's today's card -
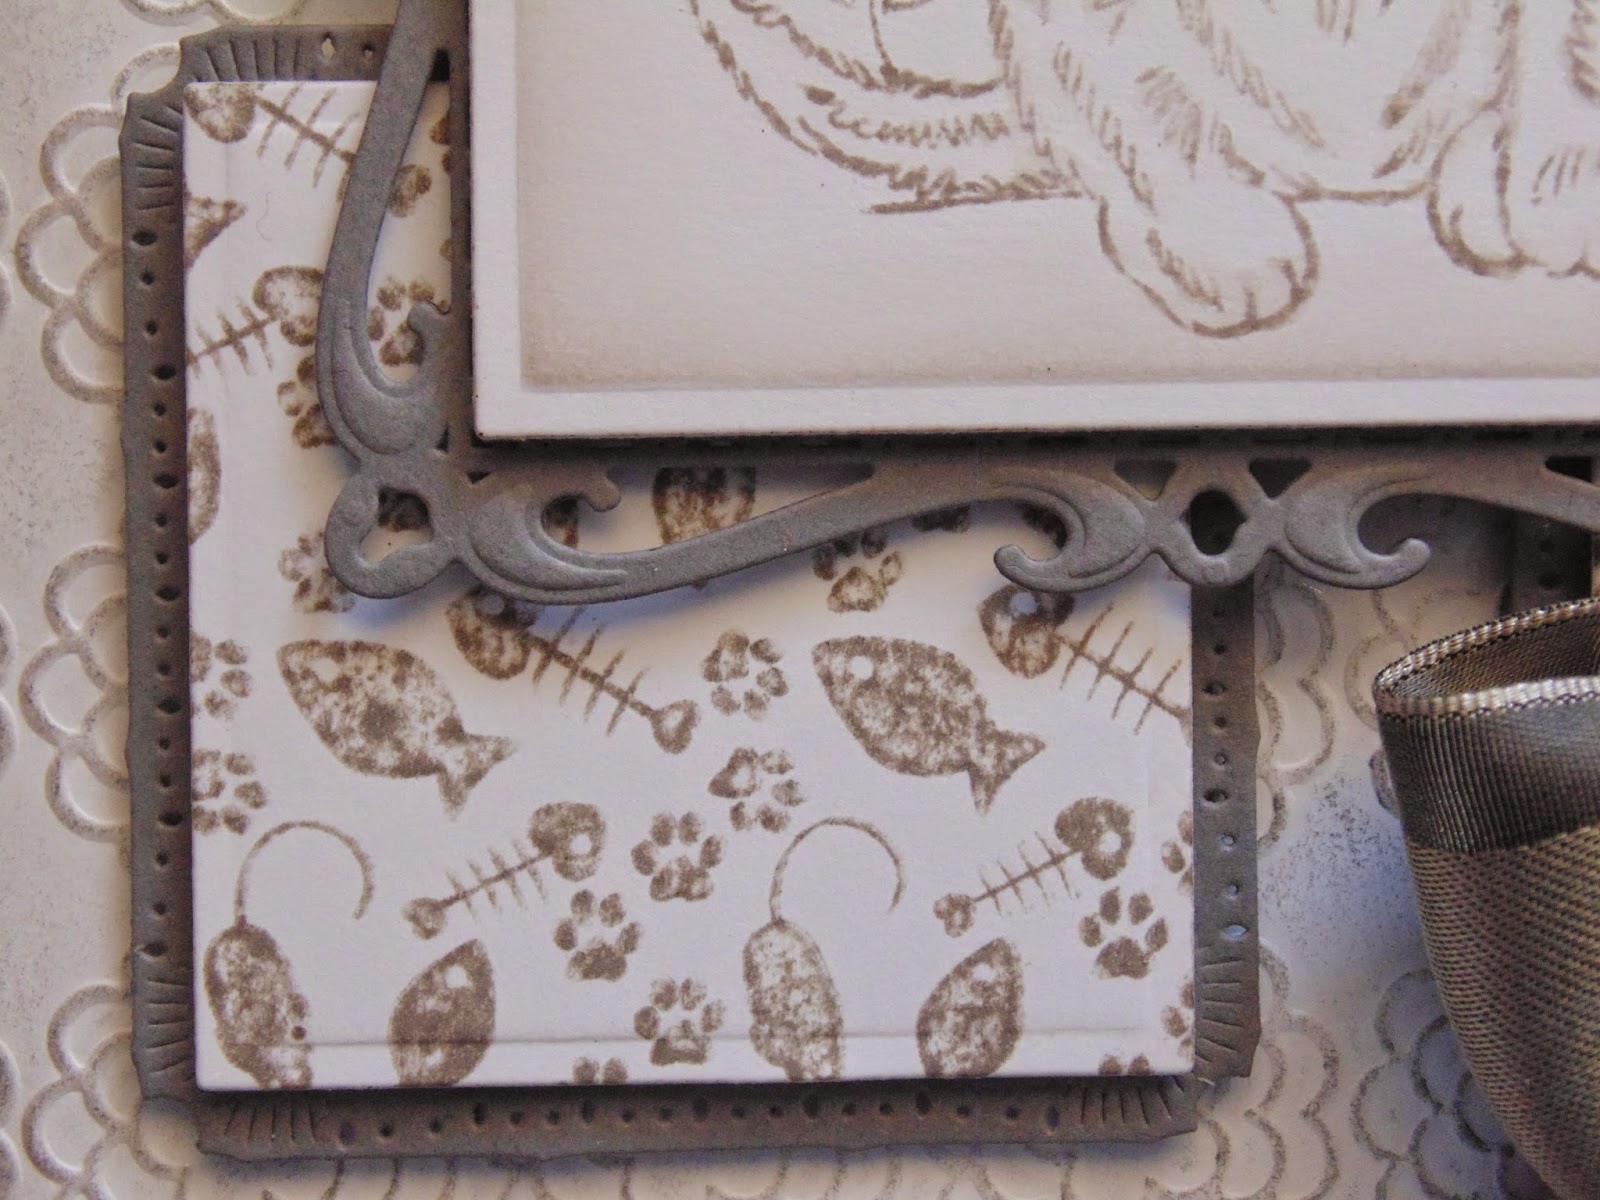
For the background, I ran a piece of Coconut White Card through the Grand Calibur with the Creative Expressions Daisy Tiers Embossing Folder and inked around the edges with Pumice Stone Distress Ink. I rubbed Pewter Gilding Wax over the surface. Once dry, I buffed it up using a dry wet wipe.
I stamped the Kitten Treats Background twice using Pumice Stone. I cut 4 squares out using Spellbinders Classic Squares Small. I cut 4 Squares out of Slate Grey Card using Spellbinders Marvelous Squares.
I stamped Poppy using Pumice Stone and pulles a little of the colour out using a Tim Holtz Water Brush. I cut it out using Spellbinders Classic Squares Small and inked through the die with Pumice Stone. I cut the largest die in the Spellbinders Captivating Squares out of Slate Grey Card.
I stamped the sentiment from the Paws-itively Great Stamp Set using Pumice Stone. I cut it out using Spellbinders Petite Scalloped Ovals Large and inked through the die with Pumice Stone.
I tied a bow using Pewter Solid Satin Centre Band Ribbon and added a Heart Sparkler.
I assembled the card as shown adding a Small Circle Dazzler to each corner and some dots of Cosmic Shimmer Cosmic Pearl PVA around the edges.
Thanks for stopping by.
Julia.
Subscribe to:
Posts (Atom)