Friday, 20 December 2013

Happy Birthday - again!

Hi Bloggers.

Another card made with the Basketweave Purse today - I don't think this one got shown on tv. My order arrived yesterday with more stock of the handbags/purses plus some other items - please see the end of this post if you're interested.

I used Blush and Milk Card on this one. The background is simply a piece of Milk Card run through the Grand Calibur with the Couture Creations Happy Birthday Embossing Folder. I ran it through a second time to extend the design and inked around the edges with Tattered Rose Distress Ink.

I stamped the Basketweave Purse onto a paper from the Teresa Collins 8 x 8 Paper Pad using Perfect Medium and embossed with Cosmic Shimmer Gold Detail Embossing Powder. I cut it out with scissors. I cut the oval die from the Spellbinders Filigree Delight Die set out of Milk Card and inked through the die with Tattered Rose. I cut the largest die from the same set out of Blush Card and again inked through the die with Tattered Rose.

I stamped the sentiment that comes with the Basketweave Purse, again using Perfect Medium and embossed with Gold Detail Powder. I cut it out using Spellbinders Distressed Edges and inked through the die with Tattered Rose.

I made a flower out of another paper from the Teresa Collins 8 x 8 Paper Pad and Spellbinders Spiral Blossom 4. I added an 8mm Cream Pearl to the centre.

I assembled the card as shown adding some more cream pearls to the top 2 corners and some dots of Cosmic Shimmer Pearlescent PVA in Golden Pearl around the edges.

You can find the back in stock Handbag and Purse Stamps in my Amazon Store here.

I have some of the new Blossom Felt Packs that Sue had on her shows last Sunday.

 Also some Piercing Rulers

and some of the Couture Creations Happy Birthday Embossing Folders


All for now.

Thanks for stopping by.

Julia.

Thursday, 19 December 2013

Happy Birthday

Hi Bloggers.

Quite an expensive looking card today, I think. But really easy peasy to make. Just to let you know that I'm hoping to pick up some more handbag/purse stamps tomorrow when I visit Creative Expressions HQ.

My shows on 27th December have been cancelled so my next shows are now 2nd January - details in the left-hand sidebar.

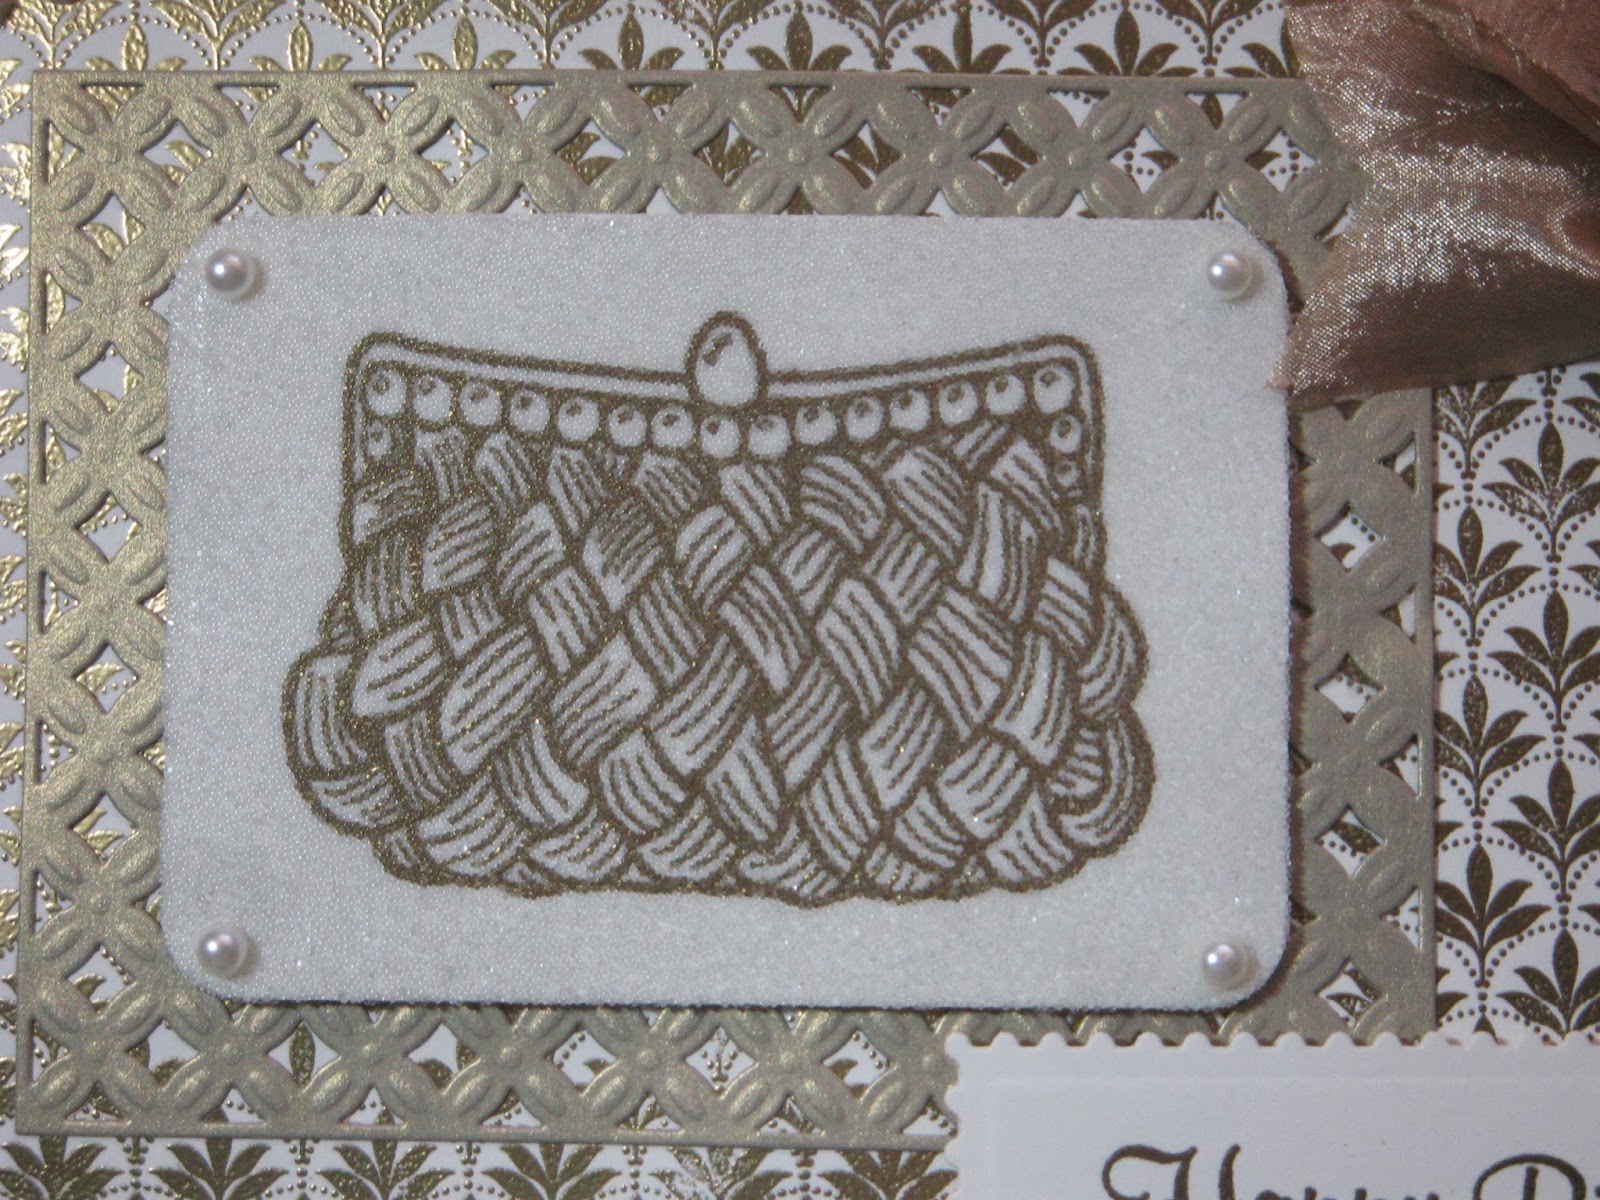
For the background, I stamped the Justrite Dotted Fronds Background Twice using Perfect Medium and embossed with Cosmic Shimmer Gold Detail Embossing Powder. My join is hidden by the edge of the frame die cut, my sentiment and the ribbon!

I stamped the Creative Expressions Basketweave Purse using Perfect Medium and embossed with the Gold Detail Powder. I popped a piece of Double Sided Adhesive Sheet over the image and cut out using Spellbinders 5x7 Curved Matting Basics A. I peeled away the other side of the adhesive and covered in Glass Micro Beads. I added a 5mm Cream Pearl to each corner. I cut a Spellbinders Diamond Effects out of Soft Gold Card.

I stamped the sentiment that comes with the Basketweave Purse again using Perfect Medium and embossed with Gold Detail Powder. I cut it out using Spellbinders Fancy Postage Edge.

I tied a bow using 2 lengths of Champagne Silky Crush and added a Crystal Sparkler.

I assembled the card as shown adding some more Cream Pearls in the corners and some dots of Cosmic Shimmer Sparkle PVA in Crystal around the edges.

Thanks for stopping by.

Julia.

Wednesday, 18 December 2013

Life is better with you in it

Hi Bloggers.

Sue and I have been receiving emails asking how to put the Sweet Juliet Die cuts together to form a flower. There's a video on the Heartfelt Creations Blog showing how to do this. Click here to go straight there.

Here's today's card -

 For the background, I laid the Delicate Border Mask across the top of a piece of Coconut White Card and inked around it using Dusty Concord Distress Ink using Cut n Dry Foam. I repeated this at the bottom of the card. I then ran it through the Grand Calibur with the Couture Creations Happy Birthday Embossing Folder. I ran it through a second time to extend the design and inked around the edges with Dusty Concord.

I stamped the Creative Expressions Rose Blossom Purse onto Mauve Card using Perfect Medium and embossed with Cosmic Shimmer True White Detail Powder. I cut it out using Spellbinders Labels 2 and inked through the die with Dusty Concord. I cut a Spellbinders Captivating Squares die out of  purple card and inked through the die with Dusty Concord.

I stamped the sentiment from the Heartfelt Creations Timeless Sentiments Stamp Set using Perfect Medium and embossed with True White Detail Powder. I cut it out using Justrite Vintage Labels Four and inked through the die with Dusty Concord. I cut a larger die from the same set and once again inked through the die with Dusty Concord.

I tied a bow using White Crochet Ribbon and added a Frosted Violet Dazzler.

 I assembled the card as shown addingan 8mm White Pearl to each corner and some dots of Cosmic Shimmer Pastel PVA in Pastel Lilac around the edges.

Thanks for stopping by.

Julia.

Tuesday, 17 December 2013

To a Beautiful You

Hi Bloggers.

Here's today's card -

A messy background on this one. I started by inking through a small section of the Elegance Border Mask with Faded Jeans Distress Ink randomly over the background piece. Then, with the stamp in my hand, I randomly stamped the Justrite Dotted Fronds Background with Faded Jeans. Finally, again with the stamp in my hand, I stamped the Creative Expressions Butterfly Corner, again with Faded Jeans. I made sure the ink was dry and then ran it through the Grand Calibur with the Couture Creations My Garden Embossing Folder. I ran it through a second time to extend the design and inked around the edges with Faded Jeans.

I stamped the Creative Expressions Bejewelled Bag onto Duck Egg Blue Card using Perfect Medium and embossed with Cosmic Shimmer True White Detail Embossing Powder. I  cut it out using Spellbinders Labels 2 and inked through the die with Faded Jeans.

I stamped the sentiment from the Heartfelt Creations Timeless Sentiments Stamp Set using Perfect Medium and embossed with True White Detail Powder. I cut it out using Spellbinders Fancy Postage Edge and inked through the die with Faded Jeans.

I made a couple of flowers using the Heartfelt Creations Sweet Juliet Dies (should be available again at the end of next month) and cut some leaves using the Heartfelt Creations Classic Leaf Die Set.

I assembled the card as shown addien some White Pearls in the corners and some dots of Cosmic Shimmer Pastel PVA in Pastel Blue around the edges.

Thanks for stopping by.

Julia.

Monday, 16 December 2013

Thank You

Hi Bloggers.

I had hoped to demo this card on Saturday but unfortunately there wasn't the time.

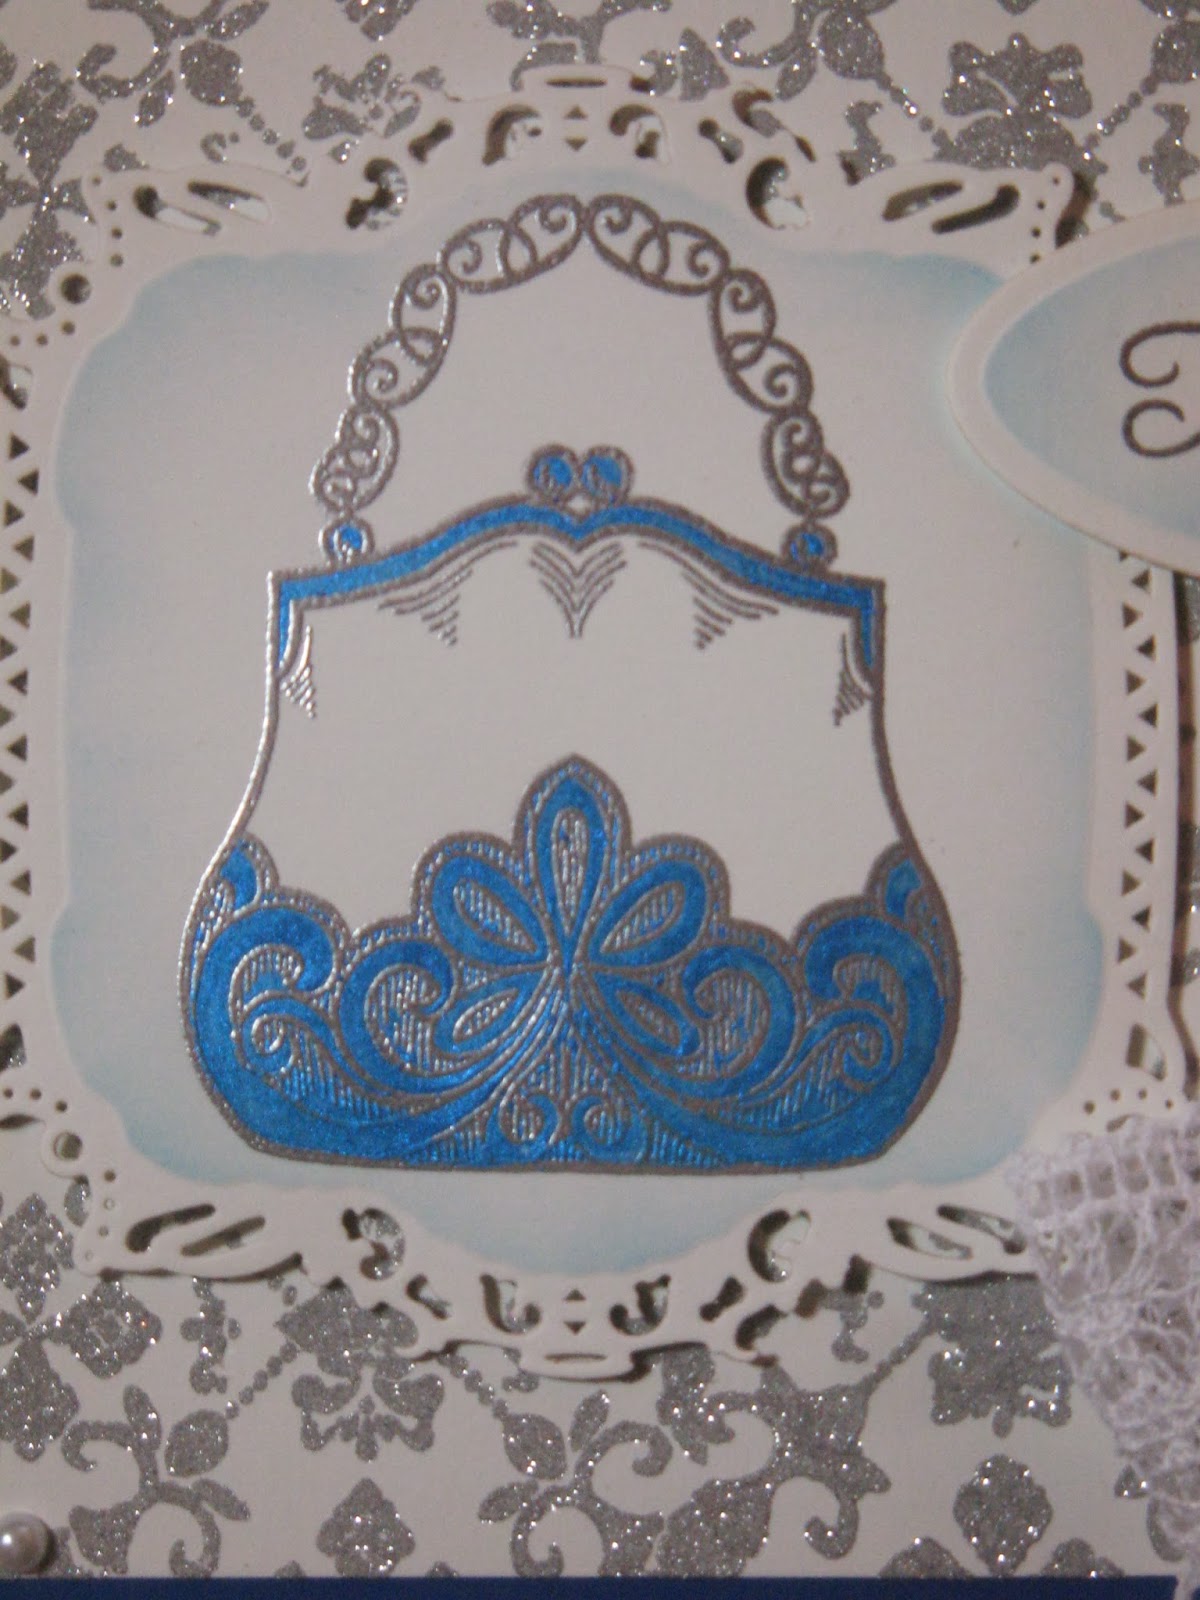
For the background, I applied Cosmic Shimmer Flake & Glitter Glue to the Justrite Sweet Lace Background Stamp using a piece of Cut n Dry Foam. I stamped onto some Coconut White Card, re-applied the Flake & Glitter Glue and stamped again to extend the design. I quickly cleaned the glue off using a Grime Boss. I sprinkled some Silver Chrome Cosmic Shimmer Polished Silk Glitter all over the tacky background.

I stamped the Creative Expressions Bijou Bag using Perfect Medium and embossed using Cosmic Shimmer Silver Shine Detail Embossing Powder. I cut it out using Spellbinders Decorative Labels 22 and inked through the die with Faded Jeans Distress Ink. I coloured in some areas of the bag with Persian Sea Mica Powder from the Cosmic Shimmer Circus Brights Mica Spray Set.

I stamped the sentiment that comes with the Bijou Bag using Perfect Medium and and embossed with Cosmic Shimmer Silver Shine Detail Embossing Powder. I cut it out using Justrite Vintage Labels Four Dies and inked through the die with Faded Jeans.

I tied a bow using White Crochet Ribbon and added a Clear Sparkler.

 I assembled the card as shown adding some White Pearls in the corners and some dots of Cosmic Shimmer Silver Lustre Pearlescent PVA around the edges.

Thanks for stopping by.

Julia.

Sunday, 15 December 2013

Happy Birthday

Hi Bloggers.

Thanks for your emails and comments here on the blog yesterday. Much appreciated as always.

Here's a demo card from yesterday -

One of my messy backgrounds on this one. I started with the Justrite Dotted Fronds Background and with the stamp in my hand I randomly stamped using Spun Sugar Distress Ink. I repeated the process with the Justrite Sweet Lace Background and Victorian Velvet Distress Ink. Then I repeated the process with the Wrought Iron Corner Stamp (again in my hand) with Tattered Rose Distress Ink. I made sure the ink was dry and then ran it through the Grand Calibur with the Couture Creations Happy Birthday Embossing Folder. I ran it through a second time to extend the design and inked around the edges with Spun Sugar using Cut n Dry Foam.

I stamped the Basketweave Purse using Perfect Medium and embossed with Cosmic Shimmer Silver Shine Detail Embossing Powder. I cut it out using Spellbinders Pearl Effects and inked through the die with Spun Sugar. I coloured in with a mix of Rose Hue Mica Powder from the Cosmic Shimmer Circus Brights Mica Spray Set and Pearlescent Mica Powder from the Cosmic Shimmer Metallics Mica Spray Set, plus Silver Mica Powder from the Metallics set along the top of the purse.

I stamped the sentiment that somes with the Basketweave Purse, again using Perfect Medium and embossed with Silver Shine Detail Powder.

 I made some flowers out of felt from the Vintage Felt Pack and Spellbinders Spiral Blossom Three (die on Sue's shows tomorrow) and cut some leaves out of silver card using Heartfelt Creations Classic Leaf Die Set.

 I assembled the card as shown adding an 8mm White Pearl to 3 of the corners and some dots of the new Pastel Pink Cosmic Shimmer Pastel PVA around the edges.

Don't forget that Sue has 2 shows today on Create & Craft - 12noon (2 hours) and 5pm.

Thanks for stopping by.

Julia.

Saturday, 14 December 2013

Sneak Peak from today's shows

Hi Bloggers.

Today I have shows on Create & Craft at 12noon with Steph and at 5pm with Martyn. Hope you can join me.

Please see the end of this post for new items in my Amazon Store.

Here's today's card - a demo from the 12noon show -

For the background, I used a piece of Heat Emboss Acetate. I first put some drops of Sunset Orange Alcohol Ink randomly all over the acetate. The ink spreads out to make circles. Next I added a drop of Cranberry Alcohol Ink to each circle. Finally, I added a drop a Ginger to each circle. Once dry, I turned it over and dusted with an anti-static pad and stamped the Justrite Dotted Fronds Background using Perfect Medium and added Cosmic Shimmer True White Detail Embossing Powder. I just heat set down one edge so that I had something to hold on to. I stamped the background again to extend the design, added more powder and heat set.

I stamped the Bijou Bag (now in stock in my Amazon Store) using Perfect Medium onto Rich Red Card and embossed with the True White Detail Powder. I cut it out using the Spellbinders Curved Matting Basics B.

I stamped the sentiment from the Justrite Large Elegant Sentiments Clear Stamp Set, again using Perfect Medium and embossed with True White Detail Powder. I cut it out using Spellbinders Fancy Framed Tags Two.

I stamped the Justrite Dotted Fronds Background onto some Text & Graphic Paper using Aged Mahogany. I cut some flowers out using the Heartfelt Creations Posy Patch Dies (on Hels' shows last Wednesday), inked them with more Aged Mahogany,shaped them and glued them together using Cosmic Shimmer Dries Clear Glue. I cut some leaves out of Rich Red Card using Heartfelt Creations Classic Leaf Die Set. I coloured some 8mm White Pearls with Cranberry Alcohol Ink and added 1 to my flower and 1 in each corner.

I assembled the card as shown, piercing around the edges of the Rich Red Mat (ruler should be in Sue's shows tomorrow).

I now have all the handbag stamps in stock in my Amazon Store. Here's the links and pics of them all -

Bijou Bag
Bejewelled Bag
Basketweave Purse
Rose Blossom Purse
While I was ordering the handbag stamps, I noticed that Sam has put together a lovely set of sentiments in the Singles range so I just had to get some!

Single Sentiments
I also got in some of the Lovely Lights Sparkle Pigment Sets that I had on the Toolshed last Sunday.

Plus the Cosmic Shimmer Pastel Watercolour Set that was so popular.

We have some new PVAs - Pastel and Sparkle


I haven't ordered in any of the Justrite stamps from the Toolshed last week. Most of the time I can't get Justrite and Heartfelt Creations products onto Amazon and if I sell them via this blog, I rarely sell them all.

That's all for now. I'll see you all later, hopefully.

Thanks for stopping by.

Julia.

Friday, 13 December 2013

Sneak Peak

Hi Bloggers.

As promised, today I'm sharing a sneak peak from tomorrow's shows. This card is by no means difficult but it's one of my favourites.

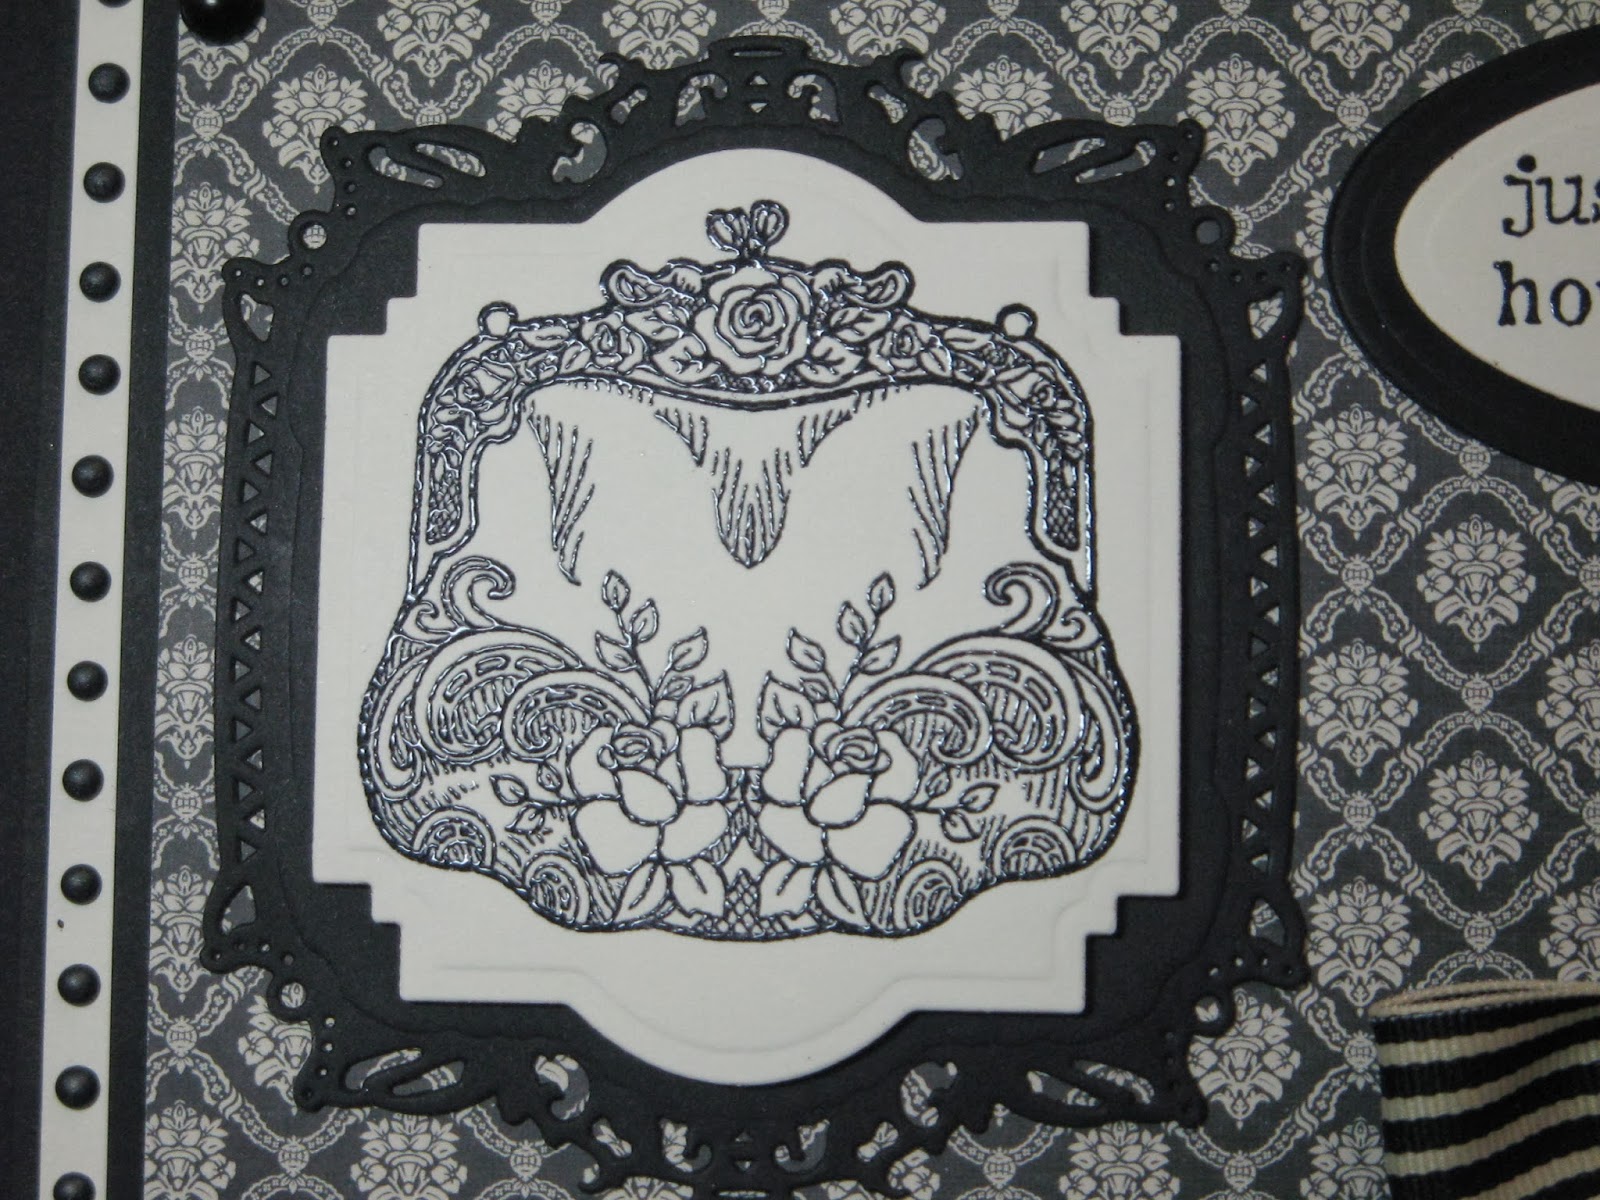
The background is from the Teresa Collins 8 x 8 Paper Pad. The image is one of 4 new handbag stamps that I have on the show (all due in my Amazon Store very shortly). This is the Rose Blossom Purse. I stamped it using Jet Black Archival and embossed with Cosmic Shimmer Clear Embossing Powder. I cut it out using Spellbinders Labels 22 and cut a mat out of Black Card using Spellbinders Decorative Labels 22,

The sentiment is from the Hearfelt Creations Timeless Sentiments Stamp Set and has been stamped using Jet Black Archival and embossed with Cosmic Shimmer Clear Embossing Powder. I cut it out using Justrite Vintage Labels Four and cut a mat out of Black Card using another die from the same set.

  I tied a bow using Black/Ivory Striped Grosgrain and added a Crystal Sparkler.

I assembled the card as shown adding an 8mm Black Pearl in each corner and some dots of Cosmic Shimmer Pearlescent PVA in Black Pearl around the edges.

Thanks for stopping by.

Julia.